


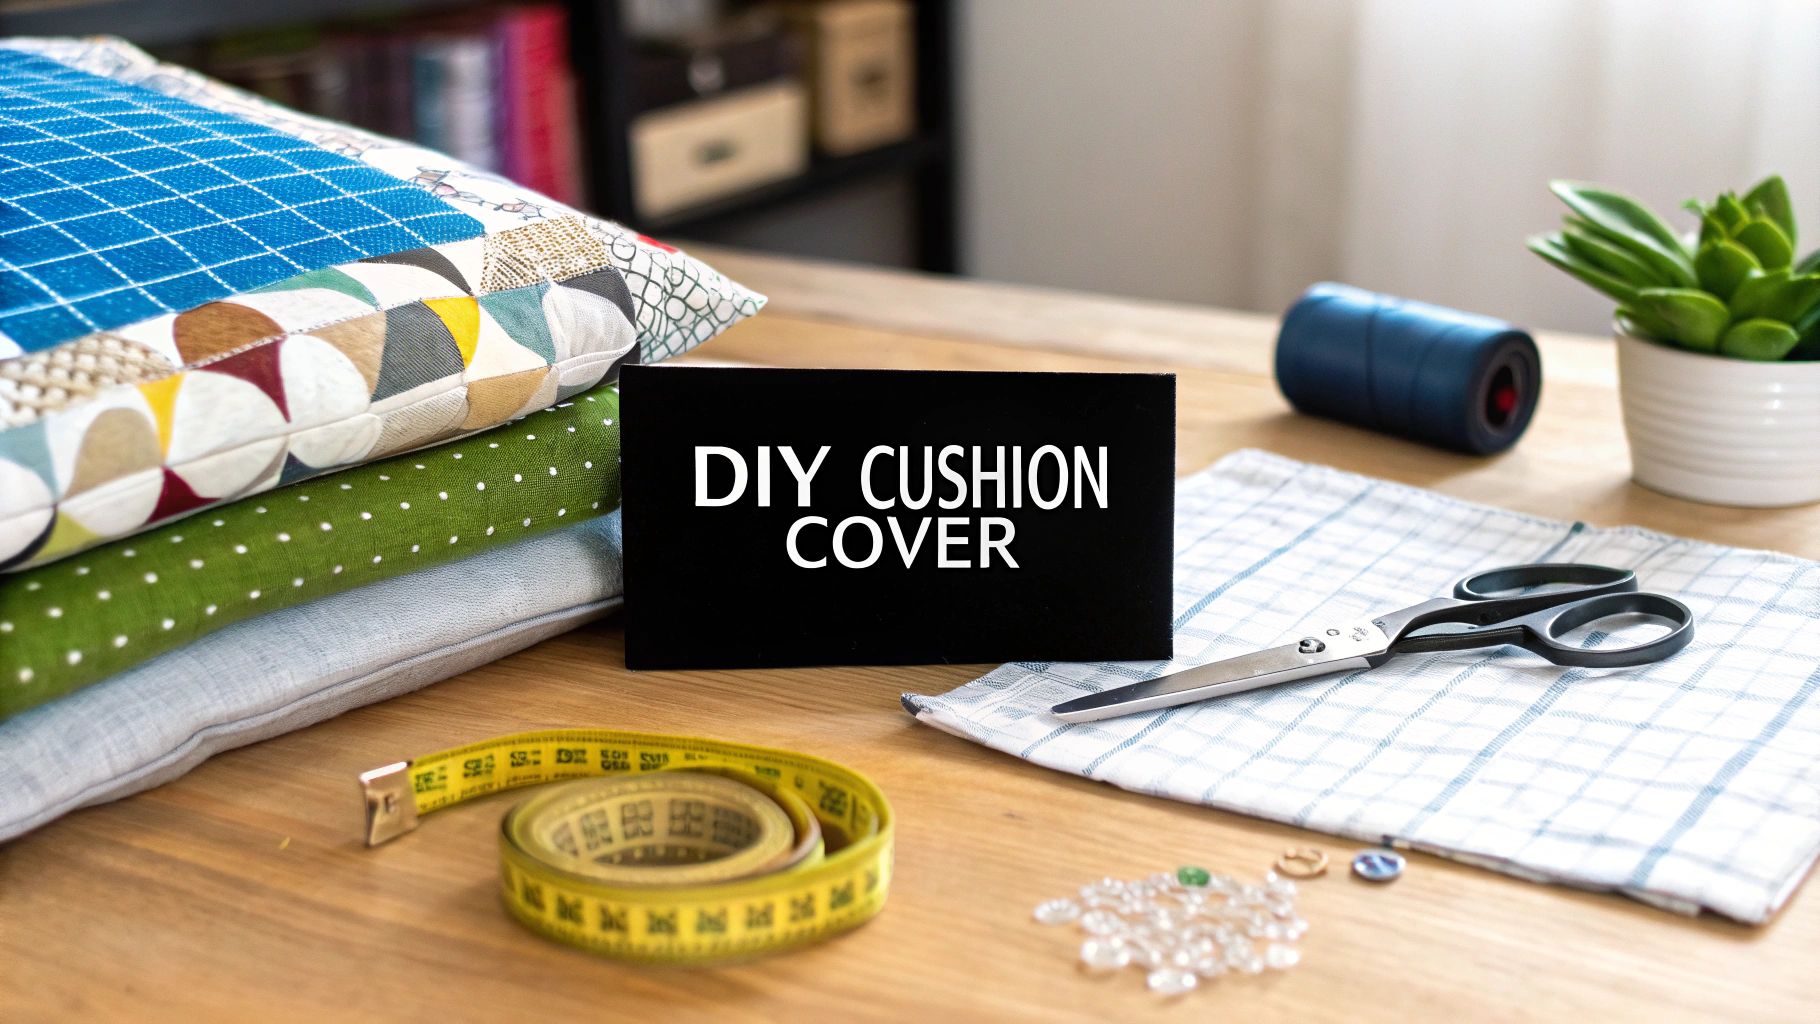
How to Make a Cushion Cover: Easy DIY Guide
Selecting Materials: The Foundation of Stunning Cushion Covers
Creating beautiful cushion covers begins with selecting the perfect materials. It's more than simply choosing a fabric that catches your eye. It's about finding a balance between aesthetics and practicality, especially considering New Zealand's varied climate. Think about sun exposure, durability, and the feel of the fabric. This groundwork ensures your cushion covers not only look fantastic but also last. You might be interested in: How to master...
Fabric Selection: Balancing Beauty and Durability
New Zealand's sun can be intense, so choosing fade-resistant fabrics is key. Solution-dyed acrylics or polyester blends are great options for outdoor cushions. For indoor use, linen, cotton, and velvet offer a range of textures and durability.
Consider the cushion's purpose. A child's room cushion, for instance, needs a more robust and easily washable fabric than one destined for a formal living room.
Understanding Fabric Properties
Each fabric has its own personality. Linen, while beautiful, wrinkles easily. Cotton is versatile but can fade. Velvet adds a luxurious touch but needs more delicate care.
Understanding these properties helps you make smart choices that match your lifestyle and desired aesthetic. A busy household, for example, might benefit from durable, easy-to-clean fabrics.
Recognizing Quality: Beyond the Bargain
Budget-friendly options are always attractive, but be mindful of the hidden costs of bargain fabrics. Lower-quality fabrics might need replacing more often, costing you more over time. Investing in quality ensures your cushion covers look and feel great for longer.
Furthermore, the increasing cost of imported furnishings can influence your material choices. In 2023, the average import price hit $13,292 per ton, affecting local production costs. Learn more about the NZ home decor market.
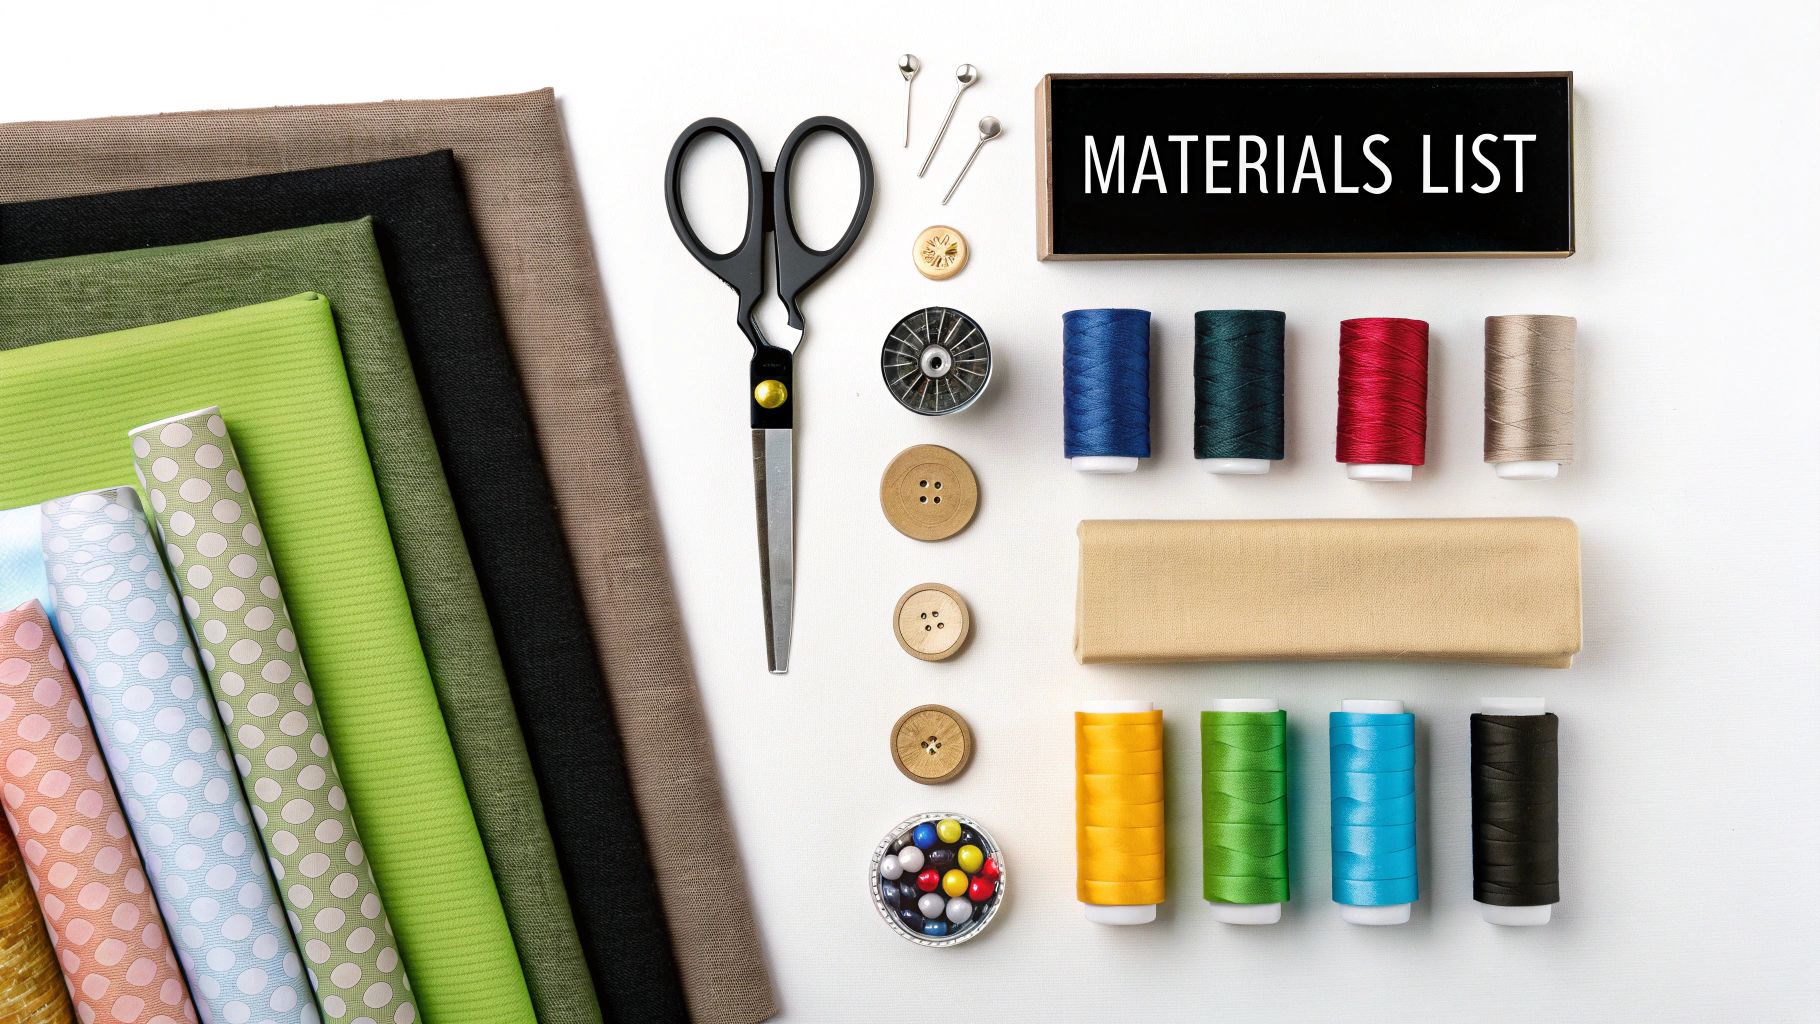
Essential Tools: Setting Yourself Up for Success
The right tools make the creation process enjoyable and efficient. Sharp scissors, a reliable sewing machine, and accurate measuring tools are essential. These investments contribute to precise cutting and sewing, leading to a professional finish. This attention to detail helps create stunning cushion covers that elevate your home décor.
Measuring and Cutting: Precision That Makes All the Difference
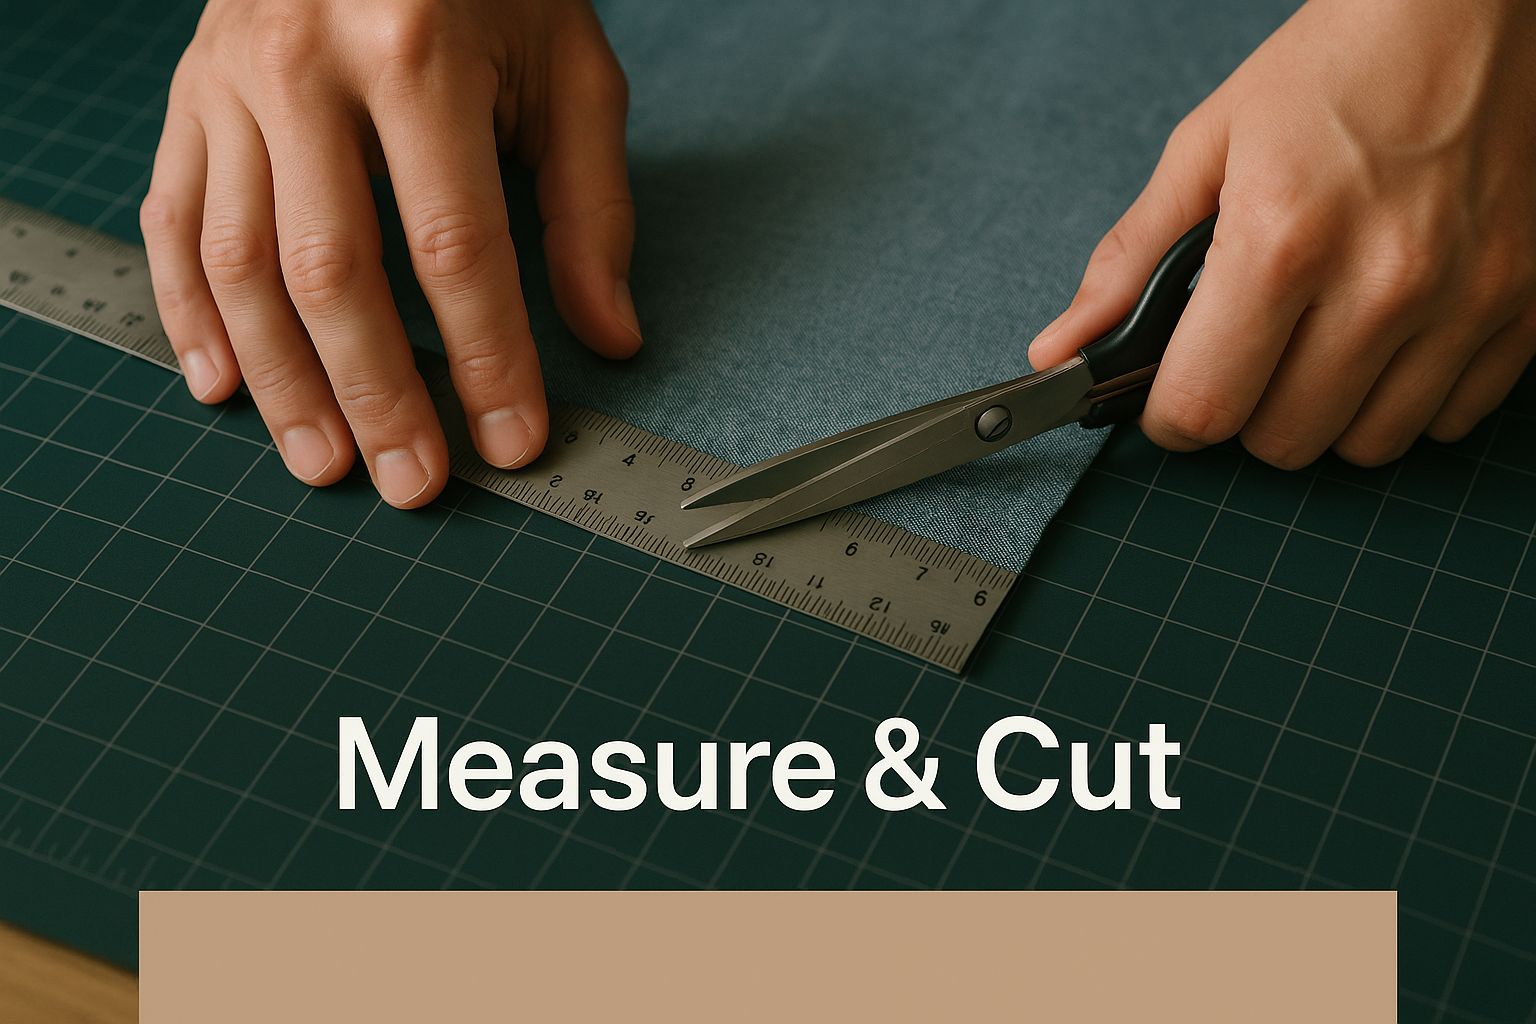
This infographic illustrates the crucial first steps: measuring and cutting. Accurate measurements and clean cuts are the bedrock of any well-made cushion cover. Think of it as building a house; a solid foundation is essential.
The image highlights the importance of precise tools and techniques. These initial steps set the stage for a beautiful finished product. They pave the way for a truly successful sewing project, much like a well-planned blueprint ensures a smooth construction process.
Insert Size and Fabric Dimensions: Finding the Right Balance
The size of your cushion insert is the starting point for determining your fabric dimensions. It's not as simple as a one-to-one ratio, though. You'll need to add extra fabric for seam allowances and the closure type.
For instance, an envelope closure requires extra fabric for the overlapping section. Also, think about the fit you want. A snug fit needs less extra fabric, while a looser fit requires more. This careful consideration ensures your finished cover fits perfectly. This principle echoes the careful planning involved in choosing best cabinet materials for a home renovation.
To help you visualize the relationship between insert size and fabric dimensions, let's take a look at a helpful guide:
Cushion Cover Size Guide Standard cushion insert sizes and corresponding fabric measurements needed for different cover styles
| Insert Size | Basic Cover (cm) | Envelope Cover (cm) | Piped Cover (cm) |
|---|---|---|---|
| 40 x 40 | 42 x 42 | 42 x 86 | 44 x 44 |
| 45 x 45 | 47 x 47 | 47 x 92 | 49 x 49 |
| 50 x 50 | 52 x 52 | 52 x 102 | 54 x 54 |
| 60 x 60 | 62 x 62 | 62 x 122 | 64 x 64 |
This table provides a general guideline. Remember to adjust these measurements based on your specific project requirements and desired fit. The added dimensions account for seam allowances and the different closure styles.
Pattern Placement: Making the Most of Your Design
Working with patterned fabric? Careful planning is key. Consider the focal point of your pattern. Where do you want the main design element to sit on your finished cushion?
Centering a bold motif or ensuring a seamless flow across multiple cushions are important considerations. A large-scale floral might look best centered, while a smaller geometric print could be matched at the seams. This attention to detail elevates the final product. For further inspiration, take a look at these helpful resources: How to master...
Cutting Techniques: Achieving Artisan-Level Precision
Accurate cutting is paramount. Sharp scissors and a cutting mat are your best friends here. They ensure clean, straight lines. For trickier fabrics, rotary cutters and pattern weights are invaluable tools.
Marking your cutting lines beforehand with tailor's chalk or a fabric marker adds another layer of precision. This seemingly small step elevates your work from amateur to professional. It's the secret to perfectly fitted cushion covers every single time.
Sewing Your First Cover: From Raw Fabric to Finished Piece
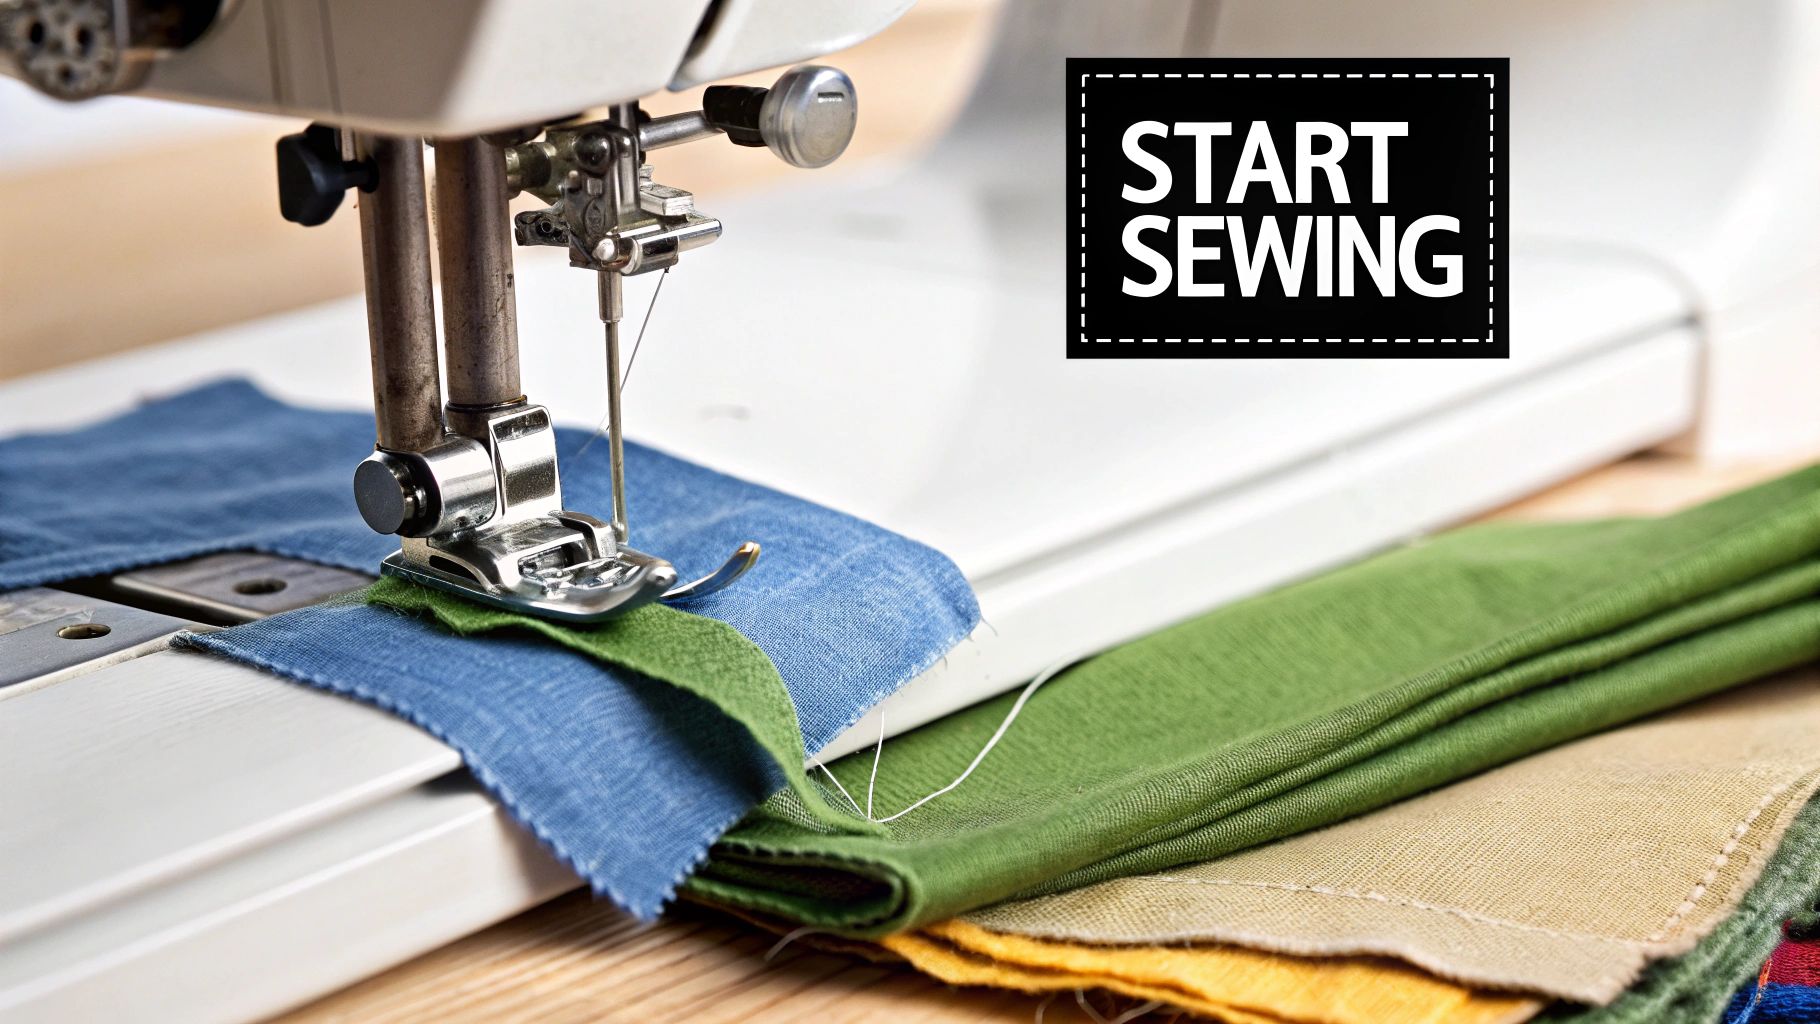
Now that you've cut your fabric, it's time to bring your vision to life and create a beautiful cushion cover. This guide will walk you through each step, from the initial stitch to the final press. We'll cover essential techniques that will help you achieve a professional finish, even if you're a beginner.
Starting Your Seam: The Foundation of a Strong Cover
First, pin your fabric pieces together with the right sides facing. This hides the seam allowance inside the finished cover. For an envelope-style cover, align and pin the front piece to the larger back piece. Accurate pinning is key to preventing shifting while sewing and ensuring a neat, even seam.
Stitch Selection and Tension: Achieving a Polished Look
Choose a straight stitch on your sewing machine. The stitch length depends on your fabric. A shorter stitch length is best for finer fabrics, while a longer stitch length suits heavier materials. Adjust the tension to ensure a balanced stitch. This prevents puckering or loose threads, leading to a clean, professional seam.
Sewing the Seam: Tips for Smooth and Even Stitching
Start sewing about a quarter-inch from the fabric's edge. This creates a seam allowance, allowing the fabric to fold naturally and resulting in a durable seam. Guide the fabric smoothly through the machine, avoiding pulling or stretching to maintain even stitching and prevent distortion.
Creating Crisp Corners: Maintaining Shape and Structure
When you reach a corner, stop with the needle down. Lift the presser foot and rotate the fabric 90 degrees. Lower the presser foot and continue sewing. This creates sharp, defined corners that hold their shape, adding to the professional look of your cover.
Finishing Touches: Securing Your Seam and Pressing for Perfection
After sewing all sides, backstitch a few stitches at the beginning and end of each seam. This secures the threads and adds durability. Press the seams open or to one side, depending on your cover's style. Pressing creates crisp edges and gives your cushion cover a polished, professional finish. This final touch truly elevates your handmade piece.
Time-Saving Techniques for Experienced Sewers
As you gain experience, explore time-saving methods. Using a serger to finish raw edges can significantly speed up the process. A zigzag stitch along the raw edge is another way to prevent fraying. These shortcuts streamline the process while maintaining quality. Interestingly, the New Zealand market for furnishing articles has seen a decline in sales value recently, influencing consumer choices. Find more statistics here.
Mastering Closures: Finding the Perfect Finishing Touch
The closure you choose for your cushion cover significantly impacts both its appearance and functionality. A well-chosen closure can elevate a simple cushion into a stylish statement piece. Conversely, a poorly executed closure can detract from even the most beautiful fabric. This section explores various closure options, offering guidance on selecting the perfect finishing touch for your project.
Exploring Closure Options: Zippers, Buttons, and More
Several closure options are available, each with its own advantages and disadvantages. Invisible zippers provide a seamless look, ideal for showcasing patterned fabrics. However, installing them can be tricky, demanding precision and patience. Envelope closures, created by overlapping fabric panels, are simple to sew. However, they may not be suitable for cushions requiring frequent washing. Learn more in our article about How to master closures. Other options include buttons, buttonholes, and ties, each offering a unique aesthetic and level of complexity.
Professional Installation Techniques: Preventing Common Problems
Proper installation is crucial for any closure. For zippers, ensure the teeth align perfectly with the fabric edge to prevent puckering. Using a zipper foot on your sewing machine creates a professional finish. When sewing buttonholes, practice on scrap fabric first. Precise placement and even stitching are key to a polished look. These techniques prevent common frustrations like gapping, premature wear, and an uneven appearance.
Choosing the Right Closure for Your Project
The ideal closure depends on various factors, including the cushion's intended use, the fabric type, and your skill level. For high-traffic areas like living rooms, durable zippers or sturdy buttons are recommended. Delicate fabrics may benefit from an envelope closure or ties to avoid adding bulk. If you’re new to sewing, an envelope closure is a good starting point. More experienced sewists might tackle an invisible zipper.
Handling Challenging Installations: Insider Tips and Tricks
Even seemingly simple closures can present challenges. For perfectly aligned zippers, baste the zipper to the fabric before machine stitching. A seam ripper helps carefully remove any stray stitches. For buttonholes that look machine-perfect even when handmade, use a buttonhole foot or template to ensure consistent size and shape. Practice on scrap fabric to master the technique before working on your final project. These extra steps, though they may seem small, contribute to a professional and polished finish.
Fabric Choice and Closure Compatibility: Achieving Harmony in Design
Consider how your chosen closure complements your fabric. A heavy-weight upholstery fabric might overwhelm a delicate button closure. Conversely, a chunky zipper can detract from the elegance of a silk cushion cover. The goal is to create a harmonious relationship between the fabric, the closure, and the overall design. This thoughtful approach elevates your cushion cover from a simple home project to a truly handcrafted piece. Remember, the details matter, and the right closure can make all the difference.
Elevating Your Design: Decorative Elements That Transform
Once you've mastered the basics of cushion cover creation, it's time to add those special touches that truly elevate your work. Decorative elements can transform simple cushions into stunning statement pieces, reflecting your personal style and enhancing your home décor.
Piping: Adding Structure and Definition
Piping, a decorative cord sewn into the seam, adds a touch of sophistication. Think of it as a frame for your cushion, highlighting its shape and creating a crisp, tailored appearance. Piping materials range from contrasting fabrics and leather to metallic cords. Choose a bold contrast for a modern look, or a subtle, tonal match for something more classic. For inspiration, you might want to browse the Maak Home product range.
Mixed Textures: Creating Visual and Tactile Interest
Combining different textures adds depth and intrigue. Imagine pairing smooth linen with a chunky knit, or incorporating a luxurious faux fur panel. This interplay of textures creates visual interest and invites touch, making your cushions both beautiful and enjoyable. This approach resonates particularly well in New Zealand homes, where natural materials and textures are often celebrated.
Kiwi-Inspired Elements: Connecting to Local Design Heritage
Adding uniquely Kiwi elements provides a personal touch and celebrates local design. Consider incorporating native motifs like ferns or kōwhai flowers as embroidery or printed patterns. Alternatively, draw inspiration from New Zealand's landscapes, choosing color palettes that reflect the ocean, forests, or mountains. These touches connect your creations to Aotearoa's rich design heritage, adding a meaningful layer to your home décor.
Enhancing Durability and Function Through Decoration
While many decorative elements are primarily aesthetic, some can also boost durability and function. Quilting, for instance, adds strength and prevents filling from shifting. Reinforced corners protect against wear and tear, especially in high-use areas. Decorative tassels or ties can serve as functional closures while adding visual flair.
Adapting Professional Techniques for Home Sewing
Many seemingly complex decorative techniques are easily adaptable for home sewing. While professional upholsterers might use specialized piping machines, you can achieve similar results with a standard sewing machine and a zipper foot. Break the process into manageable steps and practice on scrap fabric before working on your final piece. New Zealand's bedding market is growing, projected to reach NZ$128.82 million in 2025. This suggests potential increased demand for related home furnishings, including cushion covers. Find more detailed statistics here. Understanding market trends can inform your design choices and cater to current consumer preferences.
Troubleshooting: Rescuing Projects From Common Pitfalls
Even the most experienced sewists occasionally encounter problems when creating cushion covers. Don't give up! Instead of abandoning a project, view these challenges as learning opportunities to improve your sewing skills. This section will help you identify and fix common issues, transforming potential disasters into valuable lessons.
Puckered Seams: Smoothing Out the Wrinkles
Puckered seams are a common frustration and can happen for a number of reasons. Uneven fabric tension during sewing is often the culprit. Make sure your fabric feeds smoothly through the machine, and avoid pulling or pushing it. Incorrect tension settings on your sewing machine can also lead to puckering. Test your tension on a scrap of the same fabric before beginning your project. If puckering continues, try a slightly longer stitch length.
Misaligned Patterns: Restoring Harmony to Your Design
When using patterned fabrics, misaligned patterns can disrupt the overall look. Accurate cutting and careful pinning are essential. Before cutting, double-check your pattern placement to ensure the focal point is positioned correctly. Use plenty of pins to keep the fabric layers aligned while sewing. If a minor misalignment occurs, a well-placed decorative element, like piping or contrasting trim, can sometimes cleverly hide the issue. When refining the look of your cushion cover, you might explore color options, such as those found at: Winning Color Combinations for Logos in 2025.
Difficult Closures: Taming Tricky Zippers and Buttons
Closures can be a challenge, particularly for beginners. Zippers, especially, can be tricky. A zipper foot is a helpful tool for sewing evenly near the zipper teeth. If your zipper puckers, ensure the teeth are properly aligned with the fabric edge. For buttonholes, practice on scrap fabric to achieve consistent size and spacing. A buttonhole foot or template can significantly improve the finished look.
Fabric-Specific Troubleshooting: Adapting Your Approach
Different fabrics present unique sewing challenges. Slippery fabrics, like silk or satin, can shift while being sewn. Using pattern weights and sharp shears can help maintain control during cutting. Thick upholstery fabrics, however, can be difficult for home sewing machines. A heavy-duty needle and adjusting your machine's tension can make a big difference.
Finishing Problems: Addressing Tension and Corner Bulges
Tension issues can show up as loose threads or uneven stitching. Re-threading your machine and adjusting the tension dial are good first steps. Corner bulges often result when the seam allowance isn't trimmed or clipped correctly. Trimming the seam allowance close to the stitching, especially in corners, creates a smoother, flatter result. Clipping into the curves allows the fabric to lie flat when turned right side out. Remember, even small imperfections can often be incorporated into the final design, adding a unique, handmade touch. Don't hesitate to experiment and enjoy the learning process!
Design Inspiration: Creating Covers That Tell Your Story
A cushion cover isn't just a functional item; it's an opportunity to showcase your personal style and bring a touch of Aotearoa into your home. Let's explore some design approaches that will transform your cushions into true statement pieces.
Embracing New Zealand’s Unique Aesthetic
New Zealand's design aesthetic is deeply connected to nature. Draw inspiration from our breathtaking landscapes, from the dramatic coastlines to the vibrant native bush.
-
Coastal Themes: Incorporate blues and greens echoing the ocean, combined with natural textures like linen or cotton. Consider driftwood patterns or subtle seashell motifs.
-
Indigenous Inspiration: Integrate elements of Māori design, such as kōwhai patterns or tukutuku panels. This celebrates our cultural heritage and adds a distinctive touch.
-
Natural Landscapes: Reflect the beauty of Aotearoa's forests and mountains with earthy tones and botanical prints. Fern motifs or stylized landscapes create a sense of tranquility and connection with nature.
Creating Cohesive Cushion Arrangements
A collection of cushions adds depth and visual interest, but too many can overcrowd a space. Consider your cushions as a curated collection, each piece contributing to a larger story.
-
Varying Sizes and Shapes: Mix square and rectangular cushions for a dynamic arrangement. Introduce a bolster or lumbar cushion for added comfort and visual appeal.
-
Playing with Textures: Combine smooth velvets with textured linens or chunky knits for a layered look. This adds tactile interest and depth.
-
Balancing Patterns and Solids: Pair patterned cushions with solid-colored ones to avoid a cluttered feel. Choose patterns that complement each other through shared colors or similar motifs.
Seasonal Rotations: Keeping Your Home Feeling Fresh
Just like our wardrobes, our home decor can benefit from seasonal updates. Changing your cushion covers is a simple yet impactful way to refresh your living space.
-
Summer Brights: Choose lighter fabrics and vibrant colors to evoke a summery atmosphere. Think citrus hues or tropical prints.
-
Autumn Warmth: Embrace earthy tones and cozy textures like wool or faux fur as the weather turns cooler.
-
Winter Comfort: Deep jewel tones and plush velvets create a warm and inviting ambiance during the winter months.
-
Spring Renewal: Celebrate the season with pastel shades and floral patterns, reflecting the fresh blooms of spring.
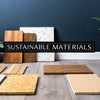
Upcycling and Sustainability: Giving New Life to Old Treasures
Give pre-loved textiles a new purpose by upcycling them into cushion covers. This is a sustainable practice that reduces waste and adds a personal touch. An old woolen jumper or a vintage tablecloth can be transformed into a unique and meaningful piece.
To help you choose the right fabric for your cushion covers, we've put together a handy guide:
Fabric Selection Guide by Room Recommended fabric types and considerations for cushion covers in different rooms of the home
| Room | Recommended Fabrics | Durability Needed | Special Considerations |
|---|---|---|---|
| Living Room | Linen, Cotton, Velvet, Wool | Medium to High | Consider the overall style and color scheme of the room. |
| Bedroom | Linen, Cotton, Silk, Velvet | Low to Medium | Prioritize comfort and softness. |
| Dining Room | Linen, Cotton, Leather | Medium | Choose fabrics that are easy to clean. |
| Outdoor Area | Polyester, Acrylic, Olefin | High | Look for UV-resistant and water-repellent fabrics. |
This table provides a starting point for selecting fabrics. Remember to consider your lifestyle and personal preferences.
Ready to personalize your living space with custom-made, eco-friendly cushions? Visit Maak Home today and discover our range of high-quality fabrics, designs, and custom printing options. Create cushions that reflect your unique style and infuse your home with the spirit of Aotearoa.


