


Wallpaper Measuring Guide: Perfect Results Every Time

Understanding Wallpaper Dimensions in New Zealand
Embarking on a wallpaper project can be exciting, but understanding the dimensions of your materials is key for a smooth process. Especially for first-timers, navigating the terminology can feel a bit daunting. This guide, drawing on insights from top New Zealand suppliers and installers, will demystify common wallpaper terms and equip you with practical measuring tips.
Standard Roll Dimensions and What They Mean For Your Project
When shopping for wallpaper in New Zealand, you'll quickly notice that our standard roll dimensions often differ from international standards. This is crucial to remember when using online calculators or guides that might be based on overseas measurements.
In New Zealand, rolls typically measure 10 meters long and 52 centimeters wide. This translates to roughly 5.2 square meters of coverage per roll. Understanding the difference between single rolls and double rolls (double the length of single rolls) is also essential for accurate calculations.
This becomes particularly important when considering pattern repeats. A large pattern repeat will necessitate more rolls than a smaller, more frequent pattern to ensure proper alignment. Batch numbers are also critical for consistent coloring, especially in larger rooms where multiple rolls are used. Professionals always verify batch numbers to prevent noticeable shade variations.
In New Zealand, precise wallpaper measurement is vital for both consumers and suppliers to minimize waste and ensure smooth application. Specialized NZ retailers and wallpaper providers often offer detailed measuring guides and online calculators tailored to local roll sizes and room dimensions, boosting accuracy.
This attention to detail is key, as the New Zealand wallpaper market saw a 14% increase in 2024, reaching a value of around $3.9 million after a two-year decline. This growth highlights the importance of accurate sizing and professional installation. You can learn more about the NZ wallpaper market’s recent growth here.
Why Accurate Measurement Matters
Imagine starting your wallpaper project only to discover halfway through that you're short a roll, and the batch you need is out of stock! This common pitfall can be avoided with careful measuring.
Under-purchasing can create design inconsistencies due to differing dye lots, while over-purchasing leads to unnecessary costs. Professional decorators meticulously review product specifications to prevent these issues. You can explore more about this in our article about Vernon wallpaper.
Accurate measurements not only guarantee sufficient material but also help minimize waste. Taking the time to measure correctly saves you time and money, keeping your wallpaper project on budget and on schedule. This is especially critical for high-moisture rooms, where finding a matching replacement roll can be challenging.
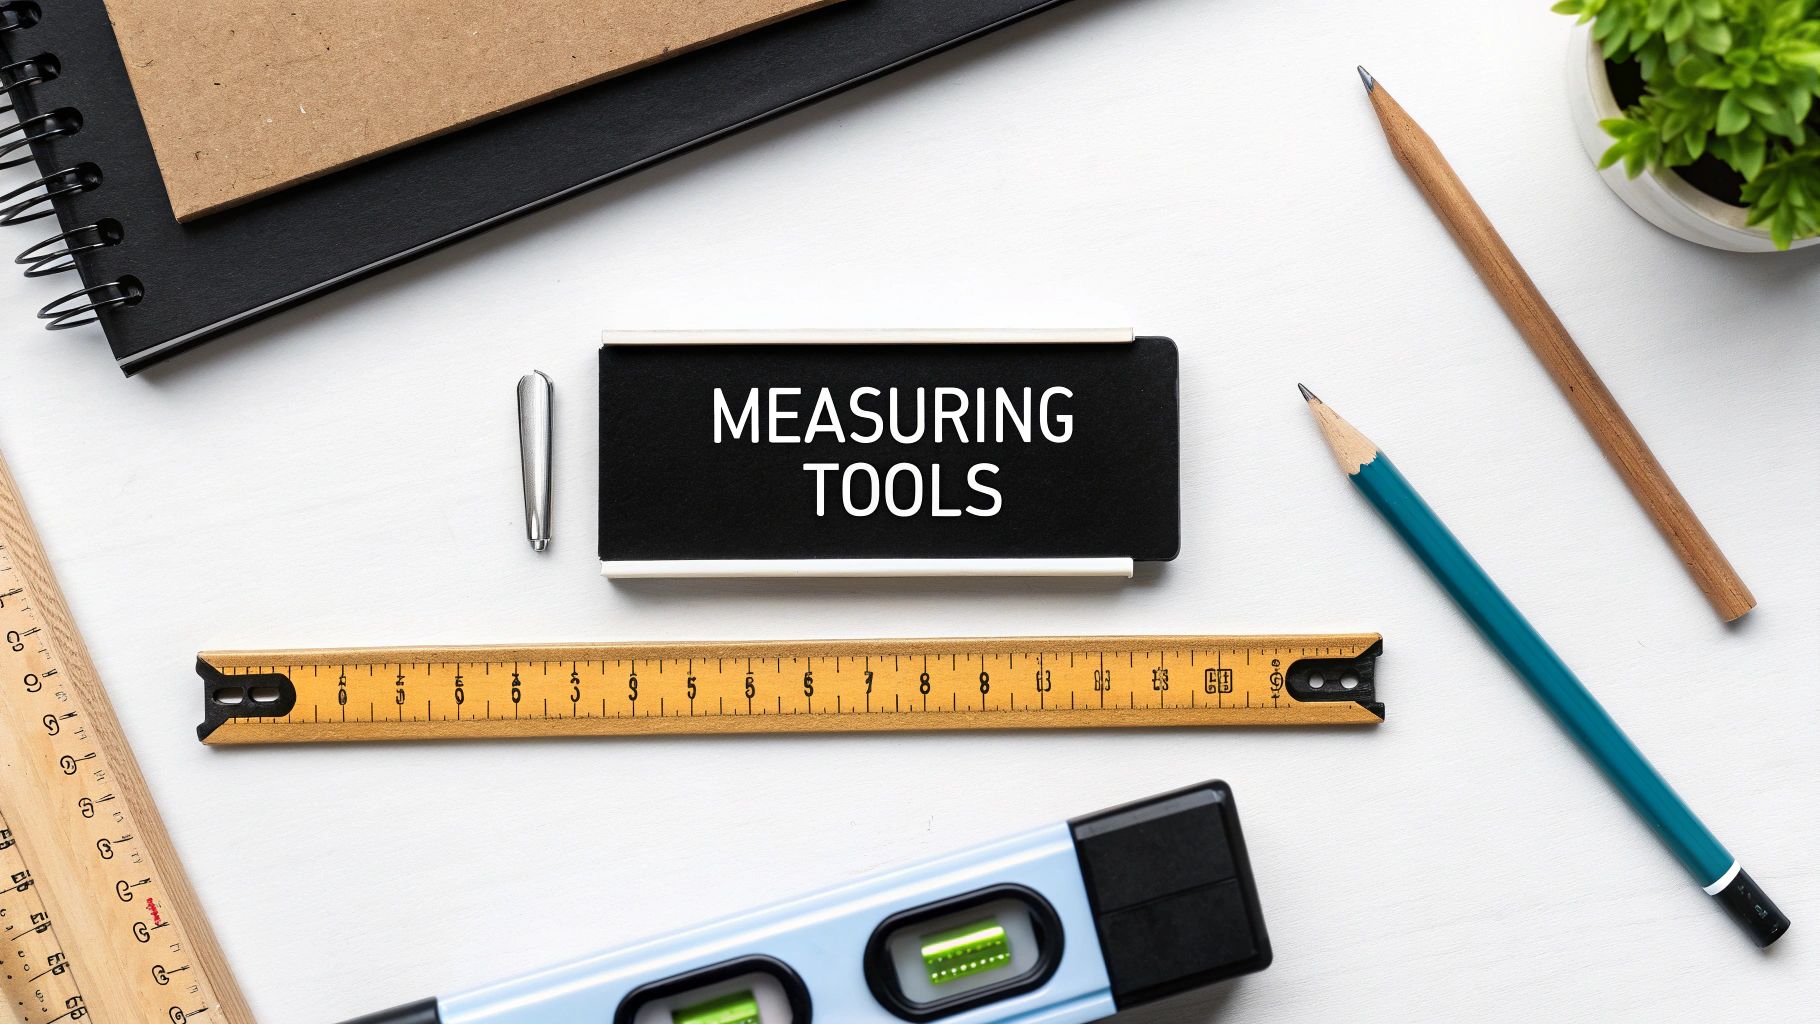
Essential Tools That Transform Your Measuring Game
Accurate measurements form the backbone of any successful wallpapering project. Having the right tools can be the difference between a beautifully wallpapered feature wall and a DIY disaster. Professional installers across New Zealand understand this, investing in equipment that ensures precision. But which tools are absolutely essential for DIY enthusiasts? Let's explore.
Must-Have Measuring Equipment For Wallpapering
Mid-project measurement amnesia? Not a good look. Systematically recording your measurements is key. Here are the tools to elevate your measuring game:
-
Metal Tape Measure: A robust, retractable metal tape measure is your go-to tool. Opt for one at least 5 meters long to comfortably handle most rooms in NZ homes. Longer tapes are beneficial for larger spaces and open-plan layouts.
-
Laser Measure: A laser measure, while not absolutely essential, significantly speeds up the measuring process, particularly for larger areas or high ceilings. These tools are becoming increasingly affordable, making them a fantastic choice for confident DIYers.
-
Spirit Level: Straight wallpaper seams rely on perfectly vertical lines. A spirit level, though small, is indispensable for ensuring accurate vertical alignment.
-
Pencil and Notepad: Don't trust your memory! A dedicated notepad (or a digital note-taking app like Google Keep) and a sharp pencil are vital for jotting down and labeling each measurement.
-
Digital Template: For intricate areas, think about using digital templates. Some are even designed specifically for New Zealand homes, allowing for detailed recordings of every corner and curve.
Choosing The Right Tools For Your Budget
You don't need the most expensive equipment to achieve accurate measurements. A standard metal tape measure and a spirit level are sufficient for the majority of DIY wallpaper projects. If you're planning on tackling more ambitious projects, however, investing in a laser measure can be a real game-changer. For more tips on accurate measuring, our guide on How to Master Curtain Measurements offers helpful insights.
Professional Measuring Techniques Adapted For DIY
Professional decorators often use a systematic approach to measuring, and you can easily adapt these techniques for your own projects. Begin by sketching a rough outline of the room, clearly labeling each wall. This helps organize your measurements and prevents confusion later on. For instance, label walls as "Wall A", "Wall B", and so on. This, along with detailed notes, makes it easy to refer back to your measurements when hanging the wallpaper. Always double-check your measurements. This simple step can save you from costly mistakes and ensure your wallpaper is perfectly placed the first time.
To help you choose the right tools, we've compiled this handy comparison table:
Essential Measuring Tools Comparison: Comparison of different measuring tools for wallpaper projects in NZ homes
| Tool Type | Best For | Accuracy Level | Price Range (NZD) | Recommended For |
|---|---|---|---|---|
| Metal Tape Measure | General Measuring | High | $5 - $30 | All DIYers |
| Laser Measure | Large Areas, High Ceilings | Very High | $30 - $150 | Frequent DIYers, Professionals |
| Spirit Level | Vertical Alignment | High | $10 - $25 | All DIYers |
As you can see, a basic metal tape measure offers excellent accuracy for general use, while a laser measure provides greater precision for more complex tasks. The spirit level, of course, is essential for ensuring those perfectly straight lines.
This organized approach, combined with the right tools, sets you up for a successful and satisfying wallpapering experience.
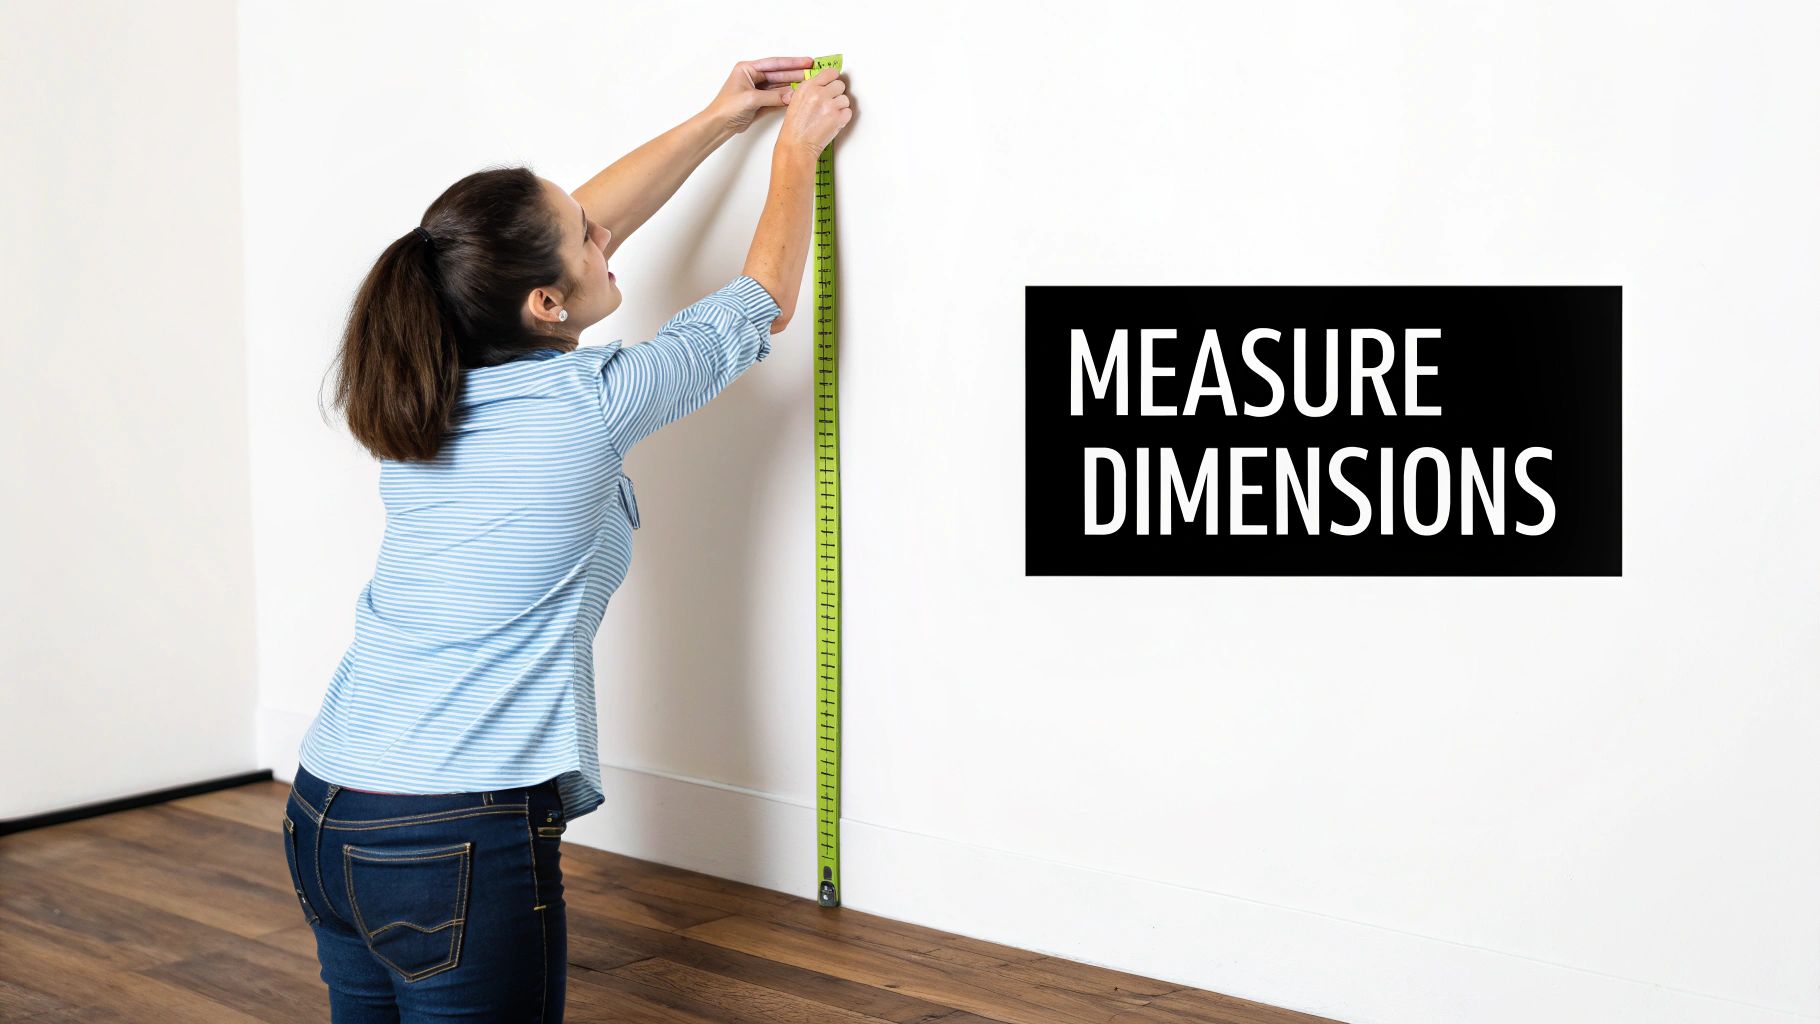
Room-by-Room Measurement Techniques That Actually Work
Now that you have your tools assembled, let's explore some practical techniques for measuring each room accurately. A comprehensive wallpaper measuring guide is key, and these techniques are tailored for the unique characteristics of New Zealand homes.
Mastering the Basics: Walls, Windows, and Doors
Accurate measurements are crucial before ordering wallpaper. A helpful resource for getting started is this guide on measuring for blinds. Begin by measuring the height and width of each wall, carefully recording every detail. Don't forget to subtract the area of windows and doors – you won't be wallpapering these! This might seem obvious, but it's a common oversight. For instance, a typical Kiwi bach window might be 1.2m wide and 1m high, resulting in 1.2 square meters less wallpaper needed.
Tackling Tricky Architectural Features in NZ Homes
Many New Zealand homes, especially villas and older houses, have unique architectural features that require extra attention during measurement. Think picture rails, dado rails, and angled ceilings. For picture rails, measure from the top of the rail to the ceiling and calculate this area separately. Similarly, measure from the dado rail to the floor for areas below the rail.
Angled ceilings, often found in converted villa attics, present a different challenge. The trick here is to divide the wall into rectangular and triangular sections, measuring each one individually for accurate calculations.
Creating a Wall Map: Your Blueprint for Success
A wall map is a visual representation of your walls, like a detailed blueprint. It's a simple sketch of each wall with all measurements marked, including windows, doors, and other features. This is especially useful for rooms with numerous interruptions, such as bathrooms or kitchens. This visual guide becomes an invaluable tool when calculating the total wallpaper required and planning your pattern placement.
Dealing With Irregular Dimensions and Common NZ Challenges
Not every wall is perfectly square or straight, a common occurrence in older NZ homes. If a wall isn't plumb (perfectly vertical), measure at several points along the wall's height. Use the longest measurement to ensure you have enough wallpaper. For walls that bow or curve, treat them as flat surfaces and add a few extra centimeters to the width as a buffer.
Time-Saving Shortcuts From the Pros
Professional installers often utilize time-saving techniques while maintaining accuracy. One method is to measure the entire height of the room and multiply it by the total perimeter of the walls. Then, subtract the total area of windows and doors. This is especially effective for rooms with consistent ceiling heights. However, for rooms with varying ceiling heights or complex features, measuring each wall individually remains the best approach. For tips on handling tricky areas after measuring, check out this guide on how to master removable wallpaper application.
These room-by-room techniques, combined with a thorough wallpaper measuring guide, pave the way for a smooth wallpapering project. This careful preparation will ultimately save you time, money, and potential frustration.
Calculating Quantities: The Formula That Never Fails
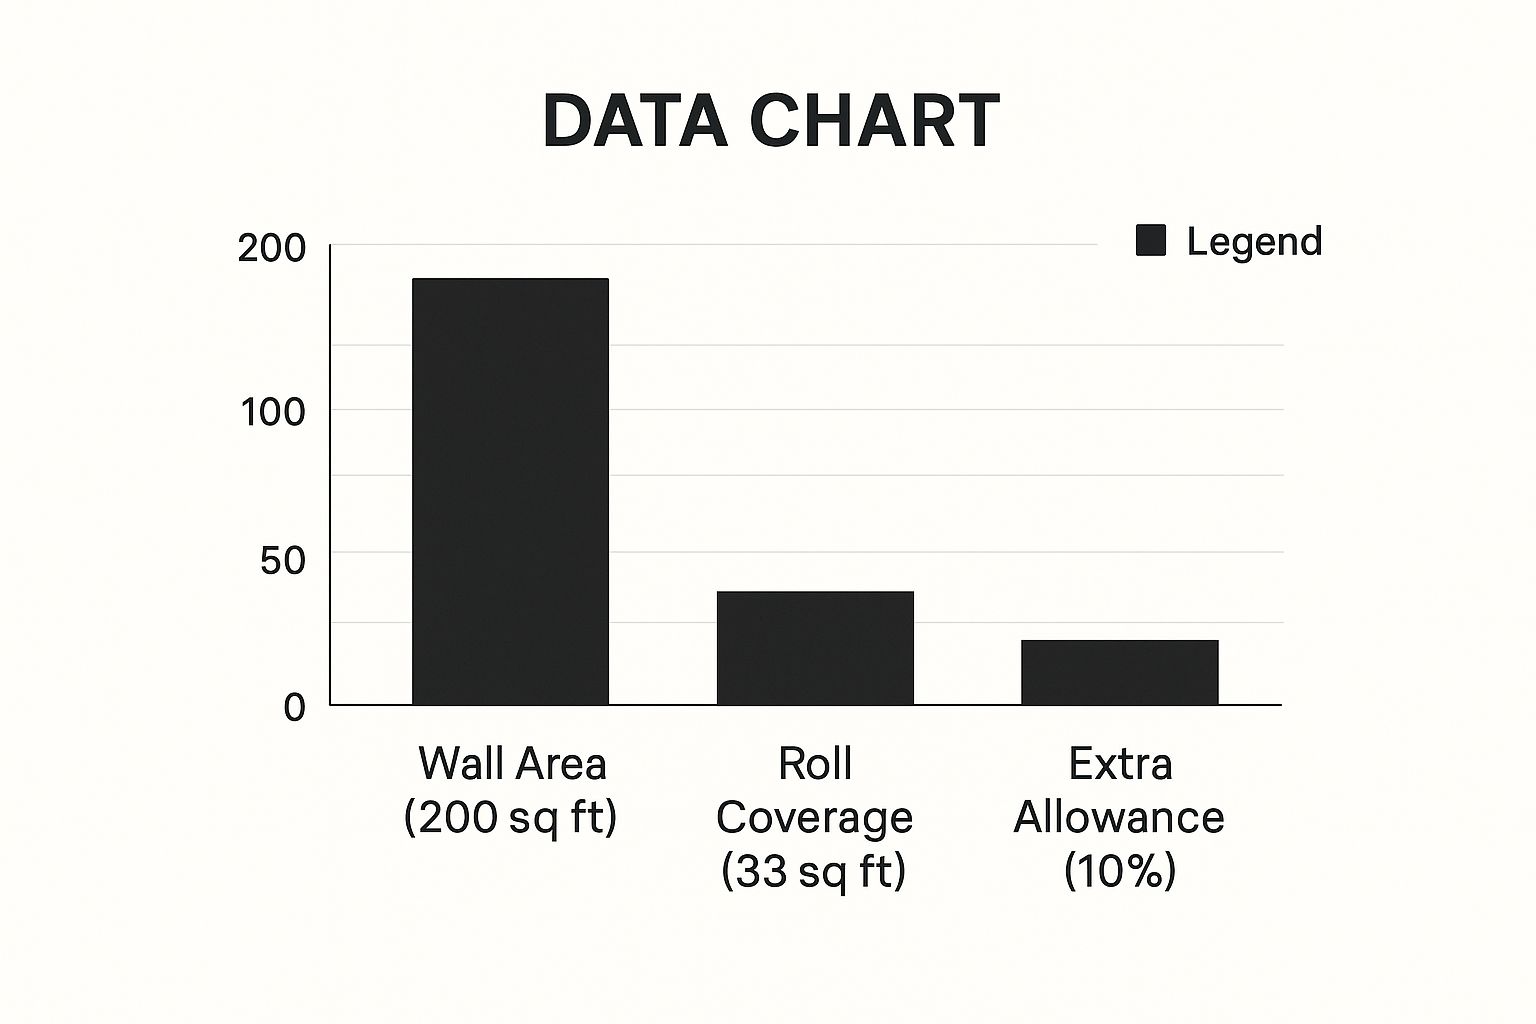
This infographic gives you a simple visual guide to calculating wallpaper needs. It uses a wall area of 200 sq ft, roll coverage of 33 sq ft, and a 10% extra allowance. Notice how even with generous roll coverage, adding extra is key.
This extra material covers pattern matching and any little mishaps during installation. It makes sure you don't run short mid-project.
Now that you’ve measured your rooms, let’s figure out how many rolls you need. It’s more than just dividing wall area by roll coverage. You also need to consider how pattern repeats and room features affect the amount of wallpaper you'll use. This is a crucial step in planning your wallpaper project.
Determining Your Wallpaper Needs Based on NZ Dimensions
Standard wallpaper rolls in New Zealand typically cover about 5.2 square meters. But don't just divide your wall area by 5.2! Pattern repeats greatly affect how much wallpaper you need. A large, intricate design needs more rolls for proper alignment because you'll have more waste when matching the pattern. When measuring a room for wallpaper, it's often helpful to have a guide for measuring other elements like cabinets. A helpful example can be found in this guide on measuring kitchen cabinets.
The Importance of the Contingency Factor
Professional installers always add a contingency factor. This extra percentage, usually between 5% and 10%, covers unexpected issues. Think pattern mismatches, tricky corners in older Kiwi homes, or small measurement errors. It’s like insurance against running out of wallpaper halfway through.
Practical Examples: From Wellington Apartments to Auckland Bungalows
Imagine two scenarios: a small Wellington apartment and a spacious Auckland bungalow. The apartment, with a potentially smaller, simpler layout, might need fewer rolls and a lower contingency. The bungalow, possibly with larger rooms and more complex architectural details, likely needs more rolls and a higher contingency.
Optimizing Pattern Placement for Minimal Waste
Smart pattern placement minimizes waste. Centering a main motif on a feature wall and working outward is often more efficient than starting in a corner. This helps you use each roll effectively and reduce offcuts. Thinking about pattern flow around windows and doors also minimizes waste and creates a more cohesive final look.
This careful planning is especially important for larger, repeating patterns, currently very popular in New Zealand interiors.
To help you estimate your wallpaper needs, we've created a handy reference chart:
Wallpaper Calculation Reference Chart Quick reference guide for calculating wallpaper quantities based on room dimensions and pattern types
| Room Size (m²) | Wall Height (m) | Pattern Type | Estimated Rolls Needed | Waste Factor (%) |
|---|---|---|---|---|
| 10 | 2.4 | Small, simple | 5 | 5 |
| 15 | 2.4 | Medium, repeating | 7 | 7 |
| 20 | 2.7 | Large, complex | 10 | 10 |
| 25 | 2.7 | Small, simple | 12 | 5 |
| 30 | 3 | Medium, repeating | 16 | 7 |
This chart provides a general guideline. Remember to consider specific room features and pattern complexities for a more accurate estimate. Always err on the side of having a bit extra, as it’s better to have a little leftover than to run short in the middle of your project.
Mastering Pattern Matching For Seamless Results
A crucial aspect of wallpapering goes beyond simply measuring. It's about understanding pattern matching, the key differentiator between a professional look and a DIY mishap. Different patterns require different approaches to measuring and installation. Mastering this skill ensures a seamless, visually appealing result.
Decoding the Secrets of Wallpaper Patterns
Wallpaper manufacturers often provide pattern information, but it’s rarely explained clearly. A key term is the pattern repeat: the vertical distance before the pattern repeats. You'll find this measurement on the wallpaper roll label. Knowing the pattern repeat is vital for calculating how much wallpaper you need, especially for large-scale designs gaining popularity in contemporary New Zealand interiors. You might be interested in: How to master custom fabric printing.
Visualizing Your Wallpaper Before You Buy
Visualizing the pattern flow across your walls is crucial before purchasing wallpaper. Sketch a room diagram, marking windows and doors. Using the pattern repeat, map out how the design will fall on each wall. This pre-planning prevents costly misalignments and material shortages later.
Strategic Starting Points and Seam Management
Choosing the right starting point is also important. For some patterns, starting in the center of a feature wall and working outwards is more effective than starting in a corner. This minimizes visible seams and showcases the pattern. For complex patterns, a slightly larger overlap at the seams ensures perfect alignment, although this affects the amount of wallpaper needed.
Export and import dynamics in New Zealand’s wallpaper industry highlight accurate measuring. In 2019, New Zealand’s wallpaper exports to Sweden were only US$682, emphasizing the reliance on imports. Discover more insights about NZ wallpaper exports. This means consistent measuring standards, aligned with international product specifications, are essential for consumers and businesses. With the Australasian wallpaper market projected to grow at a CAGR of 4.47% until 2033, accurate measuring becomes even more crucial for efficient material use and customer satisfaction.
Tackling Tricky Patterns with Large Repeats
Large-scale patterns, while visually striking, can be challenging. They often require careful planning and potentially more material due to the longer repeat. However, with forethought and understanding of the repeat, you can achieve stunning results. One strategy is dry-fitting: placing the first few strips without adhesive. This allows adjustments and minimizes waste before final placement. This extra step upfront saves potential frustration and expense. By understanding these nuances of pattern matching, you're setting yourself up for a successful project, transforming your space with a professional finish.
Room-Specific Strategies For Challenging Spaces
Different rooms in your home require unique approaches to wallpaper measurement and planning. Whether you're tackling a tricky bathroom in a character villa or a modern open-plan kitchen in Auckland, understanding these room-specific nuances will help you achieve professional results.
High-Moisture Areas: Bathrooms and Kitchens
Bathrooms and kitchens in NZ homes often present specific challenges due to moisture and fixtures. Precise measurements around pipes, taps, and electrical outlets are crucial.
When measuring a wall in your bathroom, carefully note the dimensions of the area above, below, and to the sides of any fixtures. This level of detail will minimize waste and ensure a clean finish.
Additionally, consider using moisture-resistant wallpaper designed for these environments.
Architectural Features: Bay Windows, Chimney Breasts, and Sloped Ceilings
Many Kiwi homes boast unique architectural features that require specialized measuring techniques. Bay windows can be tackled by measuring each section as a separate wall, remembering to account for the angles.
Chimney breasts require careful measuring around the protruding structure, noting both the width and depth. Sloped ceilings, a common feature in converted villa attics, are best measured by dividing the wall into manageable rectangular sections.
Visualize how the wallpaper pattern will flow across these angled surfaces to ensure proper alignment and minimize awkward cuts.
Feature Walls and Statement Ceilings: Maximizing Visual Impact
Feature walls and statement ceilings are popular trends in New Zealand interiors. However, they demand precise measurements to achieve their full impact. Before measuring, consider which wall will best showcase your chosen wallpaper. This strategic approach can maximize visual impact while potentially reducing material costs.
For a feature wall, measure its width and height precisely, ensuring the pattern’s focal point is centered for optimal effect. For a statement ceiling, accurate measurements of the ceiling area are essential, taking into account any light fixtures or ceiling fans.
Practical Tips for Challenging Spaces
-
Detailed Drawings: Create detailed sketches of each wall, marking the location and dimensions of every window, door, and architectural feature. This is your wallpapering blueprint and will be invaluable during installation.
-
Extra Material: Always add a 10% contingency to your wallpaper calculations, especially when dealing with complex patterns or challenging spaces. This extra material provides a buffer for miscalculations or matching issues.
-
Sample Testing: Before committing to a full installation, test a small piece of wallpaper in the chosen area. This allows you to check the pattern alignment and color in the specific light conditions of the room. This is especially useful in bathrooms and kitchens where lighting can significantly impact the wallpaper's appearance. This pre-emptive measure ensures you're happy with the final look.
Avoiding Costly Mistakes: Pro Tips That Save Thousands
Careful measuring is essential for a successful wallpaper project. Even small inaccuracies can turn into expensive problems later on. This section, drawn from conversations with seasoned New Zealand installers, highlights common measuring pitfalls and how to avoid them.
Common Measuring Mistakes and How to Avoid Them
-
Not Accounting for Pattern Repeats: A large pattern repeat requires significantly more wallpaper than a smaller one. Overlooking this detail often leads to under-ordering and mismatched patterns. Always check the pattern repeat on the roll label and include it in your calculations.
-
Ignoring Architectural Features: Windows, doors, fireplaces, and built-in cupboards all reduce the total wallpaper area you need. Carefully measure around these features – a detailed wall map can be incredibly helpful. Forgetting these elements often results in over-ordering and wasted wallpaper.
-
Inaccurate Measuring Tools: A flimsy tape measure can stretch, causing inaccurate readings. Invest in a quality metal tape measure or consider a laser measure for increased precision.
-
Not Double-Checking: Mistakes happen. Always double-check all measurements before ordering. A second look can often catch errors that could cost hundreds of dollars in wasted material.
Verification Techniques Professionals Use
Professional decorators don’t just measure once; they verify. One common technique is the "measure twice, cut once" principle. This simple rule helps minimize errors. Another technique involves independent verification. Having a second person check your measurements provides an additional layer of accuracy, especially in larger, more complex spaces.
Troubleshooting Measurement Discrepancies in Older NZ Homes
Older New Zealand homes, especially villas and bungalows, often have settlement issues that result in uneven walls and floors. This can create discrepancies between your measurements and the actual amount of wallpaper needed. When measuring, consider the largest dimension to accommodate these discrepancies, as they will be more apparent with wallpaper.
Pre-Purchase Checklist for Wallpaper Projects
To avoid costly mistakes, follow this checklist before purchasing wallpaper:
- Accurate Room Dimensions: Measure every wall, accounting for windows, doors, and architectural features.
- Pattern Repeat: Note the pattern repeat listed on the wallpaper roll label.
- Roll Width and Length: Verify the roll dimensions, as these can vary between brands.
- Contingency Factor: Add 5-10% extra to your calculations for trimming, matching, and unforeseen issues.
- Batch Numbers: If ordering multiple rolls, ensure they have the same batch number to guarantee consistent color.
By following these guidelines, you're not just wallpapering a room; you're making a smart investment. Thorough measuring is essential for transforming your vision into a reality. Remember, careful planning leads to beautiful, cost-effective results.
Transform your home with Maak Home's stunning range of custom-designed and sustainably produced wallpaper. Visit Maak Home today and explore the possibilities!


