


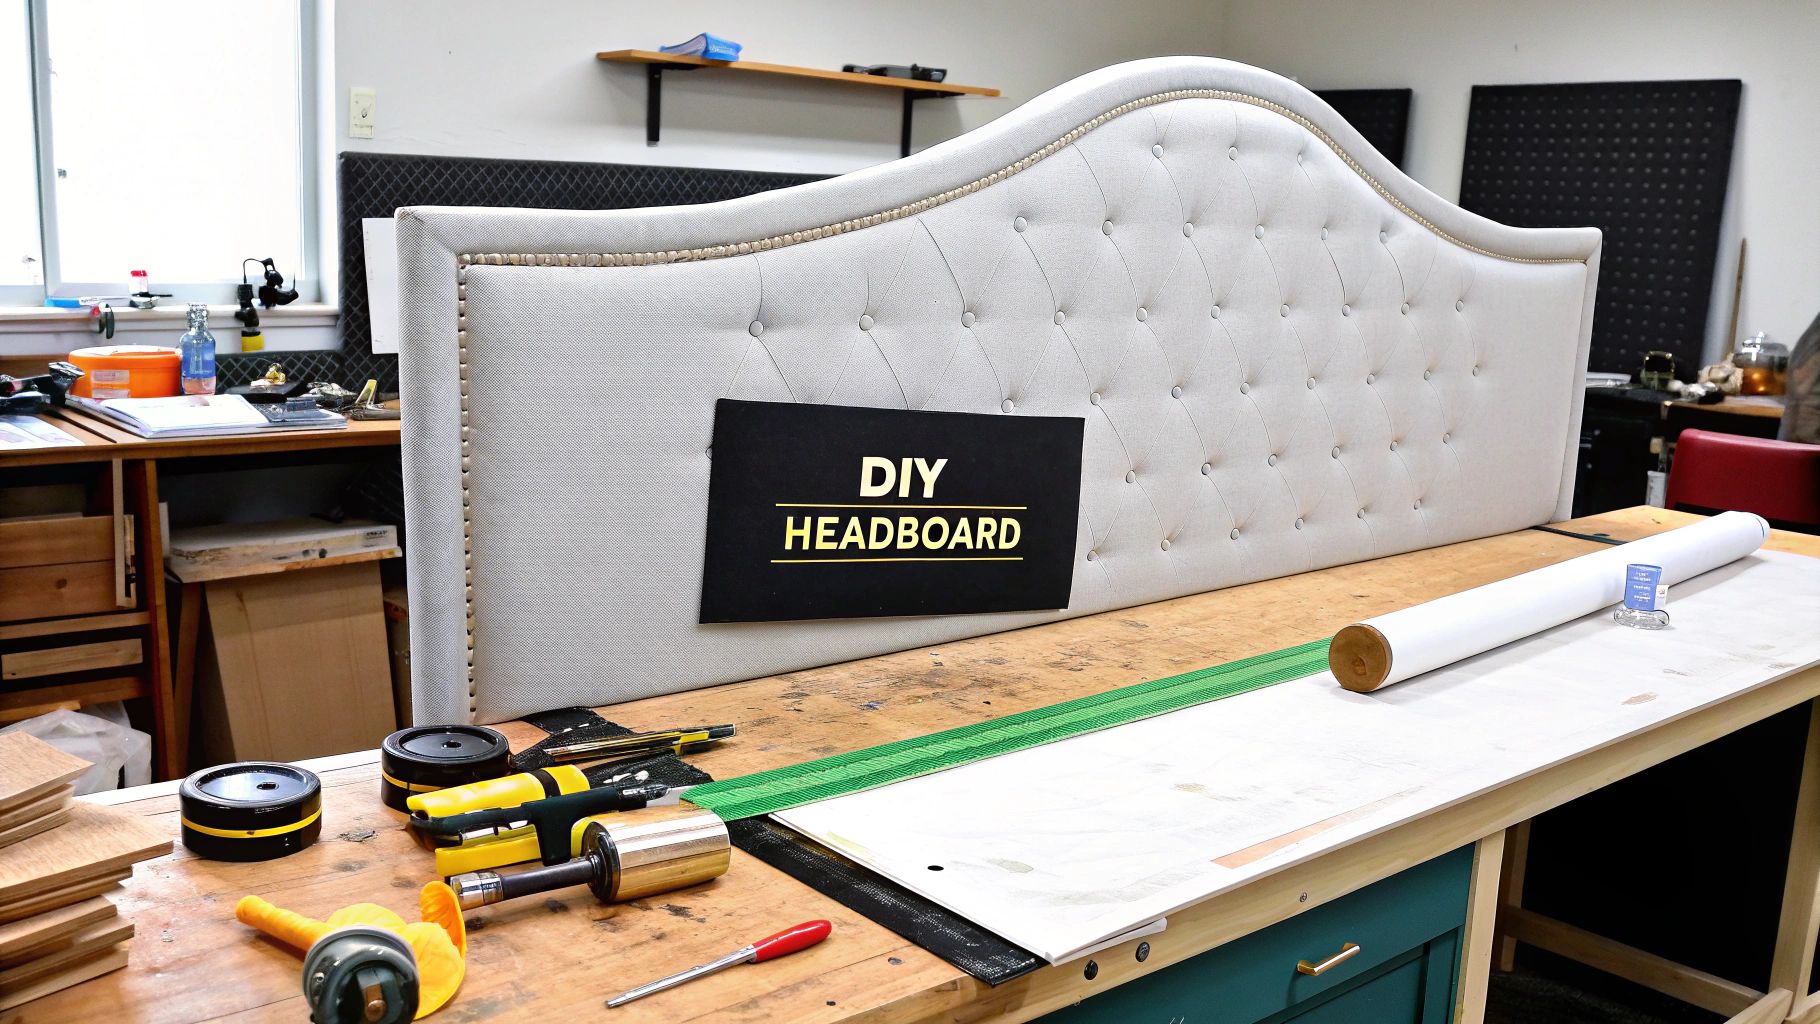
How To Make A Fabric Headboard: Your Complete DIY Guide
Planning Your Perfect Headboard Project
Thinking about making your own fabric headboard? That's a fantastic idea for giving your bedroom a unique, personal stamp! But before you dive in, remember that a little bit of prep work goes a long way, as rushing can mean unhappy accidents and wasted materials. Good planning is really the secret ingredient here, making sure you end up with a headboard you absolutely love.
Measuring Up and Visualising
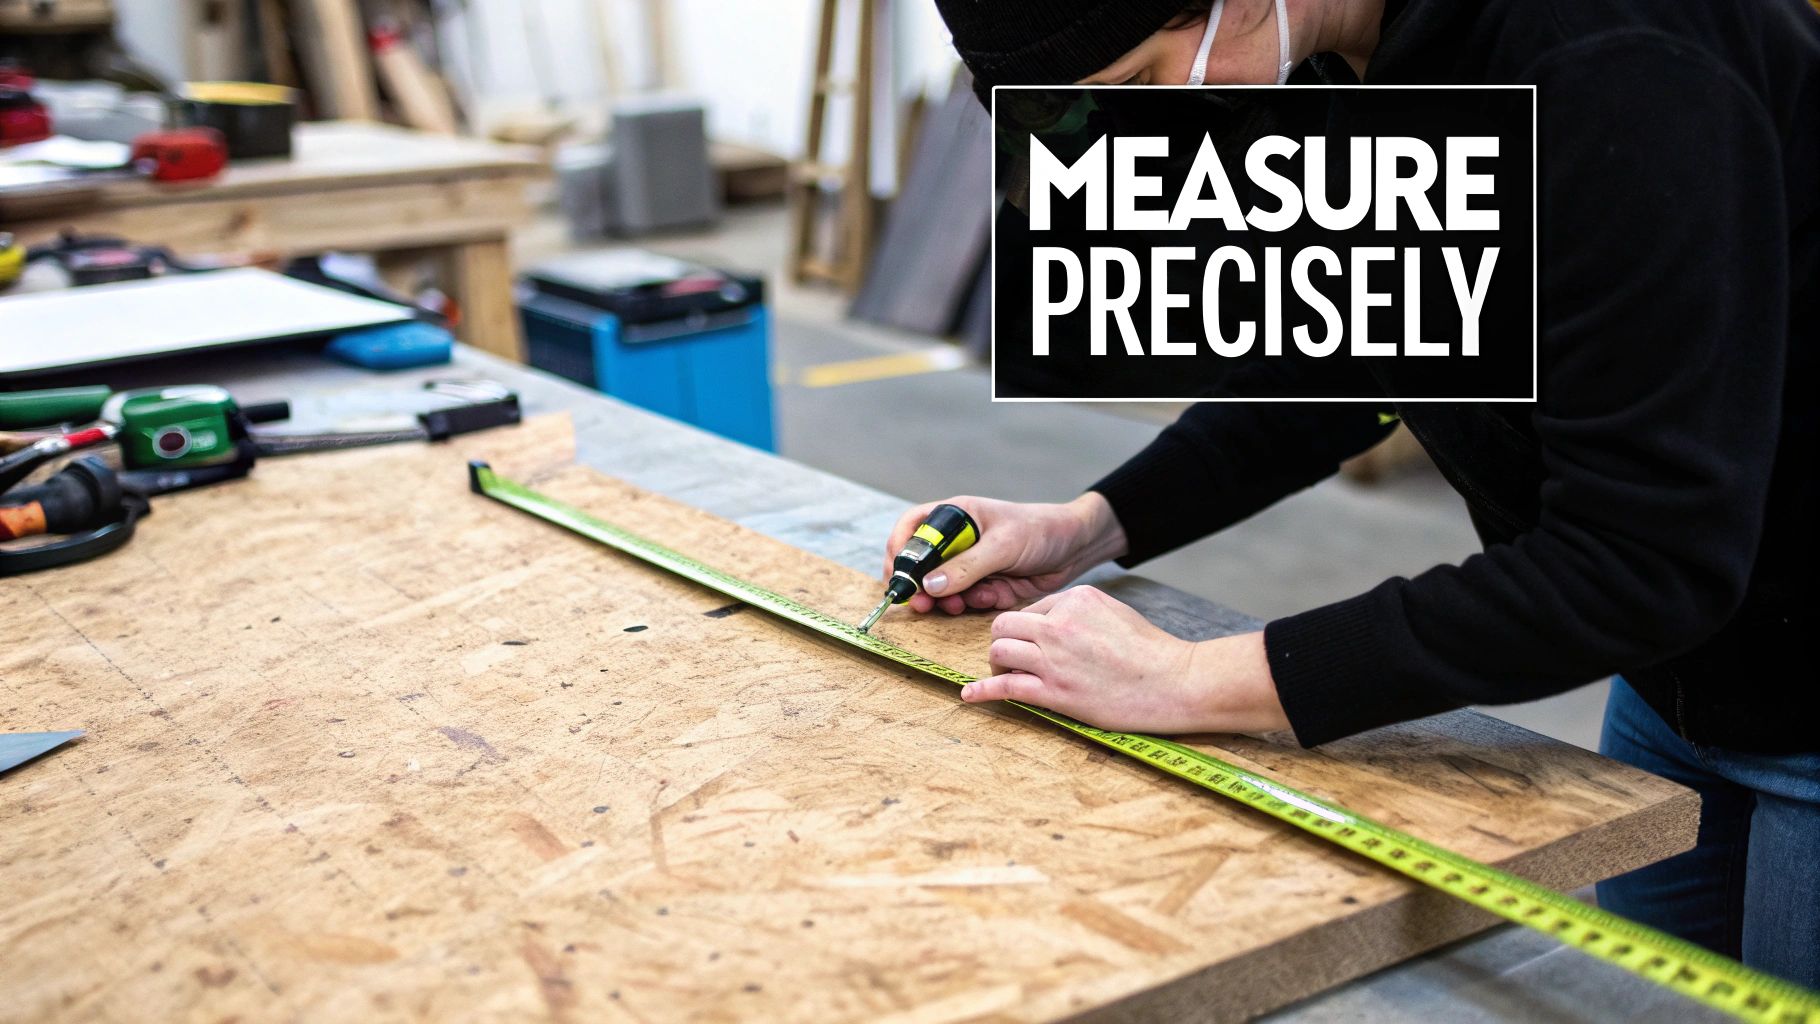
First things first, let's talk measurements. Getting these right is super important when you're figuring out how to make a fabric headboard. Think beyond just your bed’s width; consider how high you want the headboard to be and how it will fit with the overall feel and proportions of your room. A cool tip is to use painter's tape on your wall to sketch out the headboard's size, which helps you see how it'll look before you even touch your fabric.
This initial visualization step helps make sure your headboard becomes a real feature in your room, not just something added on. A headboard that’s the right size and scale can really tie the whole room's look together, making all your hard work feel even more rewarding.
Style, Skills, and What’s Achievable
Once you've got your dimensions sorted, it's time to think about the style that fits your space and, importantly, your current DIY comfort zone. There’s a whole range of options, from simple, modern rectangular designs that are great for those new to DIY, to more detailed styles like winged or tufted headboards.
- Minimalist Modern: These often feature clean lines and straightforward construction, making them a good pick for a quick, stylish update.
- Classic Traditional: This style might involve curves, detailed piping, or buttoning, which usually calls for a bit more precision and patience.
Being honest with yourself about your current skill set will help you pick techniques that are a fun challenge but still doable. This way, the process of making your fabric headboard stays enjoyable from beginning to end, instead of turning into a headache.
Budgeting, Timeline, and Your Workspace
Setting a realistic budget is a must; don't forget to account for all the bits and pieces like wood, foam, your chosen fabric, staples, and even tool hire if you don't own everything you need. Kiwis definitely love their home projects! It's interesting to note that the wider furniture market in New Zealand, which includes things like stylish fabric headboards, is projected to bring in around US$1.99 billion in revenue in 2025. You can read more about New Zealand's furniture market trends here.
Also, give yourself plenty of time for the project, particularly if you're trying out new skills, so you don’t feel pressured. Having a dedicated, well-lit spot where you can lay out all your materials will also make putting it all together much easier. Nailing down these details in your plan is what will turn your headboard dream into a beautiful, real-life piece, and save you from those 'oops' moments and extra costs.
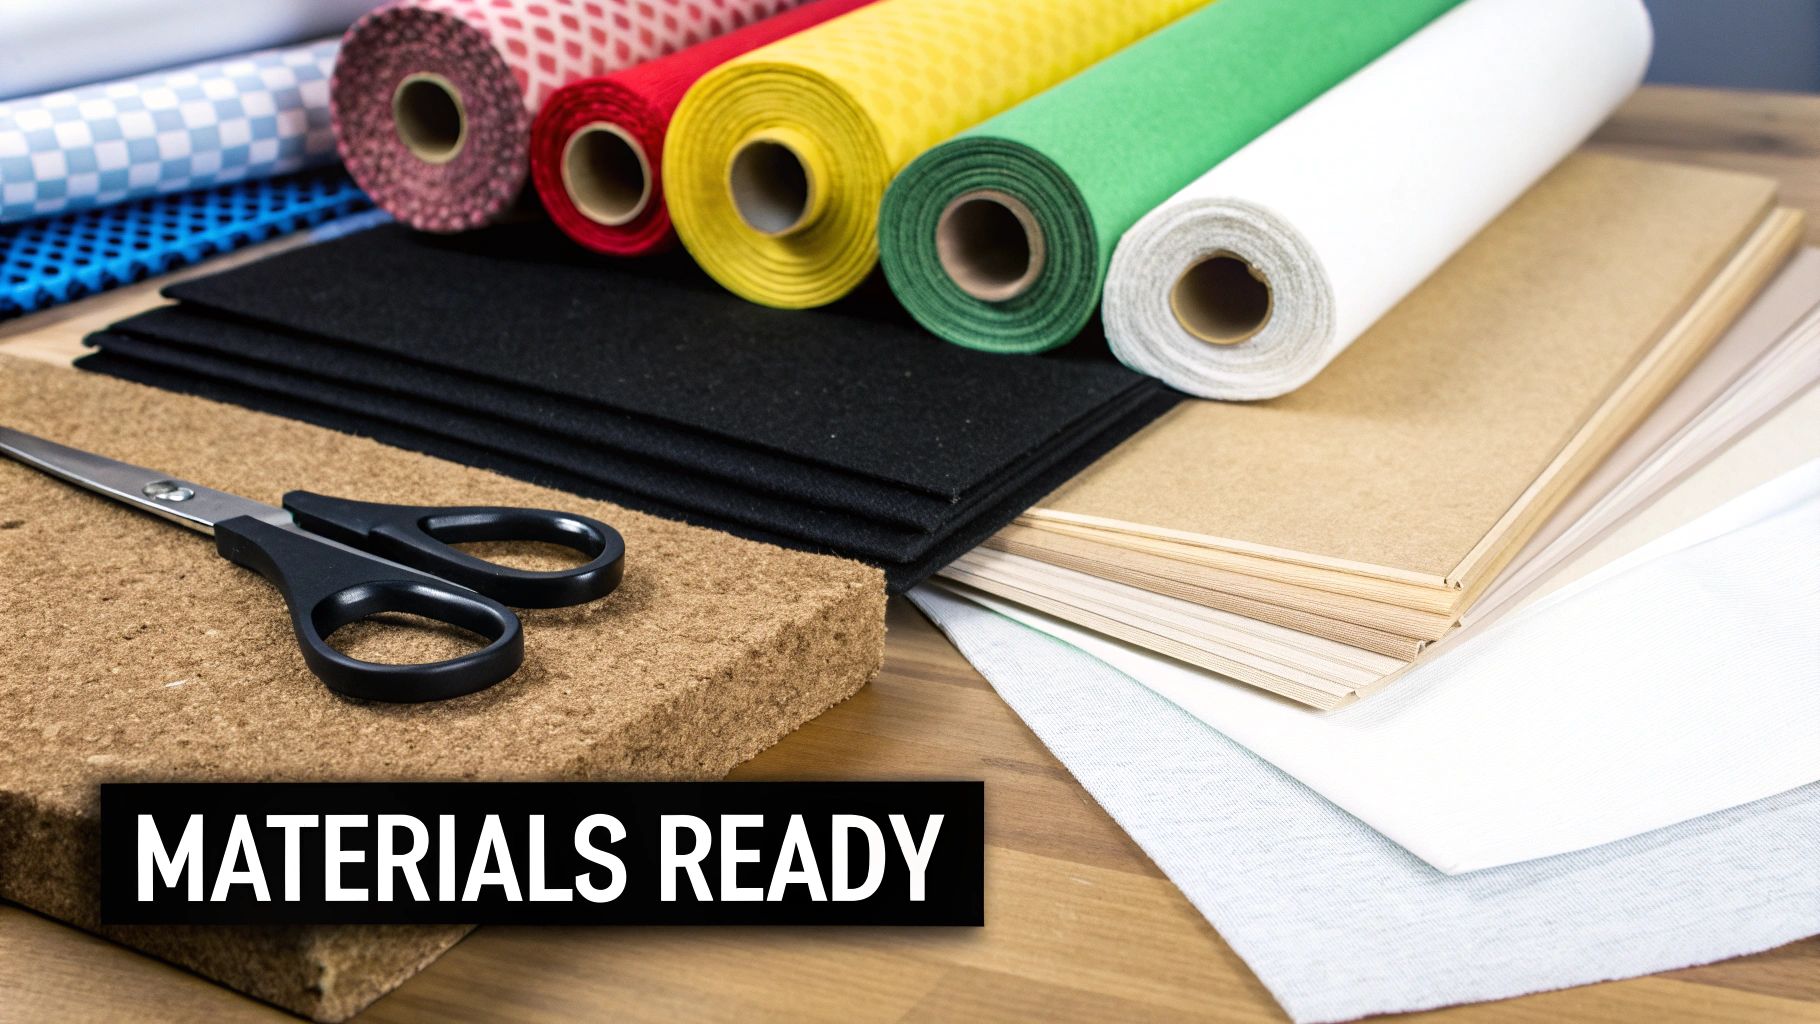
Choosing Materials That Actually Work
So, you've got your grand vision for a new headboard all mapped out. Fantastic! Now, let's get down to the nitty-gritty: what you'll actually use to build it. Choosing the right materials is absolutely key when learning how to make a fabric headboard that looks professionally crafted, not like a weekend project gone slightly awry. The quality of each component really does shape the final look and feel.
Understanding Your Core Components: Wood, Foam, and Batting
The very backbone of your headboard project is the wood base. It provides the structure and support for everything else. Here in New Zealand, some popular options include:
- Plywood: This is a common favourite because it’s strong and relatively easy on the wallet. It’s great for holding staples securely and you can find it in various thicknesses.
- MDF (Medium-Density Fibreboard): While MDF is heavier than plywood and offers a super smooth surface, it doesn't grip screws or staples quite as firmly. It can also be susceptible to water damage if it’s not properly sealed.
- Solid Wood: For ultimate durability, solid timber is an option, though it's usually pricier and heavier. Since your headboard will be covered in fabric, the wood's visual appeal is hidden, often making plywood a more practical and economical choice.
Next up, let's consider the foam padding. This isn't an area where you want to cut corners! The foam density directly influences how comfortable your headboard will be and how well it keeps its shape over the years. A higher density foam will offer better support and last longer, helping you avoid that saggy, worn-out look.
And for that polished, slightly rounded edge you see on headboards in fancy shops? That’s where batting comes in. You’ll wrap this over the foam before adding your fabric. Batting softens the edges, helps the fabric lie smoothly, and cleverly conceals any minor bumps or imperfections in the foam layer underneath. It's a small detail that makes a huge difference to the overall finish.
To help you weigh your options for these foundational elements, here’s a quick comparison:
Essential Materials Comparison Chart Compare different material options for wood base, foam padding, and fabric types with pros, cons, and estimated costs.
| Material Type | Pros | Cons | Estimated Cost (NZD) | Best For |
|---|---|---|---|---|
| Wood Base: Plywood | Strong, holds staples well, various thicknesses, relatively affordable | Surface not as inherently smooth as MDF (though covered) | Generally Affordable | Sturdy, budget-friendly headboard frames |
| Wood Base: MDF | Very smooth surface | Heavier, doesn't hold fixings as well as plywood, susceptible to water damage if not sealed | Mid-Range | Projects where an ultra-smooth substrate is desired (though covered) |
| Wood Base: Solid Wood | Maximum durability | More expensive, heavier, visual appeal hidden by fabric | Higher Cost | Ultimate durability, if budget and weight aren't primary constraints |
| Padding: High-Density Foam | Long-lasting, excellent support, prevents sagging, enhances comfort | Can be more expensive than lower-density alternatives | Varies (Higher for better density) | Comfort, longevity, maintaining a plush and supportive headboard shape |
| Fabric: Cotton | Robust, breathable, wide variety of patterns/colors, often affordable | Can stain, may wear faster than some synthetics unless heavy-duty | Varies Widely | Versatility, natural feel, broad design options |
| Fabric: Linen | Strong, durable, elegant natural look, breathable | Can wrinkle easily, may be more expensive | Varies (Often Mid to Higher) | Chic, sophisticated, and natural aesthetics |
| Fabric: Velvet | Luxurious texture and appearance, rich color depth | Can be more delicate, may attract dust/pet hair, requires careful cleaning | Varies (Often Mid to Higher) | Creating a statement piece, adding a touch of opulence |
| Fabric: Synthetic Blends | Hard-wearing, often stain-resistant, easy to clean, budget-friendly | May not feel as luxurious as natural fibers, less breathable | Varies (Often Lower to Mid) | High-use areas, practicality, durability on a budget |
This chart should give you a clearer picture of how different materials stack up. Remember, the best choice often involves balancing durability, aesthetics, and your budget.
Selecting the Perfect Fabric
The fabric is where your headboard truly expresses your personal style and becomes a centrepiece. But beyond looking good, the textile needs to be durable enough to handle everyday life – think leaning back with a good book or the occasional bump. Look for robust cottons, elegant linens, plush velvets, or even tough synthetic blends designed for upholstery. These materials can withstand regular use and keep your headboard looking great.
If you're keen on making environmentally conscious choices, there are some fantastic green upholstery options out there. You can explore some Top Green Upholstery Material Ideas for Eco-Friendly Furniture for inspiration. Whichever fabric you choose, it’s always a smart move to order a little extra – this can be a lifesaver for pattern matching or if you make a small miscalculation.
Essential Tools and Sourcing Your Supplies
Having the right tools on hand will make your fabric headboard project much smoother and more enjoyable. A good quality staple gun is pretty much essential; whether it's manual or electric, you'll need it to attach the fabric tightly and neatly. Other vital tools include a reliable measuring tape, sharp fabric scissors or a rotary cutter, and possibly a drill, especially if you're planning on tufting or using specific mounting hardware.
Finding these materials in New Zealand is easier than ever. The growth of online shopping has opened up a huge range of options, many of which can be delivered straight to your doorstep. In fact, monthly revenue for the furniture eCommerce sector in NZ hit an impressive US$22 million in April 2025, which was a 5-10% jump from the previous month. This expanding market means more variety and competitive prices for DIY enthusiasts like us. You can Discover more insights about NZ furniture eCommerce trends to see how things are developing. Of course, your local hardware stores and fabric shops are still fantastic places to see and feel materials in person before you buy.
Building Your Headboard Step By Step
Alright, you've gathered your materials and tools – now for the fun part! It's time to get hands-on and watch your fabric headboard idea become a reality. Seeing those separate pieces come together to form a beautiful focal point for your room is incredibly rewarding. Taking it step by step, from the initial measurements to the final touches, will help you achieve a fantastic finish.
Every good fabric headboard starts with a solid and precisely built frame – it’s the backbone of your project. If you're wondering how to make a fabric headboard, getting this first part right is key, as shown in this handy visual.
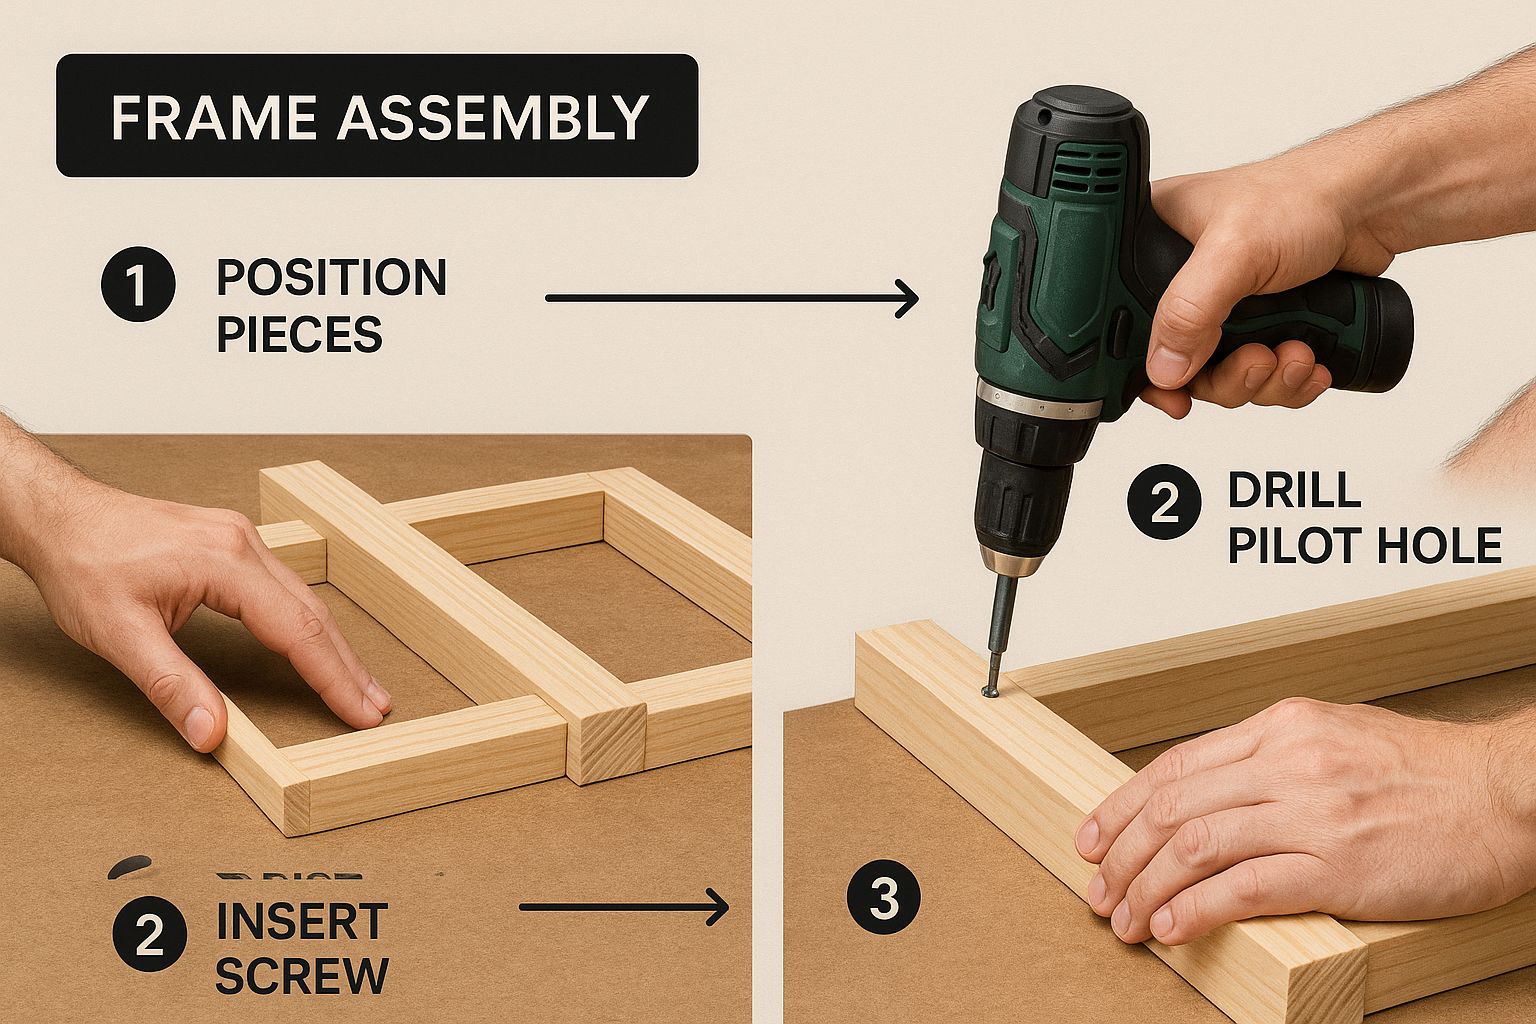 Putting the frame together carefully with the right tools means it will be strong enough for the foam and fabric that come next. A bit of extra attention here stops any wobbles later and makes covering it with fabric a breeze.
Precision Cutting and Frame Assembly
Want that polished, professional look? It all begins with getting your wooden base cut just right. A slip-up here can cause headaches down the line, so whether you're working with plywood or MDF, always double-check your measurements before you pick up the saw.
Using a fine-toothed saw helps keep splintering to a minimum, which is particularly useful for plywood. A quick sand of the cut edges makes them smooth, and this little step stops the fabric from catching or tearing later. Once everything's cut, putting the frame together securely is next; you're aiming for a perfectly square and sturdy foundation for your headboard.
Attaching Foam and Batting for Comfort
Frame assembled? Great! Now it’s time to add the layers that make your headboard comfy and give it that inviting shape. You’ll want to use high-density foam for this, as it holds up well over time and gives good support. A spray adhesive made for upholstery works best to stick the foam to the wood; just make sure to apply it evenly so the foam stays put.
Next up is the batting, which goes over the foam. Don't skip this part, even though some DIYers do! Batting is the secret to a really luxurious look. It softens the foam's sharp edges, hides small bumps, and makes your fabric lie smoothly without any of the foam texture showing through. Pull the batting snug, but not too tight, and staple it onto the back of your frame.
Mastering Fabric Application
This is where the magic really happens – adding your fabric! It's the step that brings out your headboard's character and truly shows off your efforts. Before cutting, spread out your fabric. If it has a pattern or a specific direction (like velvet), double-check that everything is lined up and centered just how you want it on the front.
Always give yourself plenty of extra fabric to work with – at least 10-15 cm on every side is a good rule of thumb. This extra bit makes it easier to pull the fabric tight when you're stapling. Start by putting a few temporary staples in the middle of each side, pulling the fabric snug but not so tight it distorts. Then, work your way out from the center, alternating sides to keep the tension even and prevent any puckers. Aim to place your staples about 2-3 cm apart for a good, strong hold. These fabric skills are pretty handy; if you find you enjoy this, why not check out our Easy DIY Guide on How to Make a Cushion Cover to add more handmade touches to your room?
Corners and any curved edges can seem a bit daunting. Here are a couple of neat ways to tackle them:
- Hospital corners: Think of making a bed with perfectly tucked sheets. This creates sharp, clean edges.
- Pleats or gathers: Make small, tidy folds that either point down or in. This is a smooth way to handle any extra fabric. It’s always a smart move to do a little test run on a spare piece of wood with some leftover fabric. This way, you can figure out which technique you like best and what suits your chosen fabric.
Quality Checks and Troubleshooting
As you build your headboard, make it a habit to stop and check your work often. Catching any little problems early on saves you from bigger fixes later. Every now and then, step back and take a good look from afar. Is the fabric pulled evenly? Can you spot any bumps or dips in the foam that need smoothing out?
Here are a couple of common snags you might run into:
- Loose fabric: If this happens, you’ll likely need to gently take out a few staples, give the fabric another tug, and staple it again.
- Puckering or wrinkles: This can happen if you pull too hard in one area or if your staples aren't evenly spaced. A bit of re-stapling usually sorts it out. Don't let small hitches get you down; most little mistakes in DIY can be fixed with some patience. Making sure each step is done well before you move to the next is the secret to a fabric headboard you'll absolutely love for years to come.
Creating Professional Tufting And Button Details
Now that your headboard fabric is looking smooth and neat, we can move on to the details that truly make a difference. Adding professional tufting and button details is how you take a basic fabric headboard and turn it into something that looks like it came from a high-end store. It might sound fancy, but creating this plush finish is definitely within reach.
Planning Your Tufting Layout
To get that really polished, even appearance for your tufting, good planning is essential. Before you even think about drilling, figure out the pattern you want. Will it be a timeless diamond tuft, a tidy square or grid design, or maybe something more contemporary like a geometric arrangement? Pick one that complements your bedroom's overall vibe.
After you've chosen a pattern, precise marking is absolutely crucial. Grab some fabric chalk and a measuring tape to carefully mark where each button will go on the front of your headboard. Getting the alignment perfect is a hallmark of a well-made piece when you make a fabric headboard. Spending a little extra time here means you won’t end up with lopsided tufts that spoil the look.
The Tufting Process: Step-by-Step
Once your layout is marked out just right, it's time to start the tufting. This part requires attention to detail, but it's what creates those lovely, deep dimples that give a headboard such an elegant look.
Here’s how you do it:
-
Drilling the Holes: You'll need to drill small holes at each marked spot. Make sure these go through all the layers, from the fabric right down to the wooden base. A sharp drill bit is your friend here, as it will make clean holes and stop the fabric from snagging. Drill straight, and make the hole just big enough for your tufting needle.
-
Preparing Your Buttons: To get a really polished look, covering your own buttons with the same fabric as your headboard (or a contrasting one if you prefer) is a great idea. You can find button covering kits at most craft stores throughout New Zealand. Of course, you can also use buttons that are already covered or have a decorative design.
-
Threading and Securing: This is where the actual tufting takes shape. Take a long upholstery needle and some strong upholstery twine (or special buttoning thread). Push the needle from the back of the headboard through one of your drilled holes to the front. Thread your button onto the twine, and then push the needle back through the same hole to the rear of the headboard.
-
Creating the Dimple: Now, pull the twine tight until the button sinks into the fabric, creating the tuft depth you want. It’s really important to keep consistent tension for every button so they all look the same. Secure the twine at the back with a slip knot, a couple of staples from a staple gun, or even a small washer to stop it from pulling back through. Do this for every button, and remember to step back now and then to check that your tufts are looking even.
Choosing Your Buttons and Style
The kind of buttons you pick can really change the whole look of your fabric headboard. If you use self-covered buttons – meaning buttons covered in the same fabric as your headboard – you’ll get a very smooth, coordinated appearance. This often gives a classic and refined feel.
But don’t feel limited to just that! You can definitely explore other button types to show off your personal style. For example, crystal or metallic buttons can add a bit of sparkle or an edgy, industrial vibe. These can look fantastic in bedrooms with modern or art deco themes.
The size of your buttons makes a difference too: bigger buttons will stand out more, while smaller ones create a more understated, gentle texture. It's another way to make your headboard truly your own.
These finishing touches are what truly set your DIY project apart, making it look as good as professionally custom-made furniture. When you get the hang of tufting, you’re doing more than just learning how to make a fabric headboard; you're crafting a unique piece that brings a real sense of luxury and your own personality to your New Zealand bedroom.
Mounting And Installation Made Simple
So, you've finished creating your beautiful fabric headboard! That's fantastic, but there's one more important step: getting it securely on the wall. Proper mounting isn't just about looks; it's about safety and making sure your handiwork stays put.
It's clear that people in New Zealand care a lot about their homes. In fact, the furniture and homeware eCommerce scene, particularly Home & Living, is expected to hit a whopping US$469.8 million by 2025. You can find out more about NZ's booming homeware market trends. With such attention to detail in home spaces, making sure your fabric headboard is installed correctly is a must.
Choosing Your Mounting Method
Figuring out the best way to hang your headboard really comes down to your wall type and if you're looking for something permanent or a bit more adaptable. This is a key part of the process when you're figuring out how to make a fabric headboard that fits perfectly in your room.
Here are a couple of common approaches:
- Permanent Wall-Mounted: If you own your place and want something super sturdy, this is a great choice. It usually means screwing the headboard's frame or some support pieces right into the wall studs for maximum stability.
-
Removable Options: These are perfect if you're renting or just like to switch things up.
- Heavy-duty picture hanging strips: Got a lighter headboard? These can work surprisingly well and are kind to your walls.
- French cleats: This clever system uses two interlocking angled bits (wood or metal). One goes on the wall, the other on your headboard. They slot together for easy hanging and removal, but still offer really solid support.
Locating Wall Studs and Selecting Fasteners
Want your fabric headboard to be really secure? Attaching it to the wall studs is the way to go. These are the vertical wooden beams inside your walls, and they provide the strongest anchor points.
Here’s how to find them and pick the right hardware:
-
Finding Studs:
- The simplest and most precise method is using an electronic stud finder.
- No stud finder? Try the old tap trick: gently knock along the wall. The sound will be hollow until you hit a stud, where it'll become a more solid thud.
-
Choosing Fasteners:
- Once you've marked your studs, the fasteners you'll need depend on your wall.
- For Gib Board (Plasterboard): If you're hitting a stud, standard wood screws of the right length are fine. If you have to mount between studs, make sure to use heavy-duty Gib anchors that can handle your headboard's weight.
- For Brick or Concrete Walls: You'll need something tougher here, like masonry anchors or special concrete screws, along with a drill equipped with a masonry bit.
Achieving the Perfect Height and Balance
The height you choose for your fabric headboard can really change the look and feel of your room. A good rule of thumb is to make sure the main decorative section sits clearly above your stack of pillows.
For that polished, professional look, using a spirit level is absolutely essential. Even a headboard that's just a tiny bit crooked can throw off the whole room. If you're dealing with a heavier headboard, it's also important to spread the weight evenly across all the mounting points. This prevents any one spot from taking too much strain and keeps your headboard stable for the long haul.
Electrical Add-Ons: A Quick Note
Thinking of adding some cool features like built-in reading lights or handy USB ports to your headboard? If so, figure out your wiring plan before you start attaching it to the wall.
When it comes to electrical work, safety is paramount. Especially here in New Zealand, if your headboard design involves any electrical bits, it’s a smart move to chat with a registered electrician. They can make sure everything is safe and up to code.
Final Checks for a Secure Finish
Once your fabric headboard is up on the wall, give it a good, firm (but not too aggressive!) tug. This simple test will confirm that it's securely attached and isn't going anywhere.
This final check is all about peace of mind. It ensures your lovely, handmade fabric headboard is not only safe but will also be a source of pride and comfort for a long time, signaling a job well done!
Keeping Your Headboard Looking Amazing
So, your stunning fabric headboard is in place – wonderful! The next step is keeping it as fresh as day one. Consistent care maintains its beauty and extends its life, letting you enjoy your creation for years, especially in New Zealand. Simple upkeep is truly essential.
Regular attention works wonders. Weekly vacuuming with a soft brush attachment prevents dust buildup. Try to avoid constant, harsh sunlight on the headboard, as this can cause fading, especially in sunny Kiwi homes.
Understanding Your Fabric's Needs
Your headboard's fabric dictates its care. You chose a material you love when learning how to make a fabric headboard; now it's about maintaining it.
- Natural Fibres (like Cotton or Linen): These are breathable but more prone to staining and creasing. Gentle cleaning methods usually work best.
- Synthetic Blends (think Polyester or Microfibre): Generally more durable and stain-resistant, making them practical. Many can handle robust cleaning.
- Delicates (such as Velvet or Silk): These need a very gentle touch. Velvet benefits from light brushing and may need specialist cleaning for deeper stains.
To help, here’s a quick overview of maintenance requirements and care instructions for different fabric types commonly used in headboard construction.
Fabric Care And Maintenance Guide
| Fabric Type | Cleaning Method | Frequency | Special Considerations | Potential Lifespan (with care) |
|---|---|---|---|---|
| Cotton/Linen | Gentle vacuuming, spot clean with mild detergent | Weekly/As needed | Prone to shrinking/water stains if not careful | 5-10 years |
| Polyester/Blends | Vacuuming, spot clean with upholstery cleaner | Weekly/As needed | Generally durable, check manufacturer's instructions | 7-15 years |
| Velvet | Light brushing, vacuum with upholstery nozzle, dry clean for deep stains | Weekly/As needed | Avoid water, crush pile easily | 5-10 years |
This info helps you pick the best care for your fabric.
Tackling Spills and Stains Swiftly
Accidents happen, but act fast to prevent spills from staining your fabric headboard. Always blot, don't rub—rubbing can spread stains and damage fibres. Test cleaners on a hidden spot first. Often, a damp cloth with lukewarm water is enough, especially for resilient fabrics.
Long-Term Protection and Upkeep
A fabric protection spray can offer an extra shield, simplifying cleaning, especially for light fabrics or homes with kids/pets. Fix loose buttons or threads quickly to prevent more damage. Plump compressed padding to keep it looking full. If you love refreshing your bedroom décor, see our article on How to Decorate with Cushions to Transform Your Space.
Many issues are DIY-fixable, but call professional upholstery cleaners for tough stains or a deep refresh. Regular, thoughtful maintenance keeps your custom fabric headboard beautiful for years.
Design Ideas That Make A Statement
Tired of the same old headboard designs? When you learn how to make a fabric headboard, you unlock so many creative avenues. It’s your chance to turn a basic bedroom item into something that’s genuinely you, a real piece of art. Let your creativity lead the way to a design that truly expresses your personal style.
Embrace Trending Design Techniques
If you want your headboard to truly stand out, going beyond a simple solid colour or plain material is key. Think about these popular design approaches to give your project an extra layer of visual appeal:
- Geometric Patterns: You can achieve this with your fabric selection or by piecing together different fabric panels. Imagine striking chevrons, understated diamonds, or even abstract forms that would feel right at home in a contemporary Kiwi bach.
- Mixed Textures: Try blending various fabric feels – perhaps a smooth linen alongside a rich velvet, or a cozy chunky knit next to crisp cotton. This mixed textures approach brings depth and a lovely touchable element to your headboard.
- Strategic Colour Blocking: With strategic colour blocking, you can use two or more fabric shades to mark out clear sections on your headboard. It might be a straightforward horizontal divide or more intricate layouts. This is a brilliant method for incorporating different colours from your room's overall decor. For more inspiration on mixing colours, take a look at our guide on Choosing Colours to Match Your Furniture.
Employing these methods can transform a simple DIY headboard into something quite remarkable.
Elevate with Finishing Touches
It’s often the little things that have the most significant effect. Adding some thoughtful finishing touches can lift your homemade fabric headboard from nice to truly upscale:
- Contrasting Piping: Applied to the edges, using a different colour or fabric, contrasting piping really outlines the headboard's form and gives it a polished, custom-made appearance.
- Decorative Trim: Don't stop at piping; consider braids, tassels, or even a stylish ribbon border for a decorative trim. These additions can bring in extra texture or a matching colour.
- Metallic Nail Head Details: For a hint of timeless grace or a more industrial feel, think about metallic nail head details. You can arrange these in straight lines, curves, or even patterns to define your headboard’s outline or create inner designs.
Experiment with Popular Style Variations
The very shape of your headboard is another area where you can get creative. A rectangle is always a safe and simple bet, but playing with different outlines can create a truly eye-catching centerpiece:
- Wing-back Designs: These bring a feeling of snugness and impressiveness, as wing-back designs curve gently around the top of the bed. They're a tad more challenging to construct but certainly make a bold style impact.
- Curved Silhouettes: Ranging from soft arches to more detailed scalloped edges, curved silhouettes can lend a softer feel to the bedroom, adding a hint of romance or playfulness.
- Asymmetrical Arrangements: If you're aiming for a distinctly modern and artistic flair, an asymmetrical arrangement might be the way to go. This could mean an off-kilter shape or different heights, ideal for an up-to-date room.
Get Creative with Fabric Combinations and Custom Effects
There's no need to stick to a single fabric! Combining fabrics opens up a huge range of options for a personalized appearance. You could create panels using various coordinating prints or textures.
For a more advanced custom touch, you might even try ombré gradients, although this could involve fabric dyeing or very meticulous fabric choices. Making textural differences, like placing a coarse weave next to a sleek satin, can introduce a quiet yet effective design feature.
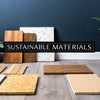
Consider Eco-Friendly Approaches
Creating your own fabric headboard is a great chance to opt for more sustainable materials. Think about using eco-friendly fabrics such as organic cotton, linen, or hemp.
You could also look into upcycled elements. This might mean repurposing fabric from old curtains or garments, provided they're sturdy enough, or even building the frame from reclaimed wood. This method lessens your environmental footprint and gives your headboard a special history.
This kind of creative control means you can steer clear of generic, off-the-shelf looks. As you explore how to make a fabric headboard and try out these ideas, you'll be able to build something that truly matches your personal style and highlights your growing DIY talents.
Feeling inspired to find that ideal, one-of-a-kind fabric for your headboard? Check out the custom-printed, sustainable fabric choices available at Maak Home and start making your design a reality.


