


How to Make Throw Pillows: Your Complete DIY Guide

Why Making Your Own Pillows Changes Everything
Let's be honest, we’ve all been there. You're wandering through a home decor store, faced with a wall of throw pillows that are almost right, but not quite. The colour is a bit off, the texture isn't what you had in mind, or the size just won't work on your favourite armchair. Choosing to make your own pillows is about more than just saving money; it’s about reclaiming creative control and finally bringing your exact vision to life.
When you learn how to make your own throw pillows, your entire approach to decorating shifts. You go from simply buying things to actively creating them. Imagine finding a piece of fabric that perfectly pulls out the subtle blues and golds from a painting on your wall, or designing a long, lumbar pillow specifically for your bed. That's a feeling of satisfaction you just can't get from an off-the-shelf purchase.
The Real Value of Handmade
Beyond the simple joy of creating, there are some very practical reasons why this is such a rewarding craft. Let's talk about the cost. For the price of one high-end designer pillow, you can often make two or three of your own, without skimping on quality. It's not just a budget-friendly move; it’s a smart way to fill your home with personality.
This appreciation for custom decor is really taking off here in New Zealand. Homeowners are now spending around 5-7% of their furnishing budget on decorative textiles like cushions. This shows a growing desire for homes that feel authentic and one-of-a-kind.
More Than Just a Craft
Making something with your own two hands is a fantastic creative outlet that results in something both beautiful and functional. It connects you to a long history of textile arts and turns a simple room refresh into a genuinely meaningful project. These handmade pillows carry more value than any mass-produced item ever could.
They aren't just cushions; they are stories you've stitched directly into your home. You're not just decorating a room; you're curating a space that truly reflects who you are. Every pillow becomes a personal touch, a splash of colour and comfort that you personally brought to life.
Choosing Fabrics That Actually Last
Here’s where a good DIY pillow project can go sideways. It's easy to fall for a gorgeous, delicate print at the fabric shop, only to find it can't handle real life—think kids, pets, or just being squashed during a movie marathon. When learning how to make throw pillows that are built to last, the fabric you choose is absolutely critical. It's all about finding that sweet spot between a look you love and fabric that performs.
Fabric Weight and Durability
First things first, think about where your new pillow is going to live. A purely decorative pillow on a neatly made guest bed has a much easier life than one destined for the family sofa.
For pillows in high-traffic areas, you’ll want to look at upholstery-grade fabrics. Things like heavyweight cotton canvas, denim, twill, or even a sturdy corduroy are perfect. These materials have a tight weave and a good bit of weight to them, helping them keep their shape and stand up to wear and tear. They give you those nice, crisp corners and a plump, professional finish.
On the other hand, for low-traffic and decorative pillows in a bedroom or on a formal chair, you have more freedom. Lighter options like quilting cottons can work, but they are often a bit thin on their own and might need some interfacing to give them more body. Silks and velvets bring a touch of luxury but remember they need more gentle handling and care.
Climate and Material Choices
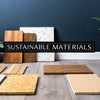
Your local climate makes a difference in what feels good. Heavy wools and plush velvets create a cosy, warm feeling perfect for our cooler months, while breathable fabrics are a blessing in summer. Here in New Zealand, our temperate climate means we naturally lean towards durable, natural textiles. Wool is a classic choice for both covers and fills—it's a great insulator and sustainable, often blended with other fibres to make it even tougher. You can explore the latest trends in the New Zealand throw pillow market to see how local makers are putting these materials to use.
This love for natural materials also explains why linen is such a fantastic choice for pillows. It’s incredibly strong, gets softer every time you wash it, and has a relaxed, chic texture. Because it's so breathable, it’s comfortable all year round.
To help you decide, here's a quick comparison of some popular fabric choices and where they work best.
| Fabric Type | Durability Rating | Care Level | Best Room Use | Cost Range |
|---|---|---|---|---|
| Cotton Canvas | High | Low | Living Rooms, Kids' Rooms, Patios | $ - $$ |
| Linen | High | Medium | Living Rooms, Bedrooms | $$ - $$$ |
| Velvet | Medium | High | Formal Living Rooms, Bedrooms | $$ - $$$ |
| Wool | High | Medium | Living Rooms, Bedrooms (Cosy spaces) | $$$ - $$$$ |
| Quilting Cotton | Low | Low | Decorative only, Guest Rooms | $ |
| Silk | Low | High | Decorative only, Formal Bedrooms | $$$ - $$$$ |
As you can see, a durable fabric like canvas is a practical and budget-friendly choice for a busy family room, whereas silk is best saved for a pillow that's meant to be admired from afar.
No matter what you choose, especially if it's a natural fibre like cotton or linen, pre-washing your fabric is a must. This crucial step prevents your beautiful pillow cover from shrinking in the wash later on, ensuring it always fits its insert perfectly. If you're keen on sustainable options, you can learn more about why linen is a sustainable choice in our detailed guide.
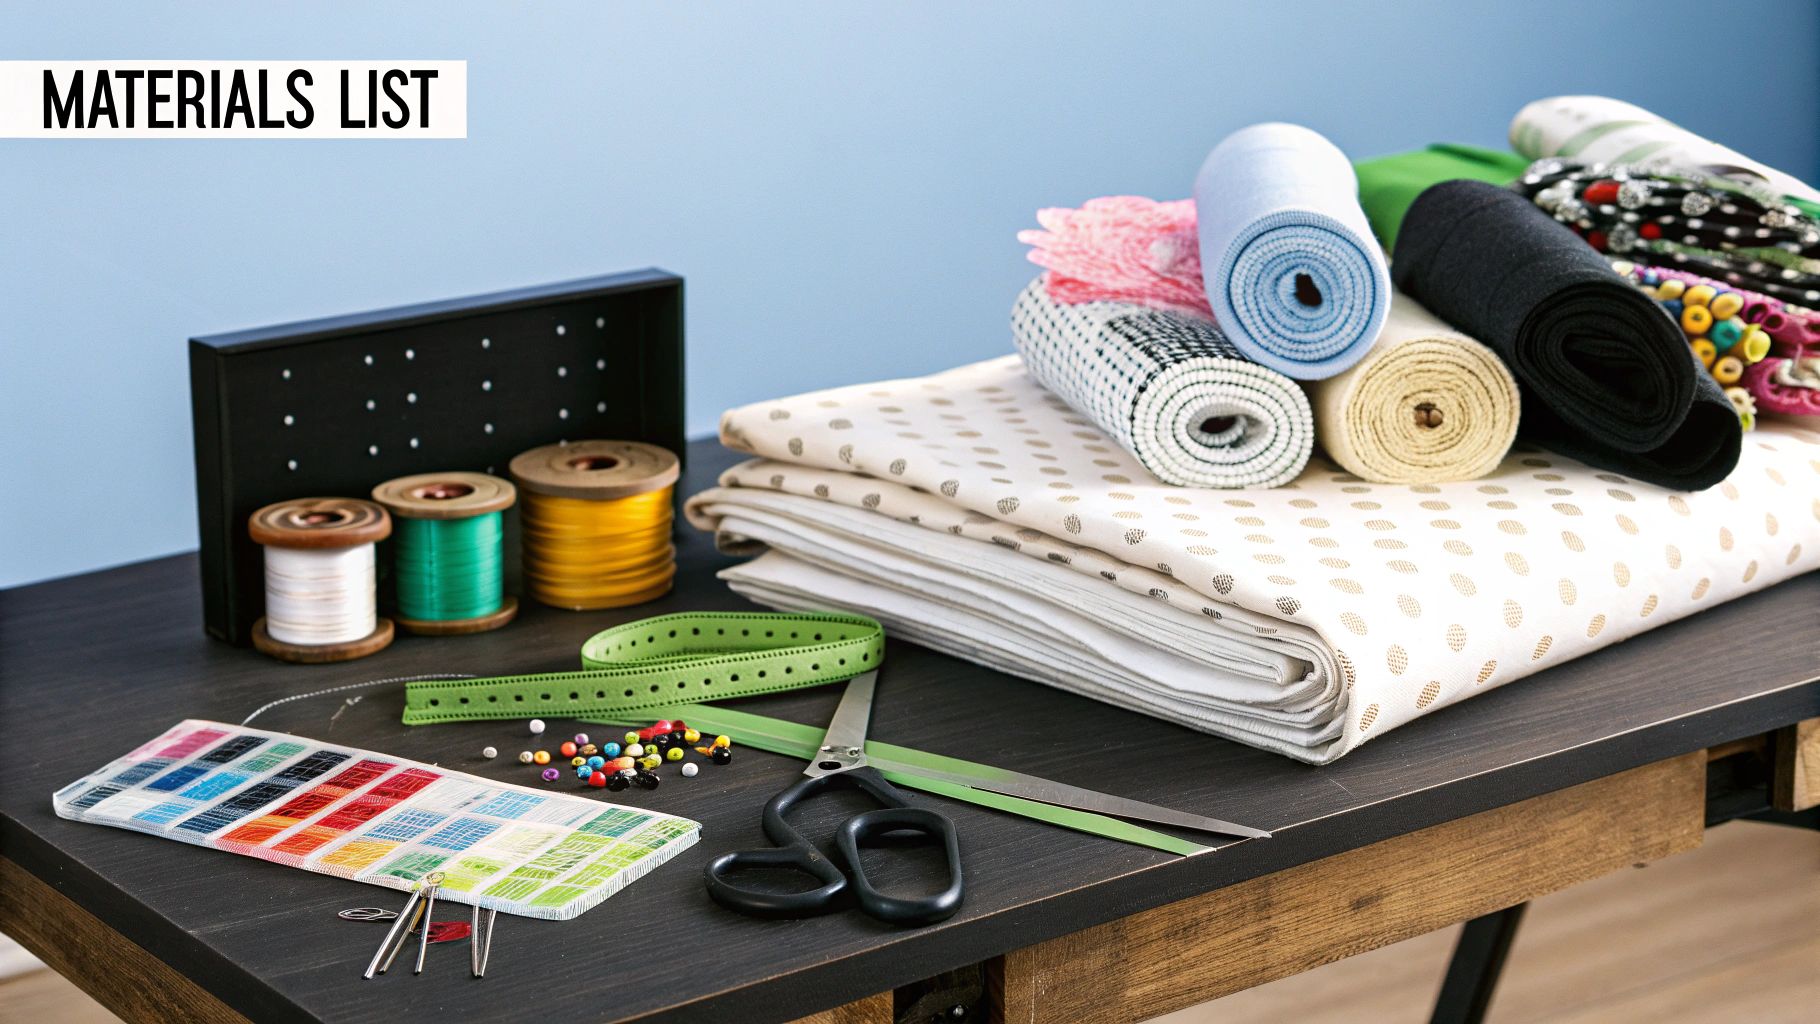
Setting Up Your Workspace for Success
 A fantastic sewing session often comes down to one simple thing: a well-organised workspace. Before you get swept up in the excitement of cutting into your beautiful new fabric, taking a few minutes to set up your area can be the difference between a frustrating mess and a project that comes together like a dream. It's a key part of learning how to make throw pillows that look truly polished.
Your Essential Toolkit
You don't need a massive studio space, but a few core tools are absolute must-haves. While you can skip the top-of-the-line models, a reliable sewing machine with a straight stitch and a reverse function is essential. For making pillows, I'd also highly recommend getting a zipper foot attachment, which is useful even if you're starting with simple envelope-back designs.
Next up, your cutting tools will become your best friends. A sharp pair of fabric shears that you use only for fabric will give you crisp, clean edges that are much easier to sew. For perfectly straight lines, many sewers, myself included, swear by a rotary cutter, a self-healing mat, and a clear acrylic ruler. This setup is often much quicker and more accurate than using scissors alone.
Finally, let's talk about the small but mighty items:
- Quality Thread: An all-purpose polyester thread is a great place to start. Try to match it to your fabric colour for a professional-looking finish.
- The Right Needles: For medium-weight fabrics like cotton or linen, a universal needle (size 80/12 is a good all-rounder) works well. If you’re using heavier fabrics like canvas or denim, you'll need a stronger needle, like a 90/14 or 100/16, to prevent it from breaking.
- Glass-Head Pins: These are a game-changer because they won’t melt when you press your seams with a hot iron.
Creating a Functional Space
Your "workspace" can be as simple as your dining room table. The most important thing is having good lighting. Sewing in a dim room is a recipe for eye strain and mistakes. I always position a small task lamp so it shines directly onto my machine’s needle plate.
Try to keep your most-used tools within easy reach to create a smooth workflow. Think about the journey your fabric will take: from the cutting area to an ironing station, and then to your sewing machine. Even in a small flat, you can dedicate a corner to your craft. Using wall-mounted shelves or a small rolling cart helps keep supplies organised and easy to find, stopping your creative project from completely taking over your home.
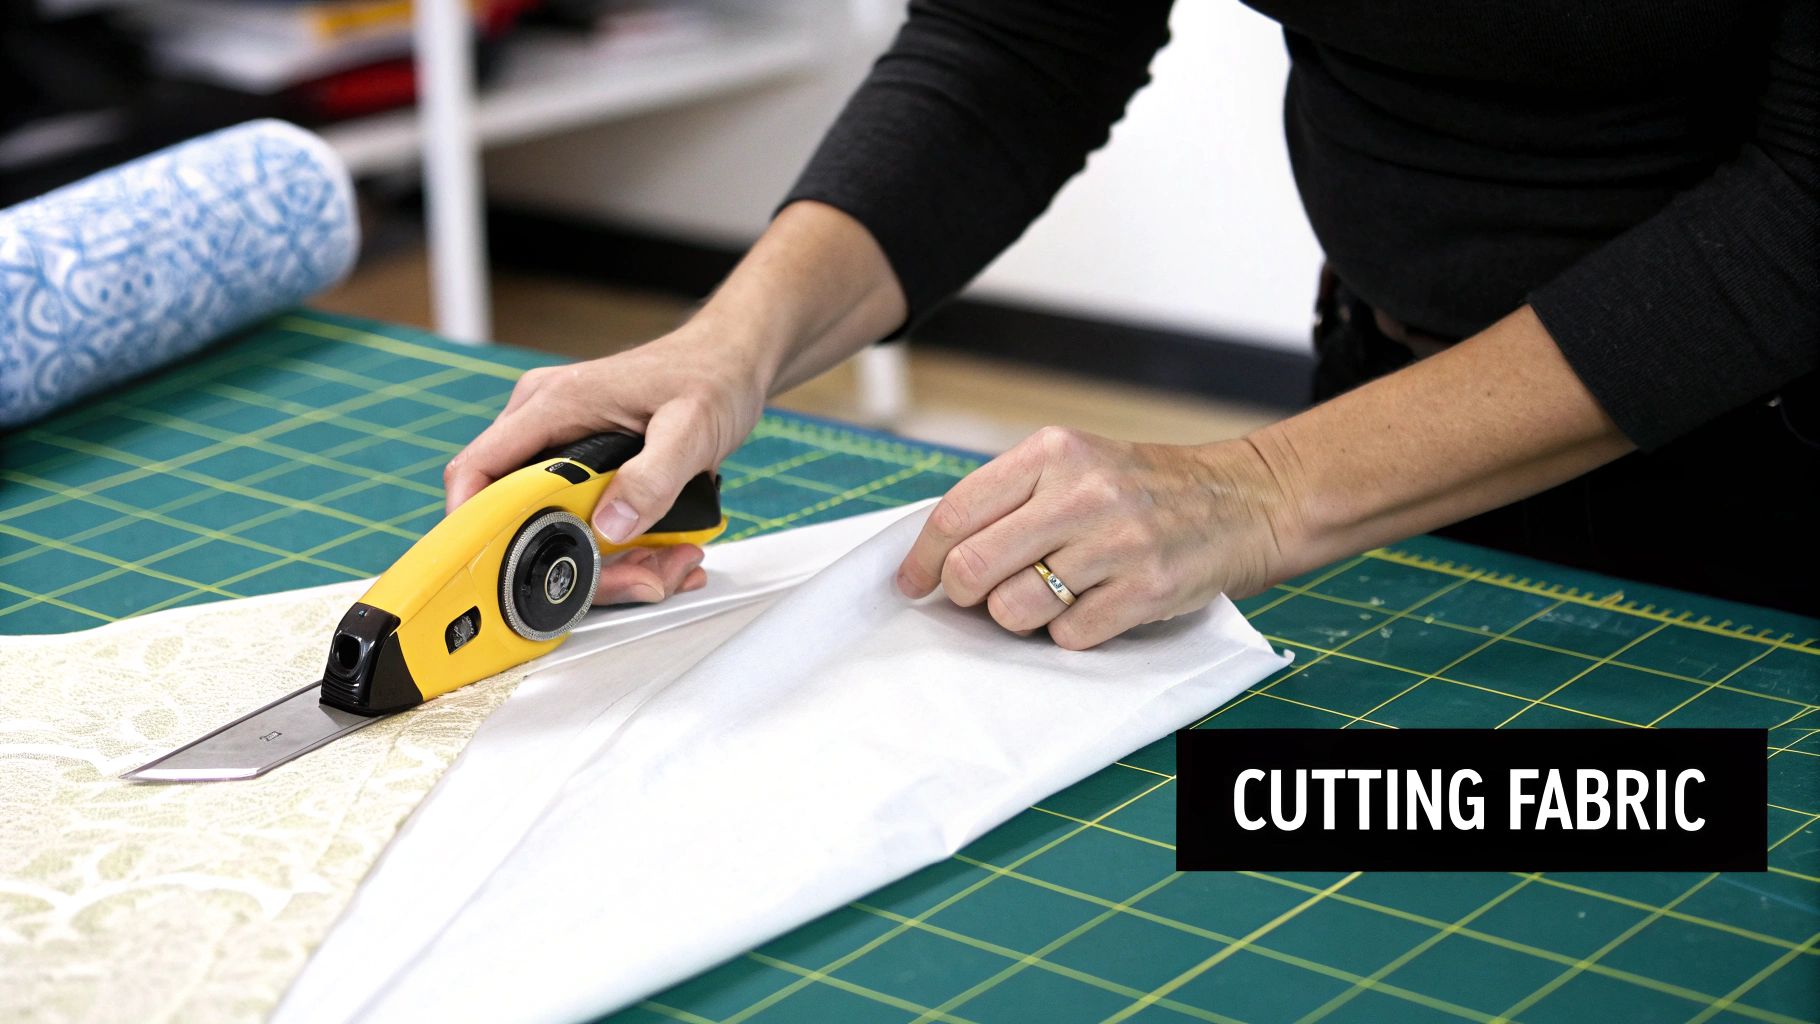
Measuring and Cutting Like a Professional
After you've picked out the perfect fabric, it’s time to move on to the stage where precision is everything. This is where your throw pillow project transforms from a simple idea into something that looks polished and store-bought, not lumpy or misshapen. It all boils down to getting your measurements right and making clean, confident cuts.
Calculating Your Fabric Needs
First things first, let's figure out the finished size of your pillow. It might seem logical to cut your fabric to the exact same size as your pillow insert, but that’s a common rookie mistake. For that really plush, full look, you actually want the cover to be a touch smaller than the insert. A good rule of thumb is to aim for a cover that’s 2.5 to 5 centimetres smaller. So, if you have a 50cm x 50cm insert, you’d want to make a finished cover that’s about 45cm x 45cm.
Now, we need to calculate the actual size of the fabric pieces you'll cut. This involves adding a seam allowance to each side of your finished size. The standard seam allowance for most sewing projects is 1.5cm.
Let's use our 45cm x 45cm cover as an example:
- Front Piece: You'll need to add the seam allowance to all four sides. So, that's 45cm + 1.5cm (top) + 1.5cm (bottom) = 48cm. And 45cm + 1.5cm (left) + 1.5cm (right) = 48cm. This means you’ll cut one 48cm x 48cm square.
- Back Pieces (for an envelope closure): For this style, you’ll cut two rectangles that overlap. They'll have the same width as the front piece (48cm), but each will be about two-thirds of the height, plus a bit extra for a hem. For our 48cm tall pillow, cutting two rectangles of 48cm x 35cm works beautifully and gives a nice, generous overlap to keep the insert tucked in.
A quick tip from experience: if your fabric has a directional pattern, like stripes, a floral design, or a nap like velvet, pay close attention to the orientation. Make sure all your pieces are facing the same way before you cut. There’s nothing worse than realising one side of your finished pillow is upside down or has a different sheen!
Achieving the Perfect Cut
For incredibly straight, professional-looking cuts, nothing beats a rotary cutter, a self-healing mat, and a clear acrylic ruler. This trio gives you far more accuracy and cleaner edges than trying to follow a line with scissors.
When you're marking your cutting lines on the fabric, grab a tool that won't leave a permanent mark. A tailor's chalk pencil or a disappearing ink pen are fantastic choices. And one final, crucial step: always give your fabric a good press with an iron before you even think about measuring. This gets rid of any wrinkles or creases that could throw off your measurements and ensures every piece is perfectly square from the get-go.
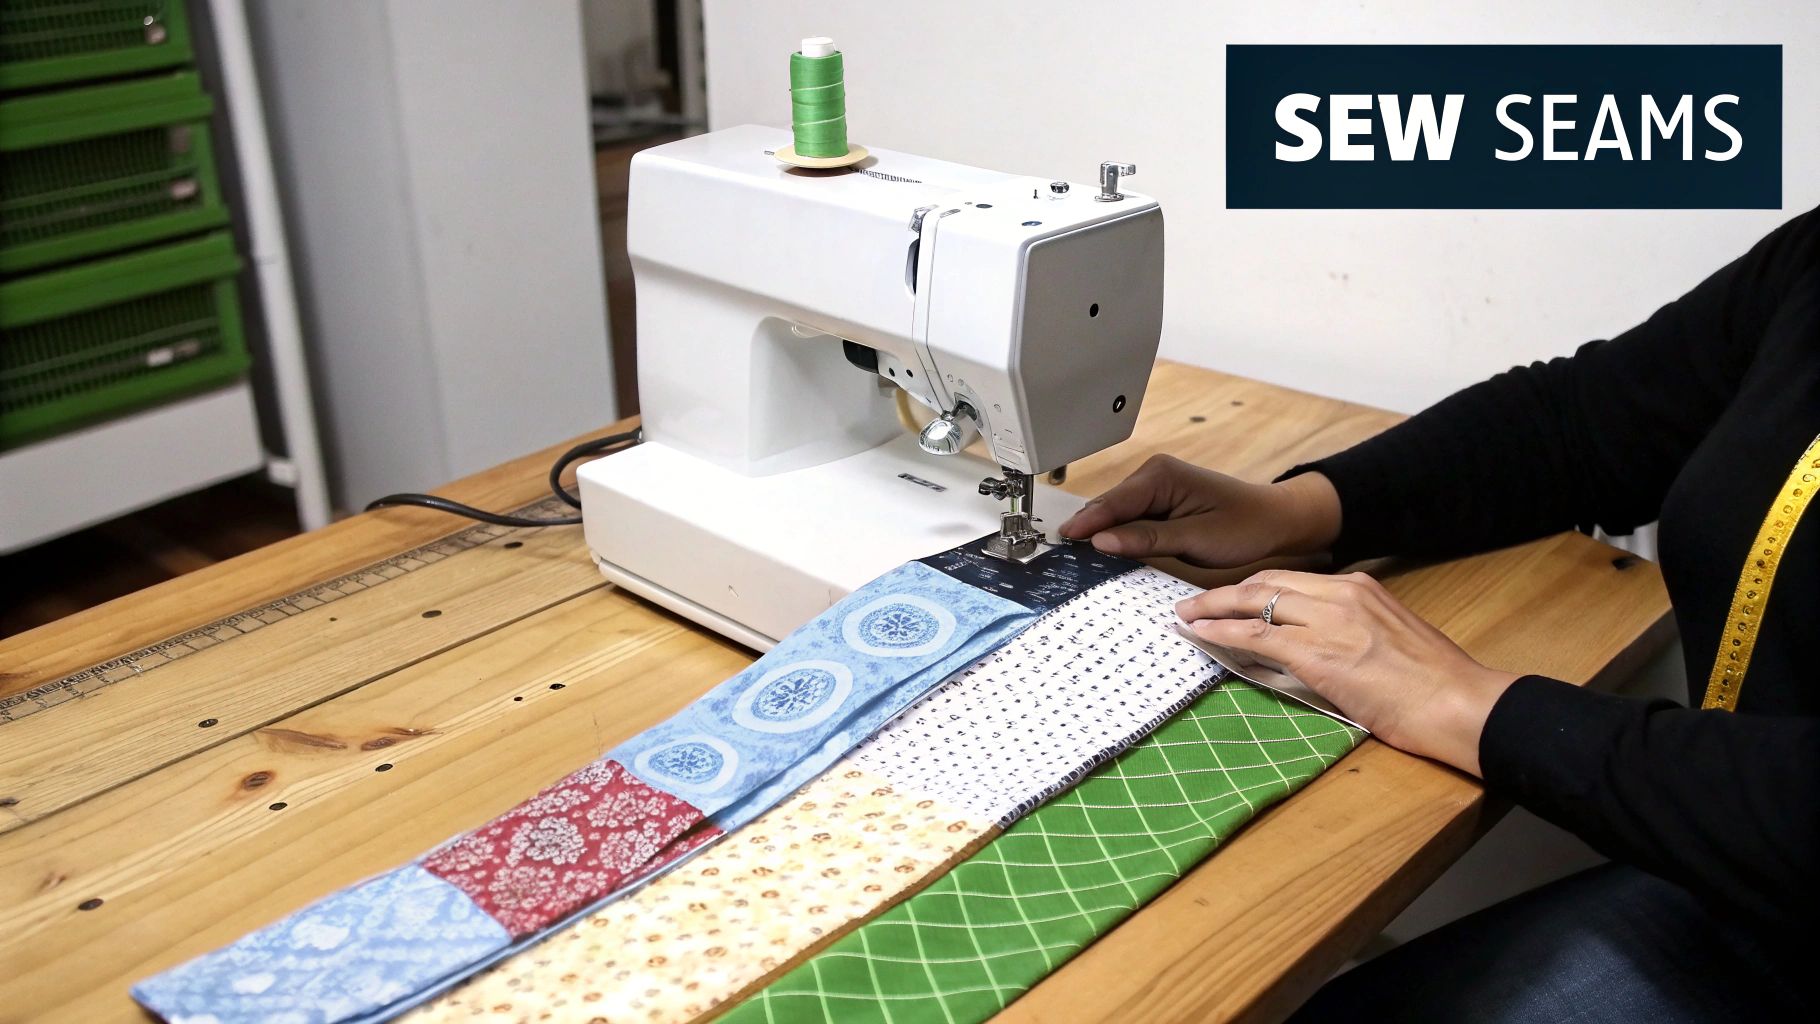
Sewing Techniques That Create Lasting Beauty
With your fabric all cut and your workspace organised, it's time for the really satisfying part: sewing your pillow together. The techniques you use here are what will turn those flat pieces of fabric into a gorgeous, durable cushion you'll be proud to have in your home. Getting a handle on a few key methods is what makes the difference between a homemade pillow and a "Wow, where did you buy that?" pillow.
Achieving a Professional Seam
The real secret to a polished-looking pillow isn't some fancy, complicated stitch; it’s all about consistency. A straight, even seam allowance is your best friend. If you decided on a 1.5 cm seam allowance, it's important to stick to that measurement precisely as you sew.
Most sewing machines have handy guide markings on the needle plate. Just line up the edge of your fabric with the correct mark and guide it through gently. Let the machine's feed dogs do the heavy lifting. If you try to push or pull the fabric, you'll end up with stretched or puckered seams, so it's best to let the machine set the pace.
Once you've sewn a seam, pressing it open with a hot iron is a step you shouldn't skip. It might seem small, but this simple action flattens the seam allowance on the inside, which makes your pillow cover look wonderfully crisp and neat from the outside. For pillows destined for high-traffic areas, like the family sofa, think about reinforcing the corners. After sewing your main seams, just stitch diagonally across each corner a couple of times, about 0.5 cm in from the point. This adds a surprising amount of strength right where it's needed most.
Choosing Your Closure Method
How you decide to close your pillow cover is a big decision that impacts both the final look and how much of a challenge you're in for. If you're new to sewing, don't feel pressured to tackle a zipper right away. An envelope closure, where the back panels simply overlap to create an opening, is a brilliant place to start. It requires no zips or buttons and makes whipping the cover off for a wash incredibly simple.
For a completely clean, high-end finish, an invisible zipper is the top choice. It might sound a bit intimidating, but putting one in is actually quite a straightforward process when you have the right tool – an invisible zipper foot for your sewing machine. This clever technique hides the zipper right inside the seam, creating a flawless look that’s ideal for reversible pillows or those with detailed patterns.
Before you decide on a closure, have a look at this comparison table. It breaks down the most common options to help you choose the best fit for your project and skill level.
| Closure Type | Skill Level | Durability | Washing Ease | Best For |
|---|---|---|---|---|
| Envelope Closure | Beginner | Good | Very Easy | Throw pillows, decorative cushions, beginner projects. |
| Standard Zipper | Intermediate | Very Good | Easy | Cushions that get a lot of use, floor pillows. |
| Invisible Zipper | Intermediate | Very Good | Easy | Reversible pillows, designer looks, patterned fabrics. |
| Button Closure | Intermediate | Good | Moderate | Farmhouse or rustic styles, adding a decorative detail. |
| Hand-Sewn (Slip Stitch) | Beginner | Fair | Difficult | Pillows that won't be washed often, purely decorative pieces. |
As you can see, the simple envelope closure is perfect for getting started, while mastering an invisible zipper can really elevate your sewing game.
The flowchart below gives you a visual guide on how you might approach adding some extra flair to your project.
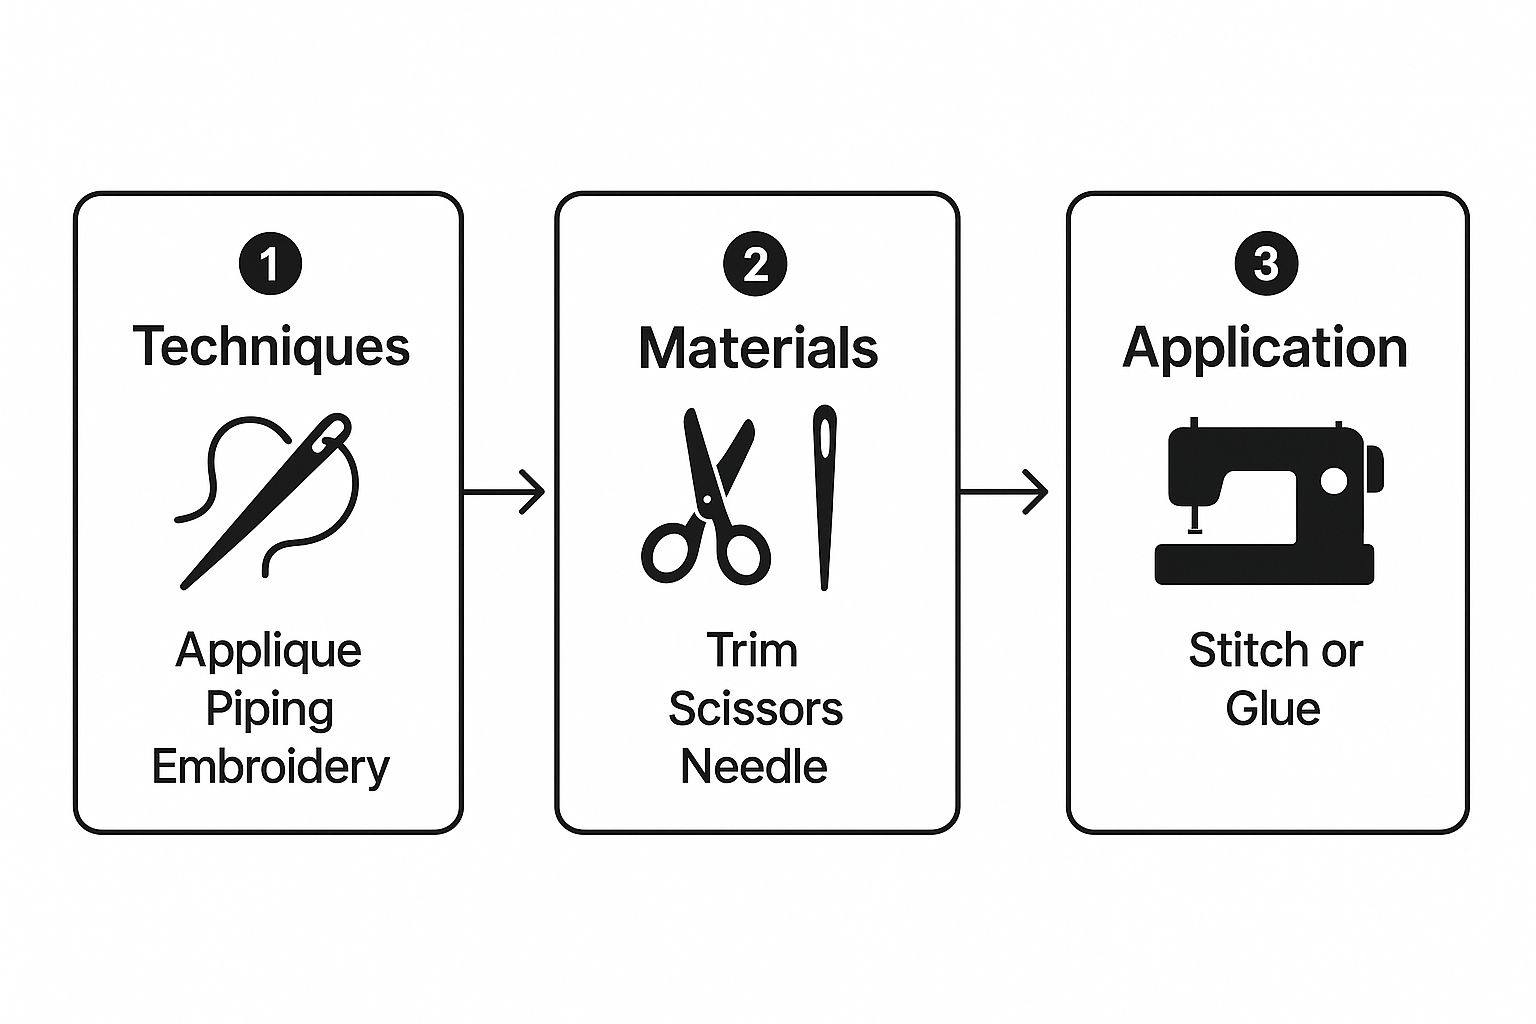
It shows there are plenty of ways to apply beautiful finishes, whether you prefer to sew them on or use a fabric-safe adhesive for a no-sew option.
Elevating Your Design with Finishing Touches
Once you feel confident with the basic construction, you can start playing with decorative finishes to really inject your personality into the design. Adding piping around the edges is a classic trick that beautifully defines a pillow's shape and lets you bring in a pop of contrasting colour or texture. You can find pre-made piping at most fabric stores, or, if you're feeling adventurous, make your own with some cord and bias-cut fabric strips. This one detail can instantly turn a basic square pillow into a piece that looks like it came straight from a designer showroom.
Achieving the Perfect Pillow Fullness
The filling is what truly gives your pillow life, turning it from a simple fabric cover into a plush, welcoming cushion. It’s not just about looks; the right stuffing determines how your pillow feels and how well it holds up over time. While standard polyester fibre fill is an easy place to start, knowing all your options can help you get the exact level of squishiness you’re dreaming of.
Inserts vs. Loose Fill
First things first: will you use a ready-made pillow insert or stuff it yourself with loose fill? Inserts are brilliant for their simplicity and consistent shape. Here's my top tip: always buy an insert that is 5cm larger than your cover. So, for a 45cm x 45cm cover, grab a 50cm x 50cm insert. This little trick ensures the corners are properly filled out, giving you that plump, "karate-chop" worthy finish everyone loves.
On the other hand, working with loose fill, like polyester fibre or wool batting, gives you total control over the firmness. The secret is to stuff it in small, even handfuls. Start by pushing the filling firmly into the corners before you work towards the middle. This technique is your best defence against lumps and bumps, creating a smooth, professional shape. Don't be timid with it—you'll probably need more filling than you first expect!
Choosing Your Filling Material
The material you choose has a huge impact on your pillow’s personality and purpose.
- Feather and Down: These are the classic choice for a luxurious, sink-in softness that’s tough to replicate. They are wonderfully mouldable but will need a good fluffing now and then to keep them looking their best.
- Polyester Fibre Fill: As a budget-friendly and hypoallergenic option, this is a fantastic all-rounder. For better results, look for "cluster-fibre" types, which are designed to be less clumpy than the standard fill.
- Sustainable Choices: Materials like wool, kapok, or shredded latex are wonderful eco-friendly alternatives. Wool is especially great for us here in Aotearoa, as it’s naturally breathable and wicks away moisture.
This growing interest in quality, personalised materials isn't just a hunch. The global family throw pillow market was recently valued at around USD $2 billion and is projected to reach USD $3.3 billion by 2033. This growth is largely thanks to a desire for bespoke and sustainable home decor. You can explore more on these market trends to see what’s driving consumer choices. If you're aiming for a coordinated look, our guide on creating stunning cushion sets might be just what you need.
Finishing Touches and Long-Term Care
After you’ve done all the careful cutting and sewing, these last few details are what will make your custom pillow truly special. This is the stage that takes your project from just ‘homemade’ to a beautifully handmade, professional-quality piece. It's about more than just stuffing it and throwing it on the sofa; it's about making sure your creation looks fantastic and stands the test of time. A good final press with an iron, for example, really sets the seams and gives the whole cover a crisp, polished finish.
Before you call it a day, give your new pillow a thorough quality check. Look closely for any stray threads that need a snip and gently test the strength of your seams, especially around the corners and the closure. It’s much easier to catch a small weakness now than to mend a ripped seam down the track. These final checks are a crucial part of learning how to make throw pillows that are both gorgeous and durable.
Keeping Your Custom Creations Looking Fresh
Looking after your pillow properly is what protects all your hard work. How you wash your covers will depend entirely on the fabric and filling you've chosen. For covers made from sturdy materials like cotton or linen, a gentle machine wash is usually fine. If you’ve used more delicate fabrics like velvet or wool, handwashing or spot-cleaning is a much safer option. Always remember to take the insert out before washing the cover!
A simple care routine can work wonders. Giving your pillows a regular fluffing will keep them looking plump and inviting, stopping the filling from getting compacted and lumpy. This is particularly important if you've used feather or down inserts. For pillows that get a lot of daily love, try to rotate them every few weeks to help spread out the wear and tear.
When it comes to seasonal pillows, storing them correctly is essential.
- Keep them in a cool, dry spot away from direct sunlight to stop the colours from fading.
- Use breathable cotton storage bags instead of plastic ones, which can trap moisture and lead to mustiness.
- Try not to squash them too much, as this can permanently flatten the filling.
Don't be afraid to give your pillows a little refresh now and then. Sometimes a quick fix, like restitching a small part of a seam, is all it takes. If you feel like your decor needs an update, you don't always have to start over. Adding new details like tassels, buttons, or appliqué can completely transform a pillow’s look. For more ideas on sprucing up your space, you can learn how to decorate with cushions using our easy tips to give any room a lift.
Feeling inspired to design something truly unique for your home? Explore the endless creative possibilities with Maak Home, where you can print your own custom fabrics and bring your vision to life.


