


How to Print on Fabric at Home: Master DIY Textile Printing

Getting Started Without Professional Equipment
One of the biggest myths that stops people from learning how to print on fabric at home is the idea that you need a fancy studio full of expensive gear. The reality is much more encouraging! So many amazing textile projects start on kitchen tables and in spare corners, relying on creativity rather than costly machines. You can definitely turn a small space into a productive printing workshop with things you might already have or can find cheaply.
The image above shows a simple but effective woodblock printing setup. This technique has been around for centuries and proves that beautiful design is more about your ideas and technique than high-tech tools.
Evaluating Your Space and Budget
Before you rush out to buy ink, take a good look at the space you have. Is there a well-ventilated spot near a window that would be perfect for screen printing? Or is a small, tidy desk better suited for playing around with heat transfer vinyl? The space you have will point you towards the printing methods that are most practical for you to start with.
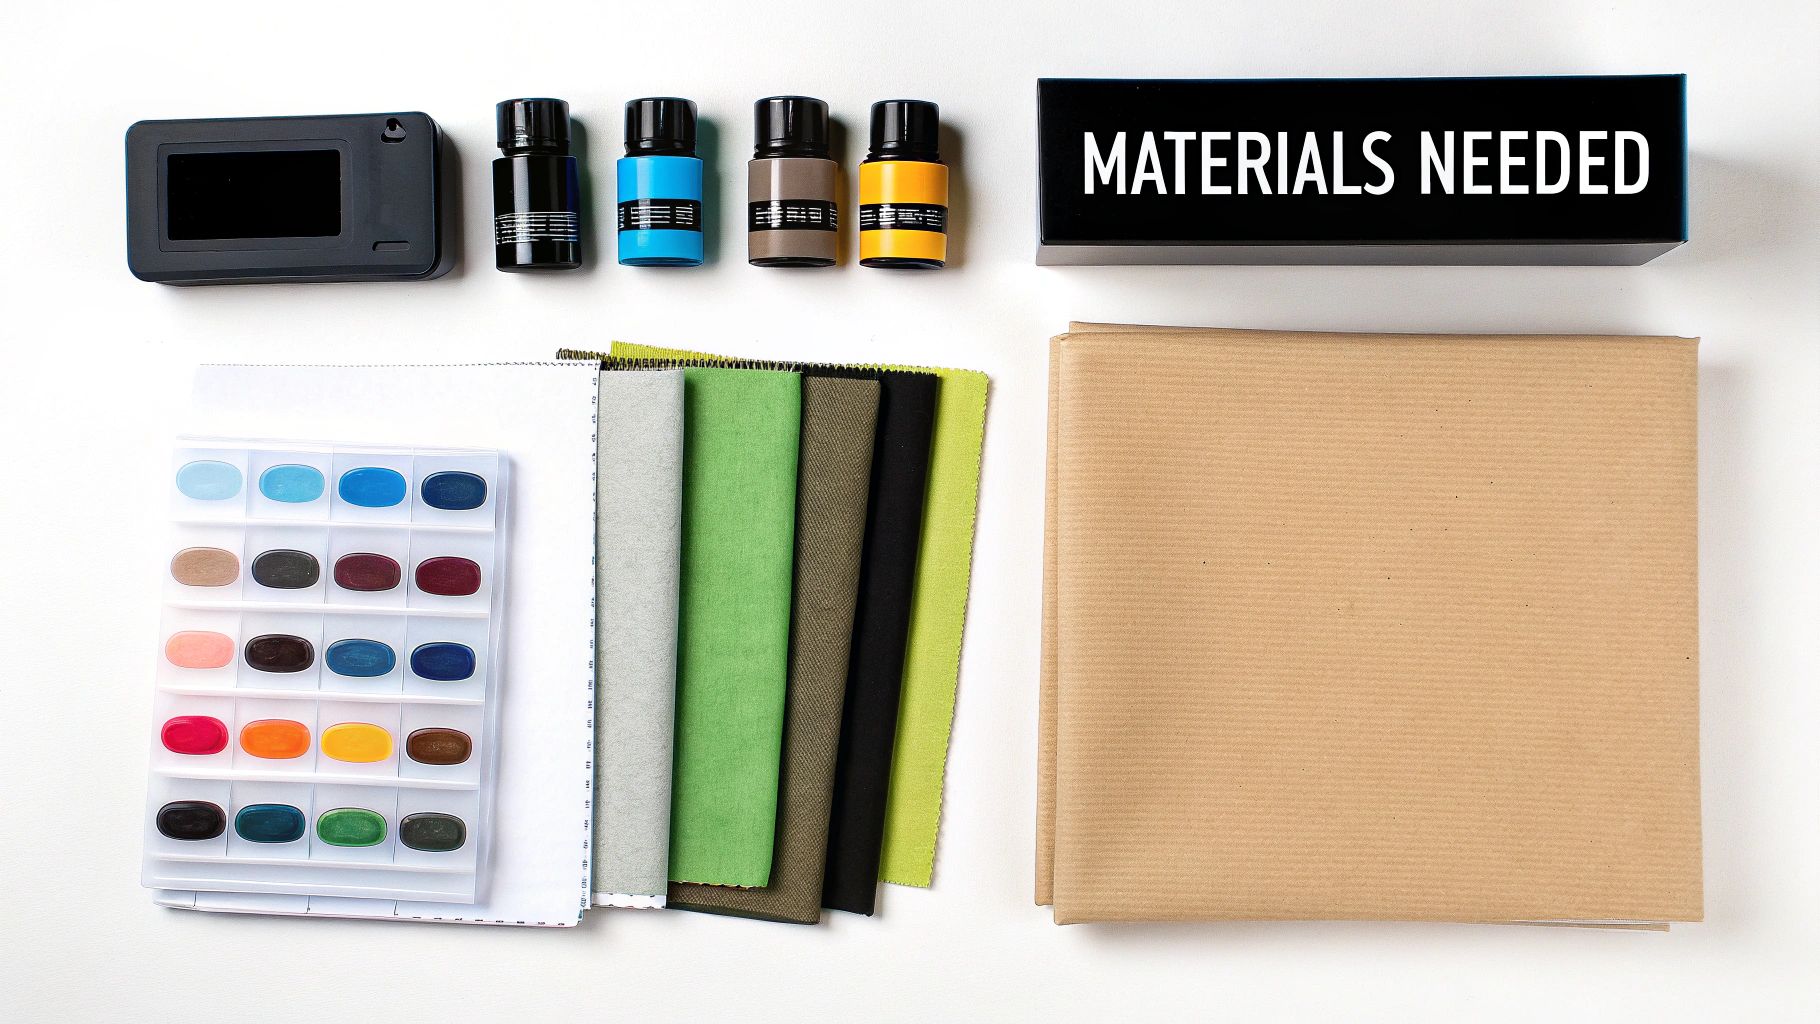
When it comes to your budget, my advice is to start small. There’s no need to buy every tool for every method right away. Pick one technique to focus on first, like block printing or stencilling, which don't require much of an initial investment. Here are a few starting points:
- Fabric: Kick things off with affordable, natural fibres. A 100% cotton or a cotton-linen blend is a great choice because they are forgiving and take ink really well. I'd suggest holding off on slippery synthetics until you've got a few projects under your belt. For more fabric tips, you might find this guide to fabric basics helpful.
- Inks/Dyes: Just buy a small set of primary colours to begin with. You can mix these to create a whole rainbow of shades, which saves both money and storage space.
- Tools: You'd be surprised what you can use from around the house. A rolling pin can stand in for a brayer in a pinch, and a simple craft knife is all you need to cut your own stencils or carve basic stamps.
Realistic Expectations for Your First Projects
Your first few tries are for learning, not for creating a masterpiece. It's easy to think you'll get perfect results on your first go, but that's rarely how it works. My advice? Embrace the process! Your first prints might have little smudges or inconsistencies, but these often add to the unique, handcrafted charm of your work. A crucial tip is to always test your design on a small scrap of the same fabric before you print on your final piece. This quick test lets you check the colour and ink consistency.
This hands-on approach is part of a wonderful community of home crafters right here in New Zealand. Our local textile industry is quite strong, with a projected output value of around USD 907.76 million by 2025. While home printing is on a much smaller scale, we tap into the very same supply chains for quality fabrics and materials. You can find more details about the New Zealand textile market on Statista.com. Getting started is truly more about your passion and patience than it is about a big budget.
Preparing Your Fabric for Professional Results
Diving straight into printing without preparing your fabric is a bit like painting a wall without cleaning it first—you might get away with it, but the results won't look professional or last very long. This is honestly where most home printing projects fall flat. The secret to getting those really vibrant prints that don't fade after one wash lies entirely in the prep work. It's the difference between a project you're genuinely proud of and one that ends up in the scrap pile.
The Essential Pre-Wash Step
Every fabric that comes off a bolt from the shop is coated with sizing, chemicals, and sometimes a bit of dust from the manufacturing process. These residues create a barrier that stops ink from properly bonding with the fibres. This is why a thorough pre-wash is absolutely non-negotiable. For a standard cotton or linen, this means a warm wash with a small amount of mild, phosphate-free detergent, followed by a full tumble dry. This not only cleans the fabric but also pre-shrinks it, saving you from the heartbreak of a perfectly printed design warping after its first real wash.
This visual guide shows our go-to baseline settings for getting a standard medium-weight cotton ready for printing.
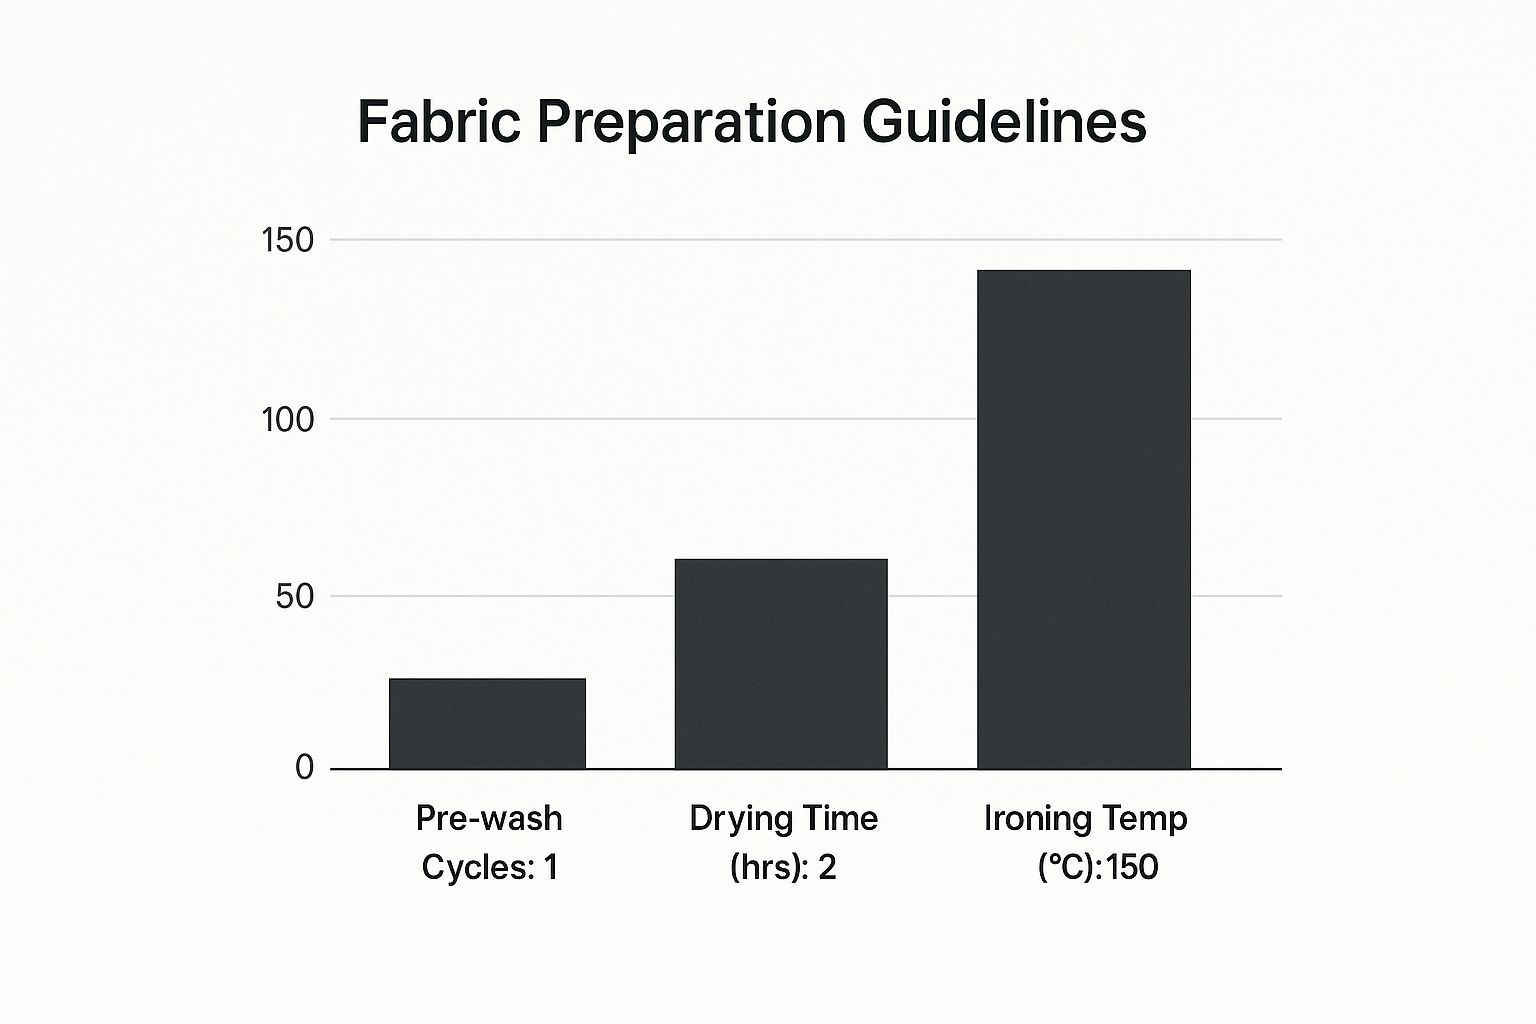
These numbers offer a solid starting point, but always remember to adjust based on your specific material. A delicate silk or a heavy canvas will naturally need a gentler touch or a longer drying time.
Handling Different Fabric Types
Not all fabrics are created equal, and your preparation needs to reflect that. A heavy canvas tote bag, for instance, can handle a hot wash and high heat, but doing the same to a delicate silk would be a complete disaster.
To help you get it right, here’s a quick comparison of common fabrics and what they need before you start printing.
| Fabric Type | Pre-wash Required | Best Printing Method | Durability Rating |
|---|---|---|---|
| Cotton | Yes, warm wash | Screen, Block, Heat Transfer | High |
| Linen | Yes, warm wash | Screen, Block | High |
| Silk | Yes, gentle hand wash | Direct-to-Fabric, Screen | Medium |
| Polyester | Yes, warm wash | Heat Transfer (Sublimation) | Very High |
| Rayon | Yes, cool hand wash | Screen, Block | Low to Medium |
As you can see, the right preparation directly impacts which printing method will give you the best, most durable results. A little planning here goes a long way.
Here’s a bit more on how to treat specific materials:
- Natural Fibres (Cotton, Linen): These are the most forgiving and a fantastic place to start when you're learning how to print on fabric at home. A standard wash and dry cycle is usually perfect. If you're interested in linen's unique qualities, you can read more about why it’s such a wonderful and sustainable choice for home projects.
- Delicate Fibres (Silk, Rayon): You need to treat these gently. A hand wash in cool water is your best bet, followed by air drying away from any direct sunlight.
- Synthetic Fibres (Polyester): These fabrics don't really shrink like natural fibres do, but they still need a good wash to remove any surface coatings. Use a warm wash and a low heat setting in the dryer.
Once your fabric is washed and completely dry, the final, crucial step is a thorough ironing. A smooth, wrinkle-free surface is essential for achieving a crisp, even print. Iron your fabric with care, paying close attention to the grainline to make sure your design sits straight. This careful preparation ensures your ink has the perfect canvas to stick to, giving you beautiful, durable results every single time.
Mastering Heat Transfer Printing at Home
Heat transfer printing often gets a reputation for being a bit basic, but honestly, it’s one of the most powerful ways to get stunning, professional-looking results right from your craft table. Forget needing a big, expensive setup; this is where a simple home iron or a small heat press can truly shine, letting you create detailed designs that look sharp and last well. It’s a fantastic method when you’re figuring out how to print on fabric at home. Let’s explore the two main players: heat transfer vinyl (HTV) and printable transfer paper.
Choosing Between Vinyl and Transfer Paper
The right material really depends on what you're trying to create. Think of it like this:
- Heat Transfer Vinyl (HTV): This is your go-to for bold, solid-colour designs, like lettering on a t-shirt or a simple logo on a tote bag. HTV comes on a roll or in sheets of single colours. You cut your design out (a craft cutter is handy, but scissors work for simple shapes), weed away the excess vinyl, and then press it onto your fabric. It’s brilliant for layering colours to create more complex images.
- Printable Transfer Paper: This is for your full-colour, detailed images—like printing a photograph onto a cushion cover. You print your design directly onto the special paper using a standard inkjet printer, then press the whole sheet onto your fabric. Just be sure to grab the right paper for your project, as there are different types for light and dark fabrics.
Getting the Perfect Press Every Time
The secret to a transfer that doesn't peel or crack is the perfect combination of three things: time, temperature, and pressure. This is where many beginners trip up. Just running a hot iron over the design isn't going to cut it; you need consistent, firm pressure to get a good result. If you’re using a home iron, turn off the steam function and press down with your body weight for the recommended time (always check the instructions on your vinyl or paper).
A common mistake is not waiting for the transfer to cool properly before peeling off the backing paper. Some types are ‘hot peel’ while others are ‘cold peel’. Peeling at the wrong temperature can completely ruin your design. I always recommend doing a small test on a scrap piece of fabric first to check your settings and peeling technique. This small step saves so much frustration and wasted material.
It's a great time to be getting into this craft. With New Zealand's digital printing sector expected to grow by about 2.38% annually through 2027, these supplies are becoming more accessible than ever. You can learn more about this trend from a 6Wresearch report. Getting this technique down opens up a world of customisation for your home projects.
Screen Printing Success in Small Spaces
Screen printing at home often brings to mind images of huge, messy setups that seem impossible in a small Kiwi flat or a spare room. But the reality is that successful home printing is all about clever workarounds, not massive spaces. Forget the commercial studios; you can achieve brilliant, crisp results on your textiles with a more realistic approach. It's one of the most rewarding ways to learn how to print on fabric at home.
Creating Your Compact Screen Printing Station
The heart of screen printing is, of course, the screen. You don’t need a huge, professionally stretched aluminium frame to start. Many crafters begin with a simple wooden embroidery hoop stretched with a piece of sheer curtain fabric. This method is fantastic for smaller designs on things like cushion covers or tea towels. Another budget-friendly option is to build a simple frame from timber and staple on your mesh. The key is to get the mesh as tight as a drum for a clean print.
One of the biggest worries for beginners is the mess. My top tip is to contain your printing zone. Lay down a cheap plastic tablecloth or an old sheet to protect your surfaces. Have a shallow tub of water ready nearby for placing your screen and squeegee in immediately after printing. This stops the ink from drying in your mesh, which is the number one cause of ruined screens. Keeping everything within arm's reach makes the process smoother and tidier.
Nailing Your Technique: Ink, Squeegee, and Registration
Getting a perfect print comes down to a few key actions. When it comes to ink, you don't need every colour under the sun. Start with a water-based fabric ink in a few primary colours, plus black and white. These are easy to clean up with just water and can be mixed to create any shade you need. For example, a dollop of white mixed with a little red creates a lovely soft pink, perfect for a floral pattern.
To help you decide which ink is right for your project, here’s a quick comparison of the most common types available.
Screen Printing Ink Types and Applications
Detailed comparison of different screen printing inks showing best use cases, fabric compatibility, and durability
| Ink Type | Best Fabrics | Washability | Cost per Print | Finish Quality |
|---|---|---|---|---|
| Water-Based | Cotton, linen, rayon, silk (natural fibres) | Good (properly heat-set) | Low | Soft, breathable, dyes the fabric |
| Plastisol | Cotton, polyester, blends, most synthetics | Excellent | Medium | Thick, durable, sits on top of fabric |
| Discharge | Dark-coloured 100% cotton | Excellent | High | Very soft, no feel (removes dye) |
| Puff | Cotton, poly-blends | Moderate (handle with care) | Medium-High | Raised, 3D, textured effect |
As the table shows, water-based inks are often the best starting point for home crafters due to their easy cleanup and soft finish.
Your squeegee technique is crucial. Hold the squeegee at a 45-degree angle and pull it towards you with firm, even pressure in a single, smooth motion. Don't be tempted to go back and forth over the design, as this can cause smudging and bleeding. A common issue is seeing a 'ghost' image where the ink wasn't pushed through evenly. This usually means you need to apply more pressure or do a second pull (after flooding the screen again).
For multi-colour designs, registration (lining up your colours perfectly) can feel intimidating. A simple trick is to print your first colour, then place small pieces of masking tape on your work surface to mark the corners of the screen. When you're ready to print the next colour, you can line the screen up with your tape marks. It’s a simple but effective way to ensure your layers align correctly.
Block Printing for Unique Character
If you're chasing a truly handcrafted look, block printing is an incredibly satisfying way to print on fabric right from your home. Unlike digital methods, its real charm is in the subtle imperfections and textures that make every single piece one-of-a-kind. This age-old art form is perfect for anyone who wants to add a personal, authentic touch to their home décor and textiles. The best part? You can get going with some very simple materials, so there's no need for a huge initial spend.
Creating Your Own Printing Blocks
The block itself is the heart of this entire technique. While proper linoleum is brilliant for carving detailed, long-lasting designs, there are much simpler places to start.
- Soft Carving Blocks: You might see these called "Speedy-Carve" blocks. They're soft, rubber-like sheets that are a dream to cut with a basic lino cutter, making them ideal for first-timers. They hold fine details surprisingly well and are a great step up from household items.
- Craft Foam: For bold, simple shapes, you can just cut designs from craft foam sheets and glue them onto a piece of wood or even sturdy cardboard. This is a fantastic, low-cost way to play around with geometric patterns.
- The Humble Potato: Never underestimate the power of a spud or a carrot! Carving a simple shape into a vegetable is a fun way to test a design idea or get the kids involved in a project. It’s temporary, of course, but the process teaches you a lot about applying pressure and ink.
When you start carving, the golden rule is to always cut away from your body. Work with shallow, controlled strokes to remove the 'negative space'—that's all the bits you don't want to print. Just remember, whatever you leave raised on the block is what will show up in ink on your fabric.
From Block to Fabric: Stamping Techniques
Once your block is carved, the real fun begins. You'll need fabric block printing ink, which is much thicker than screen printing ink and is made to roll out smoothly. Squeeze a small amount of ink onto a flat, non-porous surface (a piece of glass or an old tile works perfectly) and use a small rubber roller, known as a brayer, to spread it into a thin, even layer. You'll know it's ready when you hear the ink make a sticky, tacky sound.
Gently roll the inked brayer over your block, making sure to cover the entire raised surface without letting ink pool in your carved details. Before you commit to your final piece of fabric, always do a few test prints on a scrap. This is your chance to figure out how much pressure you need to apply. For a crisp impression, place your block onto the fabric and press down firmly and evenly with the heels of your hands. With my larger blocks, I sometimes find it helps to stand up and use my body weight for better, more even pressure.
This hands-on process connects you directly to the final product, helping you create something genuinely special. It's a rewarding skill for anyone wanting to explore how to print on fabric at home.
Direct-to-Fabric Digital Printing Made Simple
Moving on from more manual methods, direct-to-fabric digital printing can bring incredible precision to your projects at home. This is how you get those detailed, full-colour images printed straight onto your textiles. While it might sound a bit high-tech, it’s become much more accessible for home crafters. The secret to success is knowing the gear and, importantly, managing your expectations—especially when it comes to colour.
Choosing Your Digital Printing Approach
You’ve got a couple of ways you can go here. The most common starting point is using special paper-backed fabric sheets that you can feed through a standard home inkjet printer. These are brilliant for smaller projects, like custom quilting squares or personalised labels for your creations.
For those ready to commit a bit more, dedicated direct-to-garment (DTG) printers are an option. They're a significant investment, but they deliver professional-level quality for printing on t-shirts and other items. My advice? Start with the printable fabric sheets. It’s a low-cost way to get a real feel for the process before you even think about dropping serious cash on a dedicated machine.
A crucial detail to consider is the ink. The standard ink in your printer isn't made to last on fabric and will likely wash out. You'll get the best results from printers that use pigment-based inks. These have much better water and fade resistance compared to dye-based inks, especially after you heat-set them.
From Screen to Fabric: Managing Colour and Design
What you see on your bright, backlit computer screen is rarely what you’ll get on an absorbent, matte piece of fabric. Colours almost always print softer and a little less vibrant. To avoid any nasty surprises, you should always do a small test print. I like to print a little swatch with the main colours of my design on a scrap of the exact fabric I plan to use. This gives you a chance to tweak your digital file—maybe bump up the saturation or contrast slightly—before you print the final piece. For some extra tips on this, check out these expert custom fabric printing techniques.
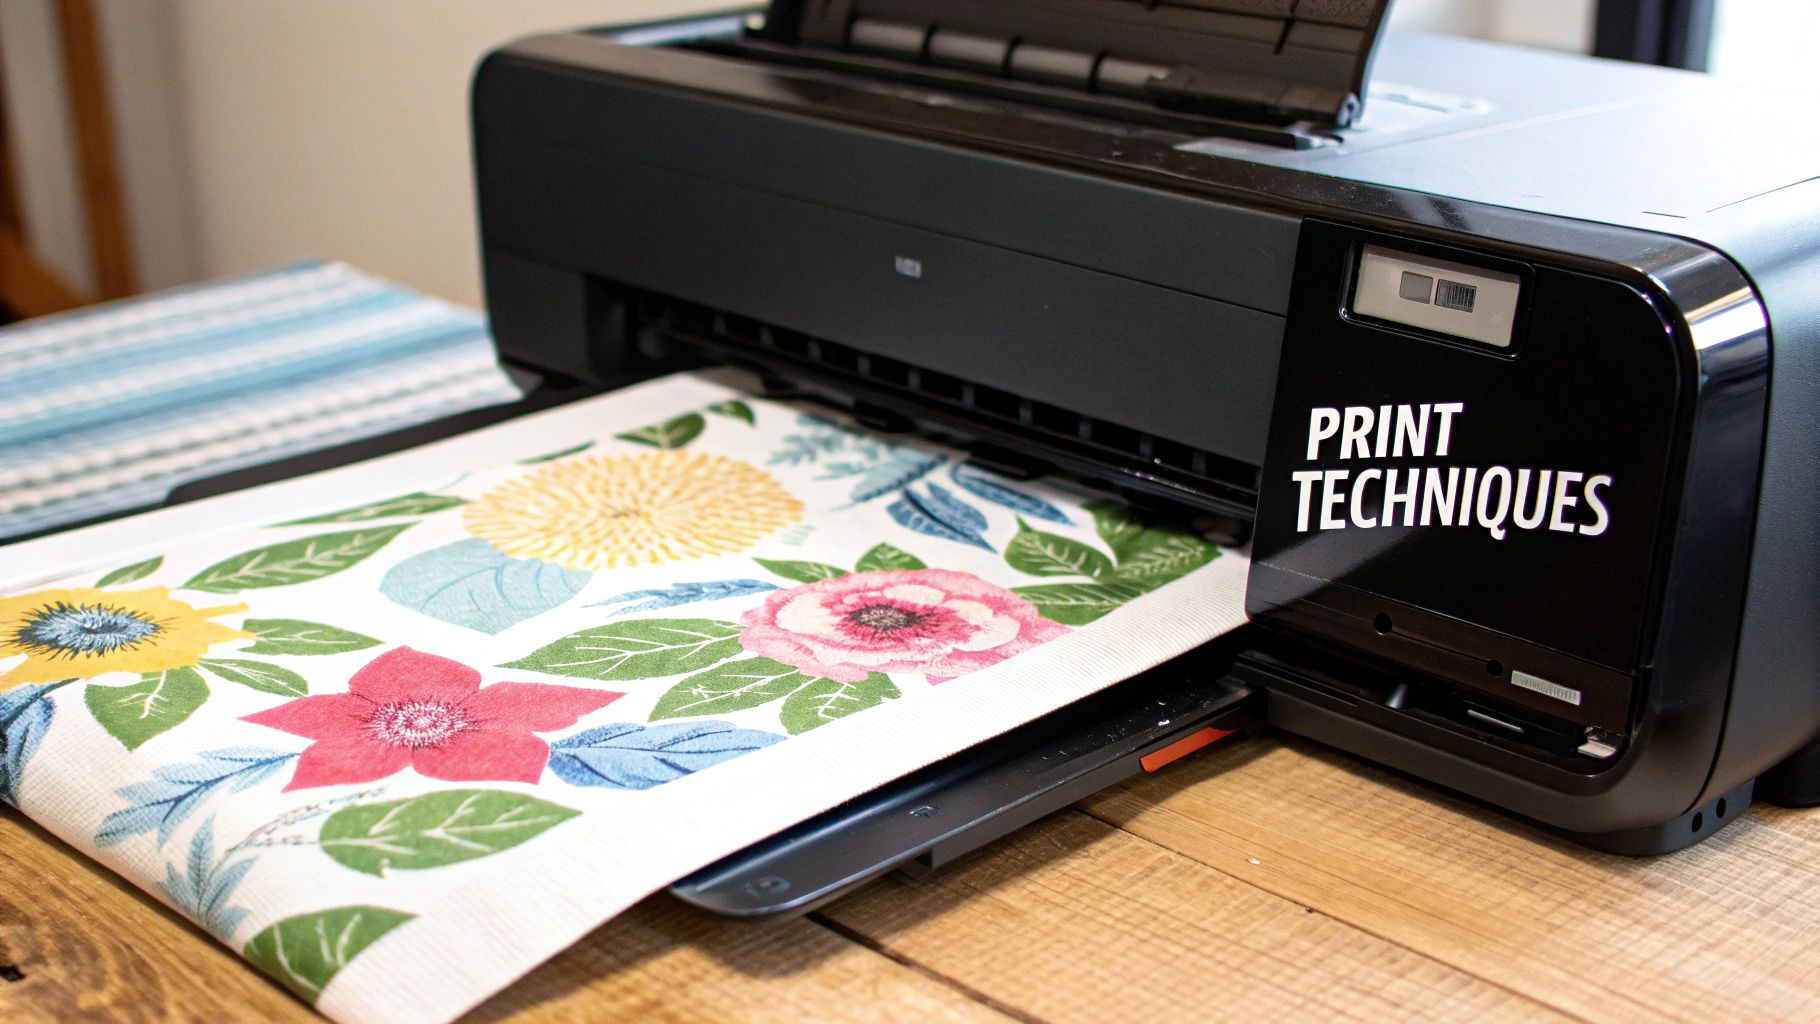
The image below shows a large, industrial direct-to-fabric printer going through its motions, giving you an idea of how the fabric is fed through. Obviously, your setup at home will be a lot simpler, but the basic idea is the same: the printer applies ink directly onto the textile.
To sidestep problems like colour bleeding or the ink not sticking properly, make sure your fabric is pre-treated and ironed completely flat before it goes into the printer. Even a tiny wrinkle can cause the print head to drag and smudge your entire design.
It's also interesting to see how the rise of digital printing has affected the wider industry here in New Zealand. Traditional printing has faced a downturn due to digital disruption and competition from overseas, with projections showing that the market will continue to shrink. You can get more information about these market trends from IBISWorld. This trend really highlights the value of local, sustainable options for Kiwi creators who are learning how to print on fabric at home.
Making Your Prints Last and Look Professional
There's nothing quite like the feeling of pulling off a successful print. But the real magic, the part that turns a fun craft project into a lasting piece, happens right at the end. How you finish and care for your fabric determines if those vibrant colours will stick around or wash away after their first trip through the laundry. Getting this part right is a big piece of the puzzle when learning how to print on fabric at home.
The All-Important Heat Setting
Think of heat setting as the final handshake that permanently locks your design into the fabric’s fibres. Skip this, and you'll likely see your beautiful work disappear down the drain. The exact method comes down to your choice of ink and fabric, but often a simple home iron is all you need.
For most water-based inks, like the ones used in screen printing or block printing, you'll need to let the ink dry completely. I always suggest giving it at least 24 hours to be safe. Once it's dry, cover your design with a clean cloth or a sheet of baking paper. Then, press it with a hot, dry iron (turn the steam off!) for about 3-5 minutes. Keep the iron moving constantly to make sure you don't scorch your masterpiece.
If you're working with heat transfer materials, the "setting" part actually happens during that first press. Your main job here is to follow the time and temperature guidelines that came with your specific vinyl or transfer paper.
Here’s a tip from experience: always test your heat-setting process on a small scrap of fabric first. Set it, wash it, and see how the colour holds up before you move on to your final project. This one small check can save you from a major disappointment later.
Washing, Drying, and Long-Term TLC
With your print properly set, you want to keep it looking fantastic for as long as possible. The golden rule is to be gentle. I always turn my printed items inside out and wash them in cool water on a delicate cycle. Stay away from harsh detergents and definitely no bleach – they can strip the colour right out of your design.
When it's time to dry, air drying is your printed fabric's best friend. The intense heat of a tumble dryer can be tough on some inks, causing them to crack or fade over time. If you absolutely have to use a machine, always opt for the lowest heat setting you can. This gentle approach is perfect for projects like custom-made cushion covers, helping them stay fresh for years. If you're feeling inspired, we have a wonderful guide on how to make a cushion cover to get you started.
A little bit of proper care means your hard work pays off, leaving you with gorgeous, durable textiles that truly make your space your own.
Ready to bring your unique designs to life on high-quality, sustainable fabrics? Explore the custom printing options at Maak Home and start creating textiles that are truly yours.


