


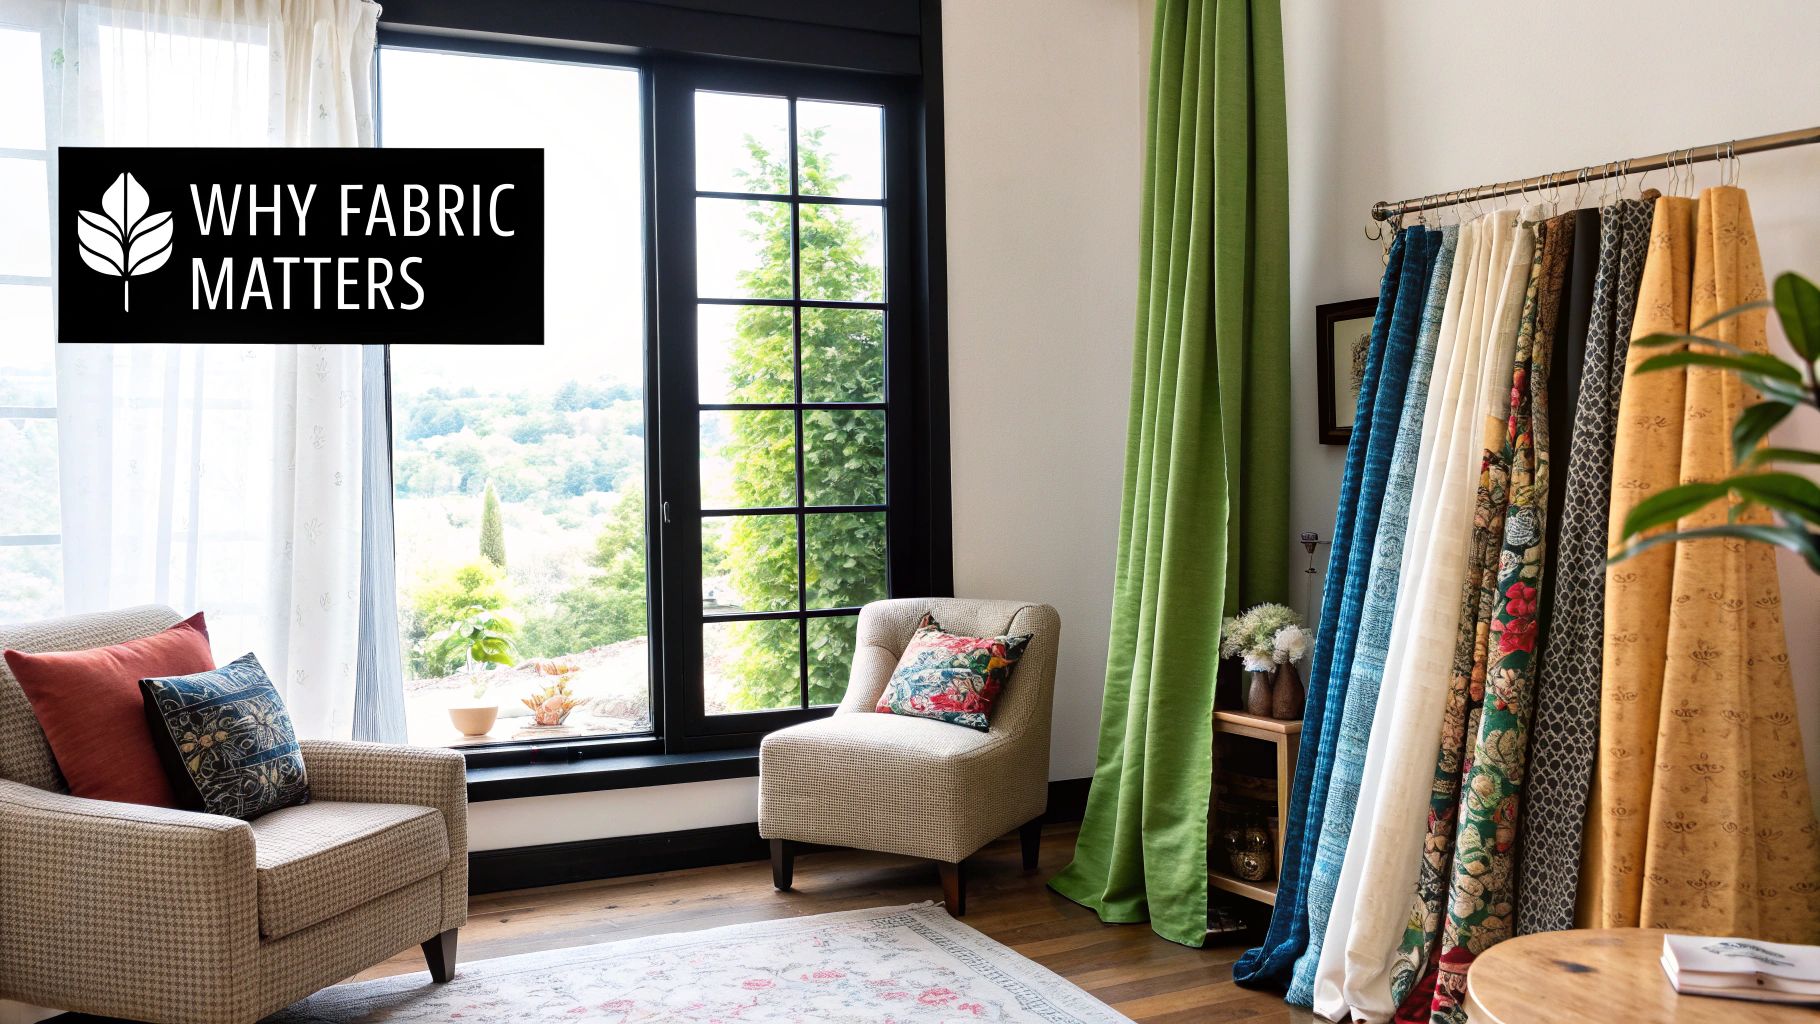
Accurate Fabric Calculator for Curtains – Measure Like a Pro

Getting your curtain fabric measurements spot-on can feel a bit like a high-stakes guessing game, but it really doesn’t have to be. I'm going to walk you through the thinking behind any good fabric calculator for curtains, turning what seems like a daunting task into something you can tackle with confidence.
With just a few key measurements, you'll be able to figure out exactly how much fabric you need.
Why Nailing Your Measurements is Everything
The first step to getting that professional-looking finish is avoiding the classic mistake of buying too much fabric—or even worse, not enough. Here in New Zealand, where we love our home renovations and interior styling, getting this right from the get-go is a big deal for both your budget and the final look. It’s exactly why a good fabric calculator for curtains has become such a handy tool for DIYers.
Starting your project on solid ground with accurate numbers sets you up for a flawless finish. In my experience, it all boils down to three core things:
- Window Width: This isn't just the window frame! You need to measure the full width of your curtain rod or track.
- Desired Drop Length: Think about the final look. Do you want your curtains to kiss the sill, hang just below it, or elegantly puddle on the floor?
- Chosen Fullness: This is all about how rich and gathered you want your curtains to be. More fullness means more fabric.
Before you even think about fabric, you need a handful of essential measurements. This checklist covers the absolute must-haves for getting your calculations right.
Essential Curtain Measurement Checklist
| Measurement Type | What to Measure | Pro Tip |
|---|---|---|
| Track/Pole Width | The full length of your installed curtain track or pole, from one end to the other. | Measure the pole, not the window! This ensures your curtains cover the entire area properly. |
| Finished Drop | From the top of the track/pole down to where you want the curtain to end. | Decide on your style first—puddling on the floor requires more length than a sill-length curtain. |
| Stack Back | The space the curtains will take up on either side of the window when fully open. | Add 15-20 cm to each side of your window frame measurement when installing your pole to allow for this. |
| Header Allowance | The extra fabric needed for the specific curtain header style you've chosen (e.g., pencil pleat, eyelet). | This varies hugely between styles, so check the requirements for your chosen heading tape. |
| Hem & Seam Allowance | Extra fabric for the top and bottom hems, plus any side seams. | A good rule of thumb is 20 cm for the bottom hem and 5 cm for the top, but this can vary. |
Having these numbers ready makes the next steps a breeze and ensures you're not making any costly guesses.
The Foundation of a Great Result
Understanding these fundamentals demystifies the whole process. Getting your head around how to measure your curtains correctly is honestly the most critical part of the entire calculation. It's your foundation.
One of the most common slip-ups I see is people forgetting to account for the "stack back"—that’s the space your curtains take up when they're pulled open. By making your curtain pole about 15-20 cm wider than the window frame on each side, you give the curtains a place to sit without blocking your view or light.
This kind of careful planning is a big reason why our local industry is thriving. The New Zealand window covering market was valued at around USD 83.75 million in 2023 and is set to keep growing. It just shows how much we Kiwis value quality, well-fitted window treatments.
By mastering these simple first steps, you’re not just buying fabric; you’re making an investment in a polished, beautiful outcome that will completely elevate your space.
Getting Your Core Window Measurements Right
This is where the magic really starts – with a tape measure in hand.Before you can even think about using a fabric calculator, you need to get your measurements spot on. The biggest mistake I see people make is measuring the window frame itself.
Let's get one thing clear: ignore the window frame. What you actually need to measure is the width of your curtain track or pole. Run your tape measure right from one end to the other. This is the total distance your curtains need to cover to get that polished, professional finish.
Deciding on the Perfect Drop Length
Next up is the finished length of your curtains, what we call the drop. This one choice has a massive impact on the feel of the room and, of course, how much fabric you'll end up buying.
Think about the look you're going for:
- Sill Length: This is a clean, casual style where the curtain hem sits just at or slightly above the windowsill. It's practical and no-fuss.
- Below the Sill: A really popular option. Having the curtain finish about 15 cm below the sill gives it a more considered, intentional look.
- Floor Length: This is pure elegance. The hem should hang about 1 cm above the floor, which stops it from getting dirty or worn.
- Puddled: For a truly luxurious, dramatic vibe, add an extra 15-30 cm to your floor-length measurement. This lets the fabric pool beautifully on the ground.
Here's a pro tip: always use a metal tape measure. The fabric or plastic ones can stretch over time and throw your numbers off completely. Measure from the very top of your pole or track down to where you want the curtain to end. For a deeper dive, check out our guide with more expert tips for the perfect fit.
Real-World Scenarios in NZ Homes
It's easy to see how these choices affect your fabric order. A standard bedroom window in a Kiwi home might just need a simple below-sill drop. But if you're dressing a wide living room ranch slider, you’ll need a lot more fabric – not just for the width, but especially if you choose a floor-length finish.
Every single style decision feeds back into your calculations. A puddled look for that same ranch slider could easily add another metre or more to your total fabric compared to a standard floor-length curtain. Nailing these initial measurements is without a doubt the most crucial step before you move on to fullness or header styles.
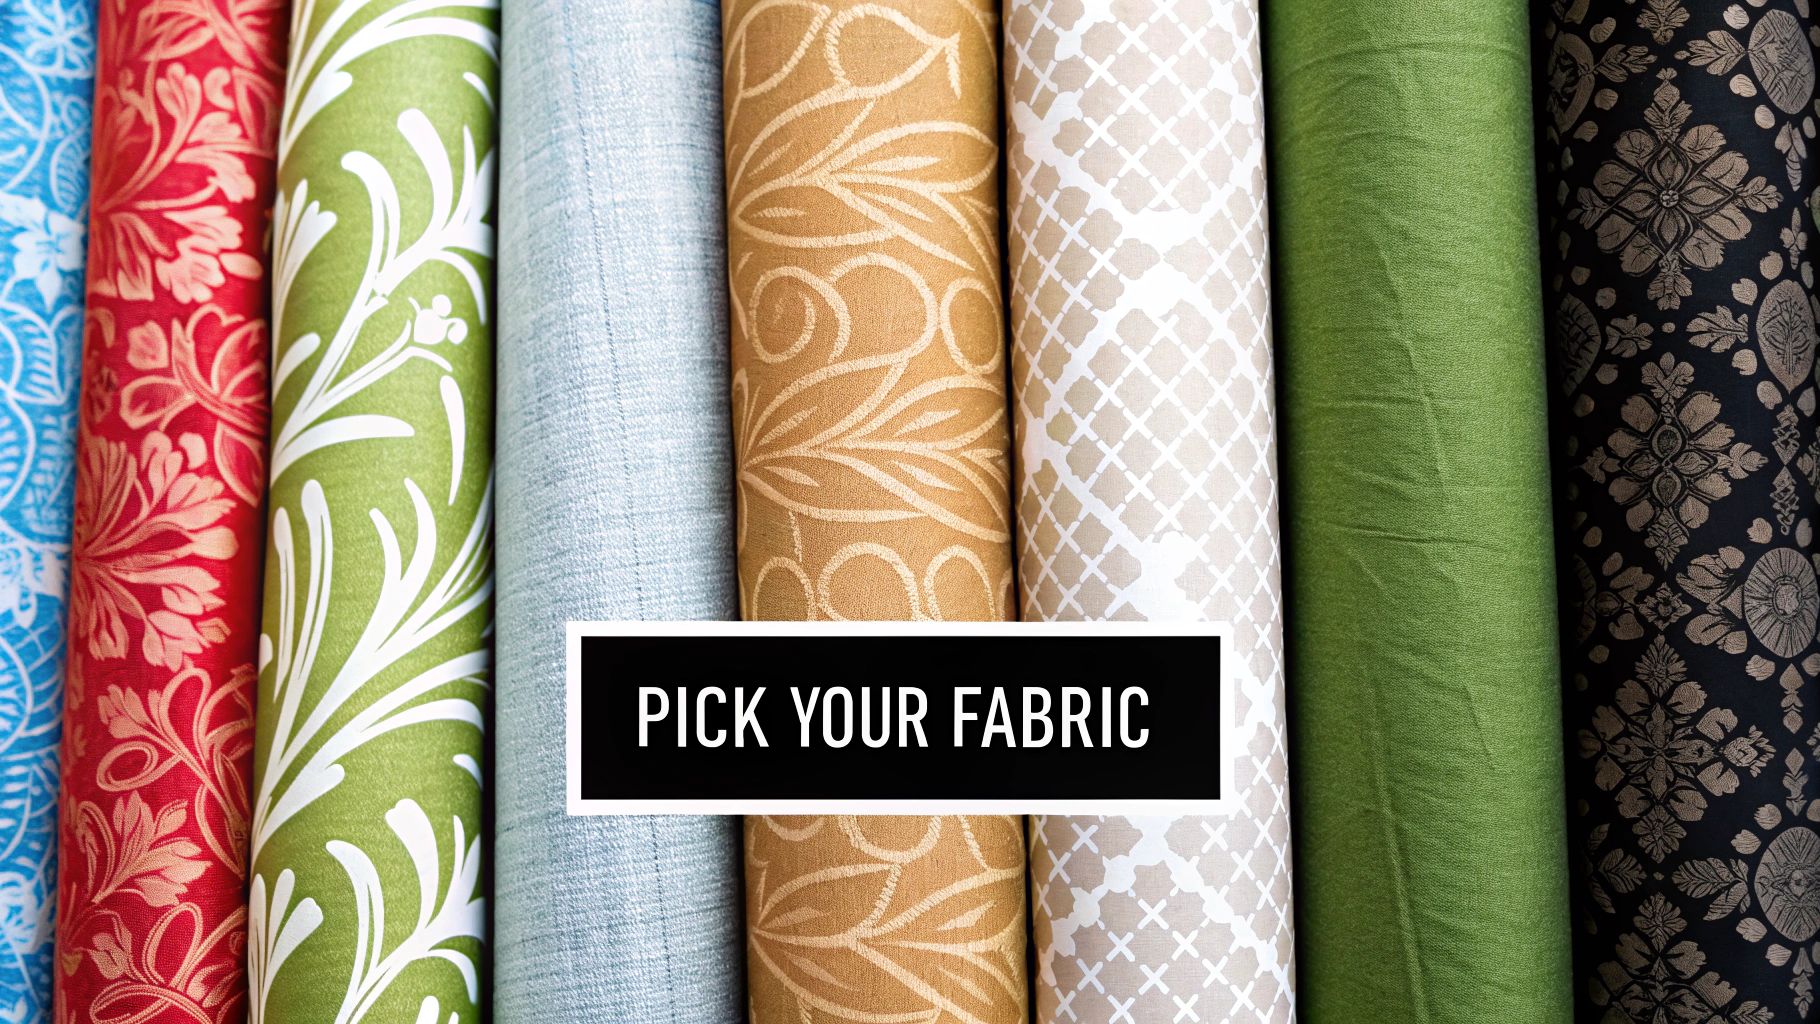
Choosing the Right Fullness for Your Fabric
Ever wonder what gives some curtains that incredibly luxurious, expensive look? It's not just the fabric choice. More often than not, the real secret is in the fullness. This single decision is what dictates whether your curtains have a light, casual feel or a rich, opulent drape.
Fullness is simply a ratio that determines how much fabric you use in relation to your track or rod width. Getting this right is a crucial part of calculating your fabric needs, as it directly impacts the final look and feel of your window treatments.
We're seeing a clear trend towards these custom, well-considered finishes in Kiwi homes. With the New Zealand Curtains & Blinds eCommerce market projected to hit US$15.0 million in 2025, it’s obvious more of us are investing in quality details online. This steady growth points to a real shift towards buying window treatments from digital studios like ours. You can dig deeper into these eCommerce homeware trends if you're curious.
Finding Your Ideal Fullness Ratio
So, how do you pick the right ratio? It's all about balancing the aesthetic you're aiming for with the fabric you’ve chosen. A heavier fabric like velvet or a textured linen doesn't need as much help to look full, while a lightweight sheer really needs more material to create that dreamy, floaty effect.
To help you decide, think about the end result you want. Are you after a crisp, modern line or a sea of sumptuous folds?
Curtain Fullness Guide
This little table breaks down the most common choices to help you find the perfect fit for your project.
| Fullness Ratio | Look and Feel | Best For |
|---|---|---|
| 1.5x (Light) | A tailored, contemporary wave. Minimal gathering. | Heavy, bulky fabrics, or when a very clean, flat look is desired. |
| 2.0x (Standard) | The classic, go-to choice. Soft, pleasing folds. | Almost any fabric and room. A reliable all-rounder. |
| 2.5x (Deluxe) | Rich, deep, and luxurious folds. A very full look. | Formal living rooms and master bedrooms. Essential for lightweight sheers. |
Ultimately, the goal is to create a look that feels intentional. A skimpy curtain can make a room feel unfinished, while the right fullness elevates the entire space.
As a rule of thumb, I almost always suggest a 2x fullness for most standard fabrics. Anything less can look a bit sparse, especially with lighter materials. For sheers, you absolutely want to go for a 2.5x to 3x ratio to get that beautiful, ethereal effect.
Once you’ve settled on your fullness, the next step is figuring out how many 'drops' of fabric you'll need. Fabric comes on a roll in a standard width (typically between 120cm and 150cm here in New Zealand), so you’ll almost certainly need to join several vertical lengths together to cover your window. This is a critical calculation, but don't worry, we'll walk you through it.
Getting the Details Right: Hems, Headers, and Pattern Repeats
This is where the magic really happens. The little details are what take a curtain project from looking "homemade" to professionally bespoke. Once you’ve sorted your window measurements and decided on fullness, it’s time to think about the extra fabric you’ll need for hems, headers, and that all-important detail so many people miss: the pattern repeat.
Every choice you make from here on adds a little extra fabric to your final number. A classic double-fold bottom hem, for instance, needs about 20 cm of extra fabric for each drop to hang beautifully. For the sides, I always suggest adding 5-10 cm per panel. This gives you a lovely, neat edge that has enough weight to it.
Don't Forget Your Header Style
The top of your curtain, or the header, plays a huge part in how much fabric you'll ultimately need. Each style has its own "take-up" – that's the fabric eaten up by the pleats or gathers.
- Pencil Pleat: This is a timeless, versatile header, but it's quite fabric-hungry. You’ll want to add about 10-15 cm to your finished drop length to account for the heading tape and turnover.
- Eyelet Curtains: While the pole width determines the fullness, you still need extra length. Plan for an additional 5-10 cm above the eyelet itself to create that clean, crisp top edge.
- Wave Curtains: This sleek, modern style needs specific wave curtain tape. The calculation for length is similar to eyelets, requiring around 5 cm for the top turnover.
It’s forgetting these little additions that can ruin an entire project. A good fabric calculator for curtains will always ask for these details because they’re what guarantee a polished look. Forgetting just the 20 cm for the bottom hem can leave you with curtains that look awkwardly short – a classic DIY mistake!
The Make-or-Break Role of Pattern Repeats
If you’ve fallen in love with a patterned fabric, this is hands-down the most critical calculation you’ll make. The pattern repeat is simply the vertical distance from where a pattern motif starts to where it starts again. To get that seamless, flowing look across all your panels, every single drop must start at the exact same point in the pattern.
Yes, this means you’ll have some unavoidable wastage, but it's completely worth it.
To figure out the extra fabric needed, take your calculated drop length (with hem and header allowances already included) and divide it by the pattern repeat measurement. Round that number up to the nearest whole number, then multiply it by the pattern repeat. This new figure is your final cutting length for each drop, and it ensures every panel will match up perfectly.
A Real-World Example: Putting it all Together
Okay, let's walk through a real-world scenario. Seeing the numbers in action is often the best way to get your head around the process. Once you do it once, you'll have the confidence to tackle any window in your home.
Let's imagine a standard living room window. The curtain track is 240 cm wide, and we're aiming for a classic floor-length finish, which gives us a finished drop of 220 cm.
To get that lovely, full look, we'll go with a 2x fullness ratio. The fabric we’ve fallen for is a beautiful patterned linen that has a 50 cm vertical pattern repeat – something you always have to account for with non-plain fabrics.
First, Let's Figure Out the Fabric Width
The first job is to calculate the total width of fabric we’ll need. This is a simple bit of multiplication: just your track width times your fullness ratio.
- Total Width: 240 cm (Track Width) × 2.0 (Fullness) = 480 cm
Now we know the total width, we can work out how many panels (or "drops") of fabric we need to sew together. Standard curtain fabric here in New Zealand is usually 140 cm wide.
- Number of Drops: 480 cm (Total Width) ÷ 140 cm (Fabric Width) = 3.42. Since we can't use a fraction of a drop, we always round up. This means we'll need 4 drops of fabric.
This quick infographic shows how those basic measurements turn into a fabric estimate.
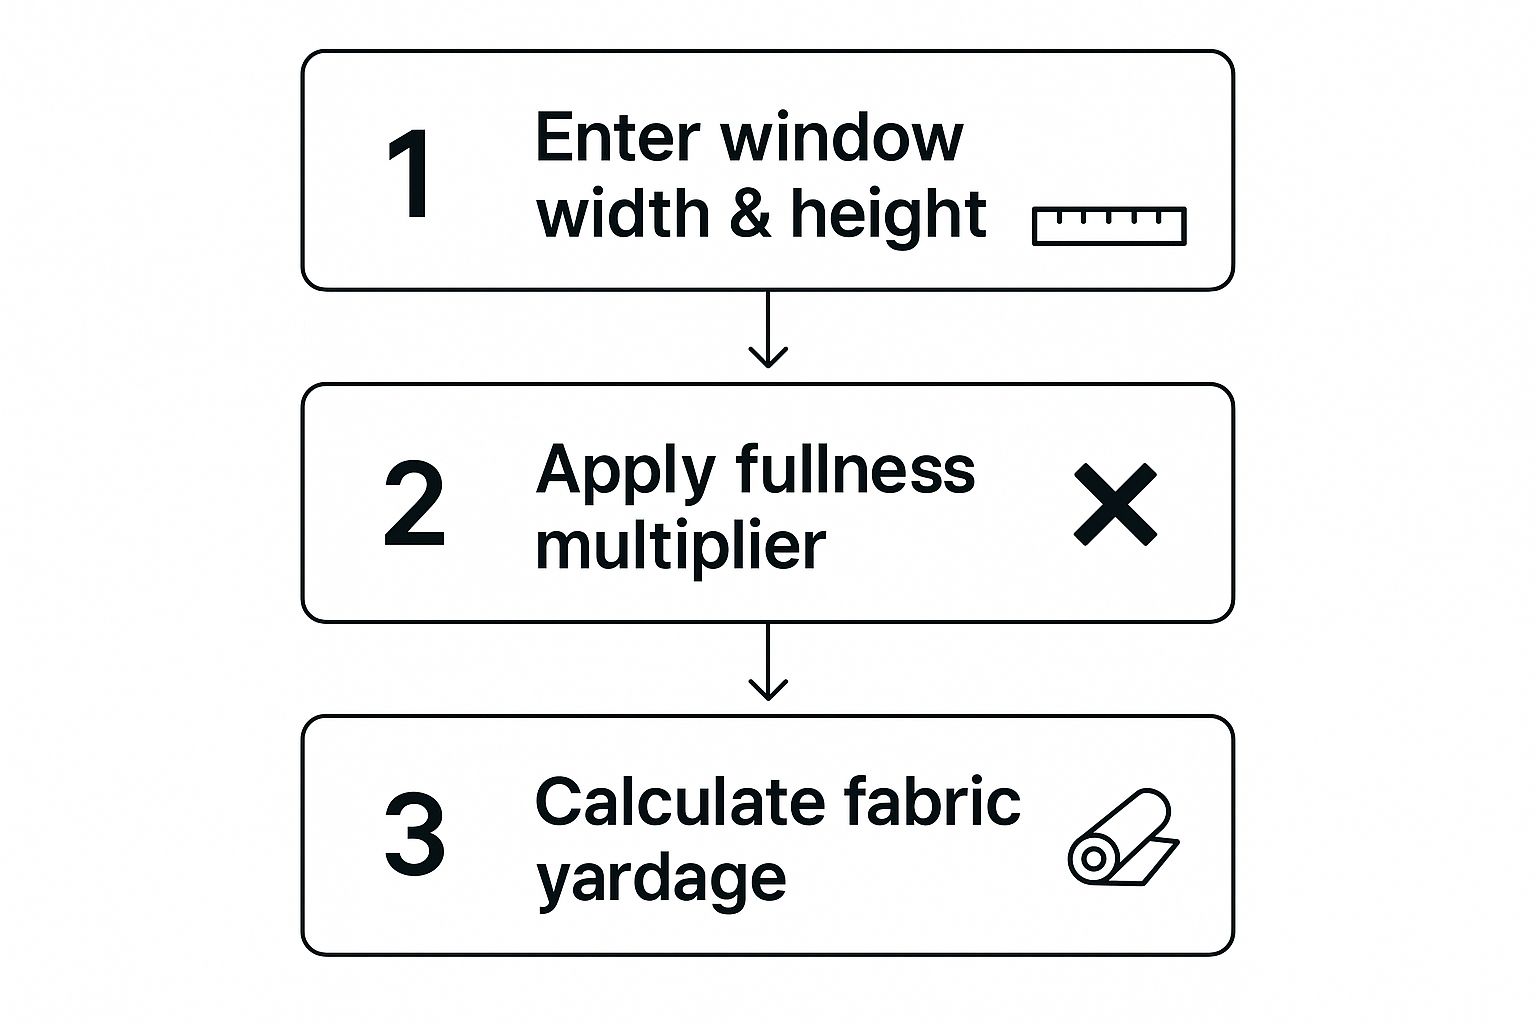
It’s all about taking your window dimensions and expanding them with the fullness multiplier to get to your final fabric quantity.
Next, We Calculate the Fabric Length
With the width sorted, we now need to calculate the cutting length for each of our four drops. This is where we add on the allowances for the top and bottom.
- Base Drop: 220 cm (Our desired finished length)
- Hem Allowance: + 20 cm (This gives us enough for a nice double hem at the bottom)
- Header Allowance: + 10 cm (Perfect for a standard pencil pleat header)
- Subtotal Length: 220 + 20 + 10 = 250 cm
But wait! We have to account for that 50 cm pattern repeat to make sure the design lines up perfectly across all four panels.
- Pattern Calculation: We take our subtotal length (250 cm) and divide it by the pattern repeat (50 cm). This gives us 5. Because it’s a whole number, we don't need to add any extra – our cutting length is spot on at 250 cm per drop.
The Final Tally: 4 drops × 250 cm per drop = 1000 cm, which is 10 metres of fabric.
Following this process ensures you won't end up short. It’s a method that works every time, giving you a perfect, professional-looking result.
And if you'd rather skip the pen and paper, our handy online tool can do the maths for you. Check out our curtain fabric calculator for savings and simple measurements to get a quick and easy estimate.
Answering Your Curtain Fabric Questions

Even with the best guide in hand, a few questions always seem to pop up when you're in the middle of a curtain-making project. That’s completely normal! Getting those little details sorted is what turns a good result into a great one.
Let’s tackle some of the most common questions I hear from fellow DIYers.
How Much Extra Fabric Should I Buy for Mistakes?
This is the classic DIY dilemma, isn't it? You've measured twice, but there's still that little voice wondering, "What if I mess up?"
My advice is to always add about 10% extra fabric to your final calculation. Think of it as a small insurance policy. This little bit of buffer has saved me more than once, covering everything from an accidental slip of the scissors to unexpected shrinkage after pre-washing. It’s far less stressful than having to make a trip back to the shop, only to find your chosen fabric is now sold out.
Does the Type of Fabric Change My Calculations?
Yes, absolutely. The material you choose plays a huge role in your calculations, especially when it comes to fullness. You just can’t treat a floaty sheer the same way you’d treat a heavy velvet.
- Lightweight Fabrics (like voiles and sheers): These delicate materials look their best with a generous amount of fabric. I recommend a fullness ratio of 2.5x to 3x to achieve that lovely, full, and airy drape.
- Heavyweight Fabrics (like velvet or brocade): These have so much body and structure on their own that a little goes a long way. A 1.5x to 2x ratio is usually perfect. Any more, and the curtains can start to look bulky and stiff.
Let the weight and drape of your material be your guide. If you're looking for more ideas on what to choose, check out our guide to the best curtain materials for a living room.
What about odd-shaped windows, like a bay? Don't stress. Just treat each straight section of your curtain track as a separate window. Measure their widths individually, add them all together, and then proceed with your calculations as normal. The principles are exactly the same.
Ready to bring your vision to life? At Maak Home, we specialise in custom-printed fabrics and wallpapers that let you create a truly one-of-a-kind space. Explore our collections and start your project today at https://www.maakhome.co.nz.


