


How to Make Roman Blinds: Easy DIY Step-by-Step Guide

There’s something incredibly satisfying about making your own Roman blinds. It's a project that transforms a room, giving you that high-end, custom-made look for a fraction of what you'd typically pay. You get to measure your window, cut and sew the fabric, and put together a simple cord system.
Why Make Your Own Roman Blinds
Let's be honest, deciding to make your own Roman blinds isn’t just about saving a bit of money. It's about getting that perfect, tailor-made fit and a style that’s genuinely you. How often have you seen off-the-shelf blinds that don't quite fit? They leave awkward gaps or just look a bit clumsy. When you craft them yourself, you control every single detail.
You get to hunt for the perfect fabric that brings your room to life—maybe a bold pattern that makes a statement or a subtle texture that adds a touch of warmth. Here in New Zealand, it also means you can be practical, choosing materials like a thermal lining to add extra insulation for those chilly winters.
The Benefits of a DIY Approach
Learning how to make Roman blinds puts you firmly in the driver's seat. Forget being limited by standard sizes or a handful of fabric choices. You’re free to create something that’s both beautiful and works perfectly for your home.
- A Flawless Fit: Your blinds will be made to the exact millimetre of your window frame, whether you decide on an inside or outside mount. No more compromises.
- Total Creative Freedom: The choice of fabric, colour, and pattern is entirely up to you. The final result will be a true reflection of your personal taste.
- Superior Quality: You have complete oversight of every component, from the fabric and lining down to the dowels and cord system. This hands-on approach results in a far more durable and long-lasting window treatment.
The real reward comes when you step back and see a professional-quality, custom-made blind hanging in your home, knowing you made it yourself. It’s a project that mixes practical skill with a dash of creative flair, elevating your space in a way store-bought solutions just can't.
Your Roman Blind Project at a Glance
To give you a clear picture of what’s ahead, here's a quick overview of the key stages and what to focus on when you make your own Roman blinds.
This little roadmap should help you plan your time and understand where to focus your energy at each step of the journey.
| Project Stage | What to Focus On | Typical Time Commitment |
|---|---|---|
| Fabric & Supply Selection | Choosing a medium-weight fabric and quality components. | 1-2 hours (shopping) |
| Measuring & Calculating | Achieving precise window measurements for a perfect fit. | 30 minutes |
| Cutting, Sewing & Assembly | Ensuring straight cuts and parallel rod pockets. | 3-5 hours |
| Hardware Installation & Finishing | Mounting the headrail and rigging the cords correctly. | 1-2 hours |
With this outline, you're ready to gather your materials and get started on creating something truly special for your home.
Choosing the Right Fabric and Supplies

The real secret to a professional-looking Roman blind lies in choosing your materials with a bit of care. While a beautiful pattern is what first catches the eye, it’s the fabric's weight and structure that will make or break your project. This is the step that sets you up for those crisp, neat folds and smooth operation down the line.
Think of it this way: you can't build a sturdy house on a flimsy frame. For Roman blinds, medium-weight home decor fabrics are your absolute best friend. Materials like cotton drill, heavyweight linen, or good quality blended fabrics strike that perfect balance between structure and flexibility. They’re sturdy enough to hold their shape without being so thick they look bulky when stacked up.
I’d always suggest steering clear of very lightweight or stretchy fabrics. They just don't have the integrity to create those sharp, defined folds that give a Roman blind its classic, tailored look, and you'll likely end up with a bit of sagging.
Selecting the Right Lining
Once you've fallen in love with a main fabric, it's time to think about lining. For most projects, a standard cotton lining is a fantastic addition. It does a few important jobs: protecting your main fabric from sun damage, adding a bit of body, and giving the back of your blind a clean, uniform look when viewed from outside.
But for many New Zealand homes, a specialised lining is where you get the real practical benefits.
- Blockout Lining: An absolute must-have for bedrooms or media rooms where you need total darkness. It’s a dense fabric that stops light from filtering through, so you can really control the light.
- Thermal Lining: This is a brilliant choice for adding a layer of insulation to your windows. It genuinely helps keep your home warmer in winter and cooler in summer, which is a welcome bonus for keeping those power bills in check.
The demand for customisable window treatments has exploded, with local NZ companies showing just how much Kiwis value blinds that are both beautiful and clever. It's not uncommon to see providers offering over 1,000 fabric choices and even motorised options, proving that personalised, functional design is a top priority.
A little tip from my own experience: always pre-wash both your main fabric and your lining. Fabrics can shrink, and trust me, it’s much better for this to happen before you’ve spent hours cutting and sewing. Just follow the care instructions for each material and you'll be set.
Your Essential Supply Checklist
Getting all your supplies together before you start is one of the best things you can do. It makes the whole process feel so much smoother and more enjoyable. There’s nothing worse than getting into the zone, only to realise you’re missing a crucial piece of the puzzle.
Here is my go-to checklist for everything you'll need besides your fabric and lining:
- Headrail: This can be a simple timber batten (around 45mm x 20mm is a good size) or a specialised metal headrail system, which often comes with handy built-in cord locks.
- Dowel Rods: These are thin timber or fibreglass rods, usually 5-7mm in diameter. They slide into pockets on the back of the blind to create the distinct folds.
- Bottom Weight Bar: A flat metal or timber bar that sits in the bottom hem. It adds just enough weight to ensure the blind hangs perfectly straight.
- Cording: Strong, non-stretch nylon cord is the way to go. It won't weaken or sag over time, which is key for a long-lasting blind.
- Screw Eyes or Eyelets: Small metal loops you'll screw into the back of the blind to guide the cords cleanly up to the top.
- Cord Cleat: A simple metal or plastic cleat. You'll fix this to the wall or window frame to wrap the cord around, keeping the blind securely raised.
Choosing natural fibres like linen for your main fabric is also a wonderful idea. It adds a beautiful, relaxed texture to a room, and as an added bonus, it’s a great sustainable option. You can read more about why linen is a sustainable choice in our detailed guide.
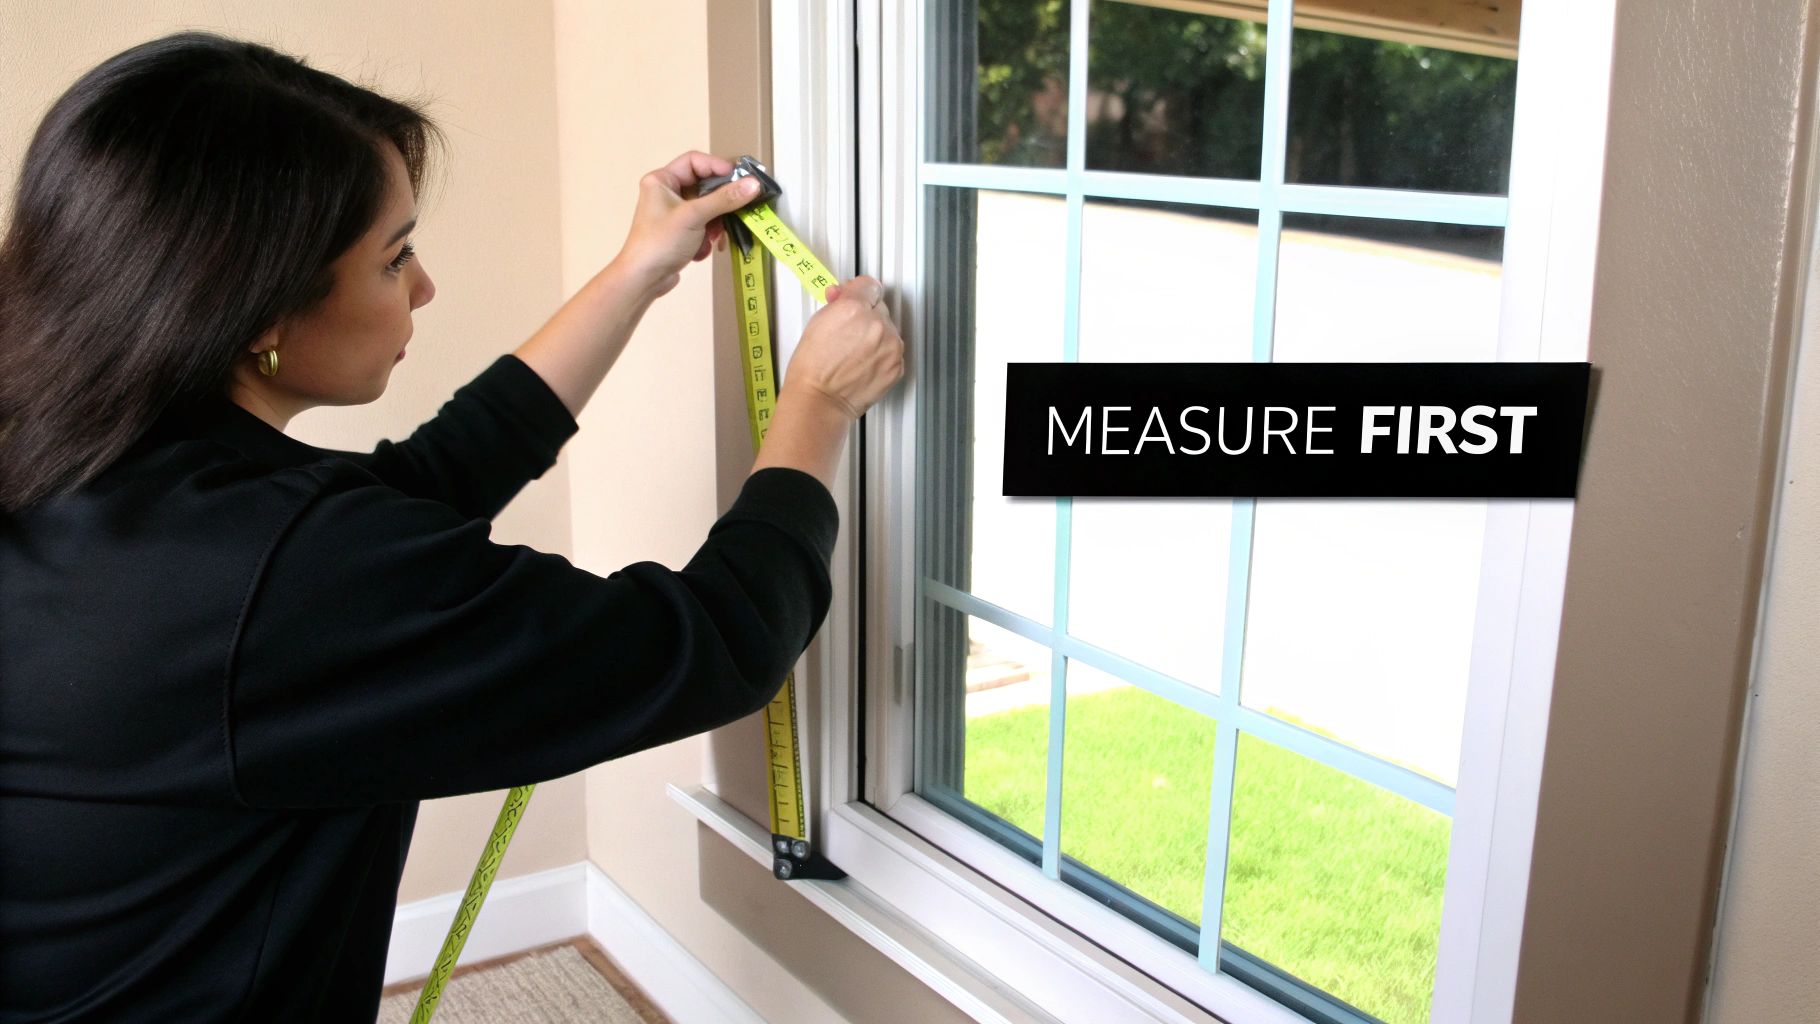
Getting Your Measurements and Calculations Perfect

When it comes to making your own blinds, precision is everything. That old saying, 'measure twice, cut once,' isn't just a quaint suggestion—it's the golden rule. A perfectly fitted Roman blind all comes down to careful, accurate measurements from the very start.
The first big decision you need to make is where your blind will sit. This choice, between fitting it inside or outside the window frame, dictates exactly how you'll measure up.
Deciding Between an Inside or Outside Mount
An inside mount means the blind fits snugly within the window frame itself. This gives a really clean, built-in look that so many of us love, especially when you want to show off beautiful timber moulding or architectural details.
For an outside mount, the blind is installed on the wall or trim above the window, overlapping the frame on all sides. This option is fantastic for maximising light control, as it covers the entire window opening and minimises those pesky light gaps. It’s also the only way to go if your window frame is too shallow to hold the headrail.
My personal take? If you have attractive window frames with enough depth (at least 5cm), an inside mount offers an undeniably sharp, custom look. However, for bedrooms where you want maximum darkness or for windows with no real frame, an outside mount is the more practical and effective choice.
How to Measure for a Perfect Fit
Once you’ve settled on a mount style, it’s time to grab your tape measure. For the best results, always use a metal one – fabric tape measures can stretch and throw your numbers off.
For an Inside Mount:
- Width: Measure across the inside of the window frame at the top, middle, and bottom. Jot all three down and use the narrowest measurement. Trust me, very few window frames are perfectly square.
- Height (Drop): Now measure the height on the left, middle, and right sides inside the frame. This time, you'll want to use the longest measurement to ensure full coverage.
- Deductions: To make sure your blind glides smoothly without scraping the sides, you need to subtract a little from your width. A total deduction of 1cm from the narrowest width is the standard. This gives just enough clearance. Don't deduct anything from the height.
For an Outside Mount:
- Overlap: You want the blind to extend past the window frame to block light properly. I always recommend adding at least 5-10cm to each side of the frame's total width.
- Height: Measure from where you want the top of the headrail to sit (usually 10-15cm above the frame) down to where you want the blind to finish (typically 5-10cm below the windowsill). This creates a balanced look and gives great coverage.
While these principles are specific to making Roman blinds, understanding how to measure different window treatments is a valuable skill. If you're also considering curtains, our guide on how to measure for curtains offers expert tips for a perfect fit might come in handy.
With these final dimensions, you have the exact finished size of your blind. Now you can move on to the exciting part – calculating the fabric you'll need, factoring in extra for hems and rod pockets. This careful prep work is the absolute key to making Roman blinds that look truly custom-made.
Cutting and Sewing Your Blind With Precision
This is where all your careful planning starts to take shape and become a real, beautiful object for your home. Now that your measurements are locked in, we can get into the satisfying process of putting it all together. The real secret here is just to take your time. Every straight cut and neat stitch is the foundation for that professional finish we're after.
First up, lay your main fabric out on a big, flat surface. A clean floor works just fine! Before you even think about cutting, grab a builder's square or a large L-shaped ruler to make absolutely sure your corners are a perfect 90 degrees. I always reach for a rotary cutter and a self-healing mat for this part; they give you so much more accuracy than scissors and stop the fabric from slipping around.
Once your main fabric and lining are cut to size (don't forget you added those allowances for seams and pockets!), it’s time to join them. Place them right-sides together, pin along the two long sides, and sew a simple, straight seam. This creates a clean tube shape, which is the main body of your blind.
This simple diagram breaks down the essential workflow, from measuring all the way to installing.
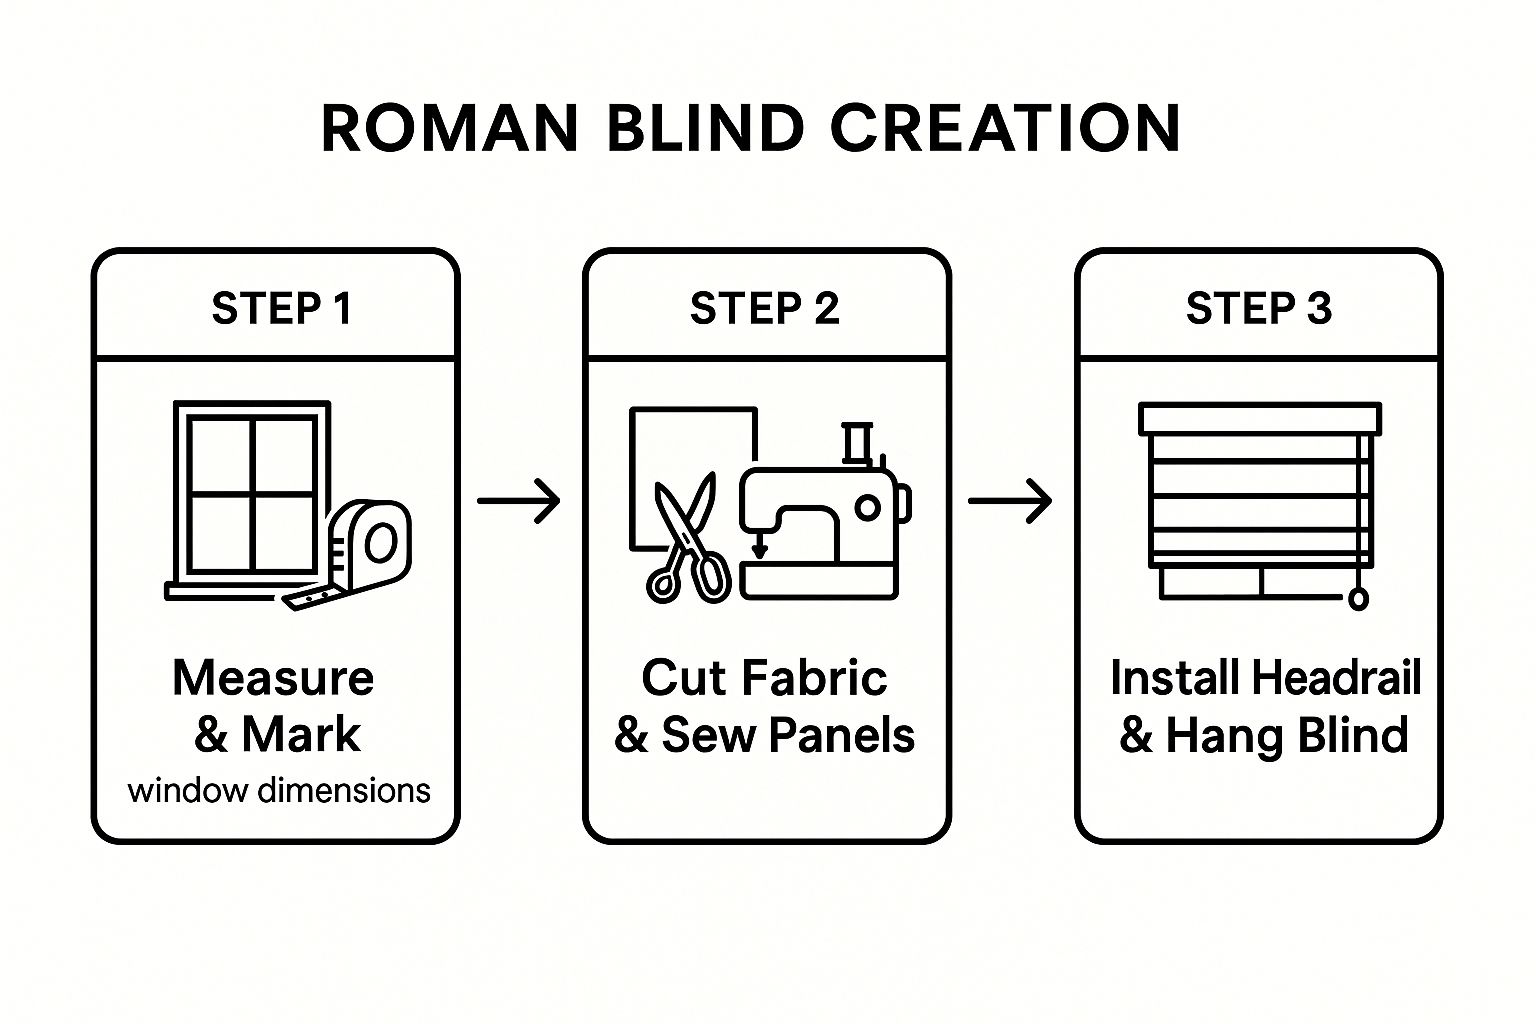
As you can see, the quality of each step really relies on how well you did the one before it, which is why being careful and precise is so important.
Creating the Pockets for Dowels and Weight Bar
With your main panel sewn, turn it right-side out and give it a really good press with a hot iron. This is a non-negotiable step if you want crisp, sharp edges.
Now, lay the blind flat with the lining side facing up. We’ll start with the pocket at the bottom for your weight bar. Just fold up the bottom edge to make a channel that's just wide enough for the bar to slide into, then sew along the top of that fold. Easy.
Next are the dowel rod pockets, which are what create those lovely, classic folds. Using the measurements you worked out earlier, measure and mark where each pocket needs to go, working your way up from the bottom edge. This ensures they'll all be perfectly parallel.
- Marking: Use a fabric-safe chalk pencil and a long ruler to draw straight lines across the width of the blind for each pocket.
- Sewing: Cut strips of lining fabric, fold them into channels, and sew them right onto your marked lines.
This is the part that makes all the difference. Making sure every pocket is perfectly parallel to the others is what separates a 'homemade' look from a 'custom-made' one. It’s the single most critical detail to get those neat, even folds when the blind is pulled up.
The skills you're learning here—sewing straight lines, creating neat channels—are great for other home decor projects too. If you’re enjoying this, you could easily tackle another rewarding project. Our guide on how to make a cushion cover is a great next step and uses very similar techniques.
Right, you’ve put in the hard yards with the cutting and sewing, and that gorgeous piece of fabric is ready for its transformation. This is where it all comes together, moving from a flat textile to a fully working Roman blind. It’s all about getting the hardware and cord system just right.
First up, let’s get that headrail mounted. It doesn’t matter if you’ve gone for a simple timber batten or a more specialised metal track; the principle is the same. For an inside mount, you’ll be drilling straight up into the top of the window frame. If you’re doing an outside mount, you’ll attach it securely to the wall just above the window.
Grab a spirit level. I can’t stress this enough – the headrail needs to be perfectly horizontal. Even the tiniest slant will make the blind pull up wonkily later, and that’s a frustration you just don’t need.
Getting the Cords Rigged
With the headrail firmly in place, it’s time for the main event: rigging the cords. This is the magic that creates that smooth, satisfying lift. You'll have one continuous cord for each vertical line of eyelets on the back of your blind.
Start at the very bottom. Tie one end of each cord to the lowest screw eye on the bottom rod. A good, tight double knot is what you want here—no coming undone! From there, thread each cord straight up through its own column of eyelets, all the way to the top.
- Keep It Straight: Make sure each cord runs in a perfectly straight vertical line. If they crisscross, they’ll create friction and the blind won’t pull up evenly.
- No Tangles: Be mindful as you thread the cords. Keep them from twisting around each other by laying them out flat as you go.
Once all the cords are threaded up the back of the blind, you’ll guide them through the screw eyes along the headrail. Bring them all over to one side—whichever side you’ve decided your pull cord will live on.
Ensuring a Smooth (and Safe!) Finish
Now that you have all the cords gathered on one side, lower the blind to its full length. Trim the cords so they're all exactly the same length. A good rule of thumb is to have them hang about two-thirds of the way down the window when the blind is completely down.
Thread all the loose ends through your chosen cord pull or condenser, knot them together tightly, and snip off any excess. This gives you one clean, single pull to operate the whole thing.
Now for the most critical final step: the cord cleat. You need to fix a cleat or tensioner securely to the wall or window frame, high enough to be well out of reach of small children. Every single time you raise the blind, you must wrap the long cord firmly around this cleat. This isn't just about being tidy; it's a vital safety measure to prevent any risk of entanglement.
It's clear that homeowners are looking for window treatments that are more than just pretty. The demand for smart, functional, and safe window coverings is on the rise. In fact, the New Zealand window covering market is projected to grow at a compound annual growth rate of 4.2%, a trend largely fuelled by interest in home automation. This points to a real desire for solutions that are both stylish and incredibly practical. You can dive deeper into these trends by checking out the full market research report on window coverings.
Nailing this final mechanical stage is what ensures all your beautiful work results in a blind that not only looks professional but operates flawlessly day in and day out.
Your Roman Blind Questions, Answered
Even with the best guide in hand, a few questions always seem to pop up when you're in the middle of a hands-on project. I get it! Learning to make your own Roman blinds is a journey of small discoveries, so I've put together some quick answers to the queries I hear most often.
Think of this as your go-to troubleshooting guide, helping you get that perfect, professional finish you're aiming for.
What Is the Best Fabric for DIY Roman Blinds?
Your best bet is almost always a medium-weight decor fabric. Think along the lines of cotton duck, a good quality linen blend, or even a jacquard weave. These materials have just the right amount of body to create those crisp, even folds without being too bulky when the blind is pulled up.
I’d strongly suggest you steer clear of very lightweight or stretchy fabrics like jersey. They just don't have the structure and will likely sag over time, losing that sharp, tailored look that makes Roman blinds so elegant. For bedrooms or media rooms, it's easy to pair your main fabric with a separate blockout lining for total light control.
How Do I Stop My Roman Blind from Hanging Crooked?
This is a classic frustration, but it’s completely avoidable with a bit of precision work upfront. A wonky blind is almost always a sign that something wasn't cut or measured perfectly square right at the start.
The fix begins with your very first cut. Using a rotary cutter and a self-healing mat is non-negotiable if you want perfectly straight edges that follow the fabric's grain. When it comes time to sew the pockets for your dowel rods, measure meticulously from the bottom edge to ensure every single one is perfectly parallel. Lastly, when you attach the cords, measure their placement from the sides so the pulling force is completely even.
Here's a little trick I swear by: lay the blind out flat and use a builder's T-square to double-check your lines before you even think about sewing. A few extra minutes here will save you a world of headaches later on.
Can I Make a Roman Blind Without a Sewing Machine?
You absolutely can. For a completely no-sew version, you can use iron-on hemming tape or a strong fabric adhesive. This is a fantastic option if you don't own a machine or just aren't confident with your sewing skills.
It's worth knowing the trade-off, though. A sewn blind is significantly more durable, especially in our sunny New Zealand windows where high heat can cause adhesives to weaken over time. For a truly long-lasting finish that will look great for years, I always recommend sewing if you can.
Of course, creating a cohesive look in your space often goes beyond just the windows. If you're enjoying this project, you can apply similar creative principles elsewhere. For some inspiration, check out our guide on how to decorate with cushions offers easy tips to complement your new blinds.
At Maak Home, we're all about empowering you to create beautiful, personalised interiors. From custom-printed fabrics to bespoke wallpapers, we provide the high-quality materials you need to bring your vision to life, all made sustainably right here in Aotearoa. Explore our collections at https://www.maakhome.co.nz.


