


The Ultimate Interior Design Process Checklist for 2025

Embarking on an interior design project can feel both exhilarating and overwhelming. From the first spark of an idea to the final, perfectly placed cushion, a successful transformation hinges on a well-structured plan. Without a clear roadmap, even the most inspiring vision can get lost in a maze of decisions, budget blowouts, and logistical hurdles. That's where a comprehensive interior design process checklist becomes your most valuable tool.
This is not just another list of tasks; it is a strategic framework designed to ensure every detail is considered, every decision is informed, and every dollar is spent wisely. This guide will walk you through each critical phase, breaking down the entire journey into manageable, actionable steps. We will cover everything from the initial client consultation and detailed space planning to sourcing unique materials and executing the final styling.
Whether you're a homeowner in Auckland planning your dream renovation, a commercial developer in Wellington, or a budding designer refining your workflow, this detailed checklist will empower you to navigate the complexities of interior design with confidence and precision. It provides the structure needed to transform your abstract concepts into a functional, beautiful reality. This methodical approach guarantees the final result is a space that is not only visually stunning but perfectly aligned with your lifestyle and aspirations. Let’s start building your dream space, one strategic step at a time.
1. Initial Client Consultation and Needs Assessment
The initial consultation is the bedrock of any successful interior design project. This foundational stage moves beyond surface-level aesthetics to conduct an in-depth analysis of the client's lifestyle, functional requirements, and ultimate project goals. It is a meticulous information-gathering phase that sets the direction for the entire design journey and ensures the final space is not just beautiful, but also a true reflection of its inhabitants. A thorough consultation is a non-negotiable step in a professional interior design process checklist.
Establishing the Project Foundation
This phase involves detailed interviews, questionnaires, and site visits to create a comprehensive project brief. The goal is to understand not just what the client wants, but why they want it. For instance, luxury designer Kelly Wearstler is known for her incredibly detailed client lifestyle interviews, which delve into everything from morning routines to entertaining habits, allowing her to craft deeply personal and functional spaces. Similarly, in the commercial sector, WeWork uses extensive workspace assessment surveys to understand how teams collaborate, ensuring their office designs foster productivity and community.
Key Insight: The most successful designs emerge from a deep understanding of the people who will use the space. Ask open-ended questions about daily routines, pain points with the current space, and future aspirations.
Actionable Tips for a Comprehensive Consultation
To ensure nothing is missed, structure your consultation process meticulously.
- Utilise Visual Aids: Bring preliminary mood boards or image libraries to the first meeting. This helps clients articulate preferences they might struggle to describe with words.
- Involve All Stakeholders: Ensure all decision-makers, including spouses, partners, or key family members, are present during initial discussions to prevent conflicting feedback later on.
- Document Everything: Take detailed notes and send a summary to the client for confirmation. This written record becomes a crucial reference point, ensuring alignment and managing expectations.
The following infographic illustrates the core components that must be defined during this initial assessment phase.
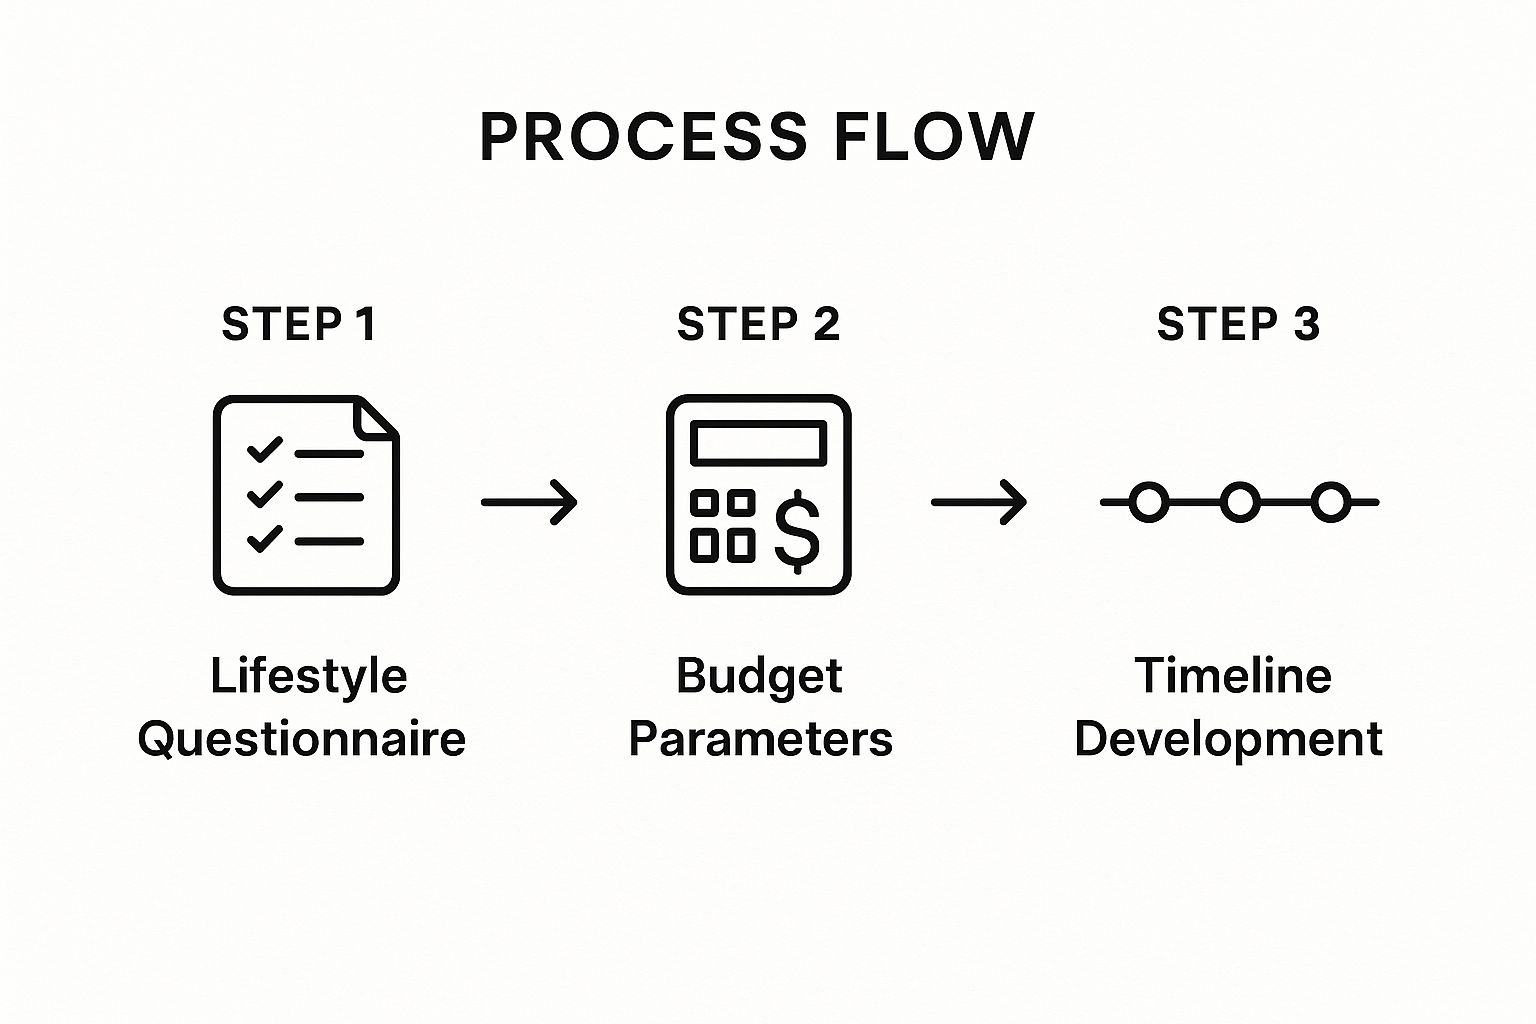
This process flow highlights how understanding the client's lifestyle directly informs the practical constraints of budget and timeline, creating a solid, realistic framework for the project.
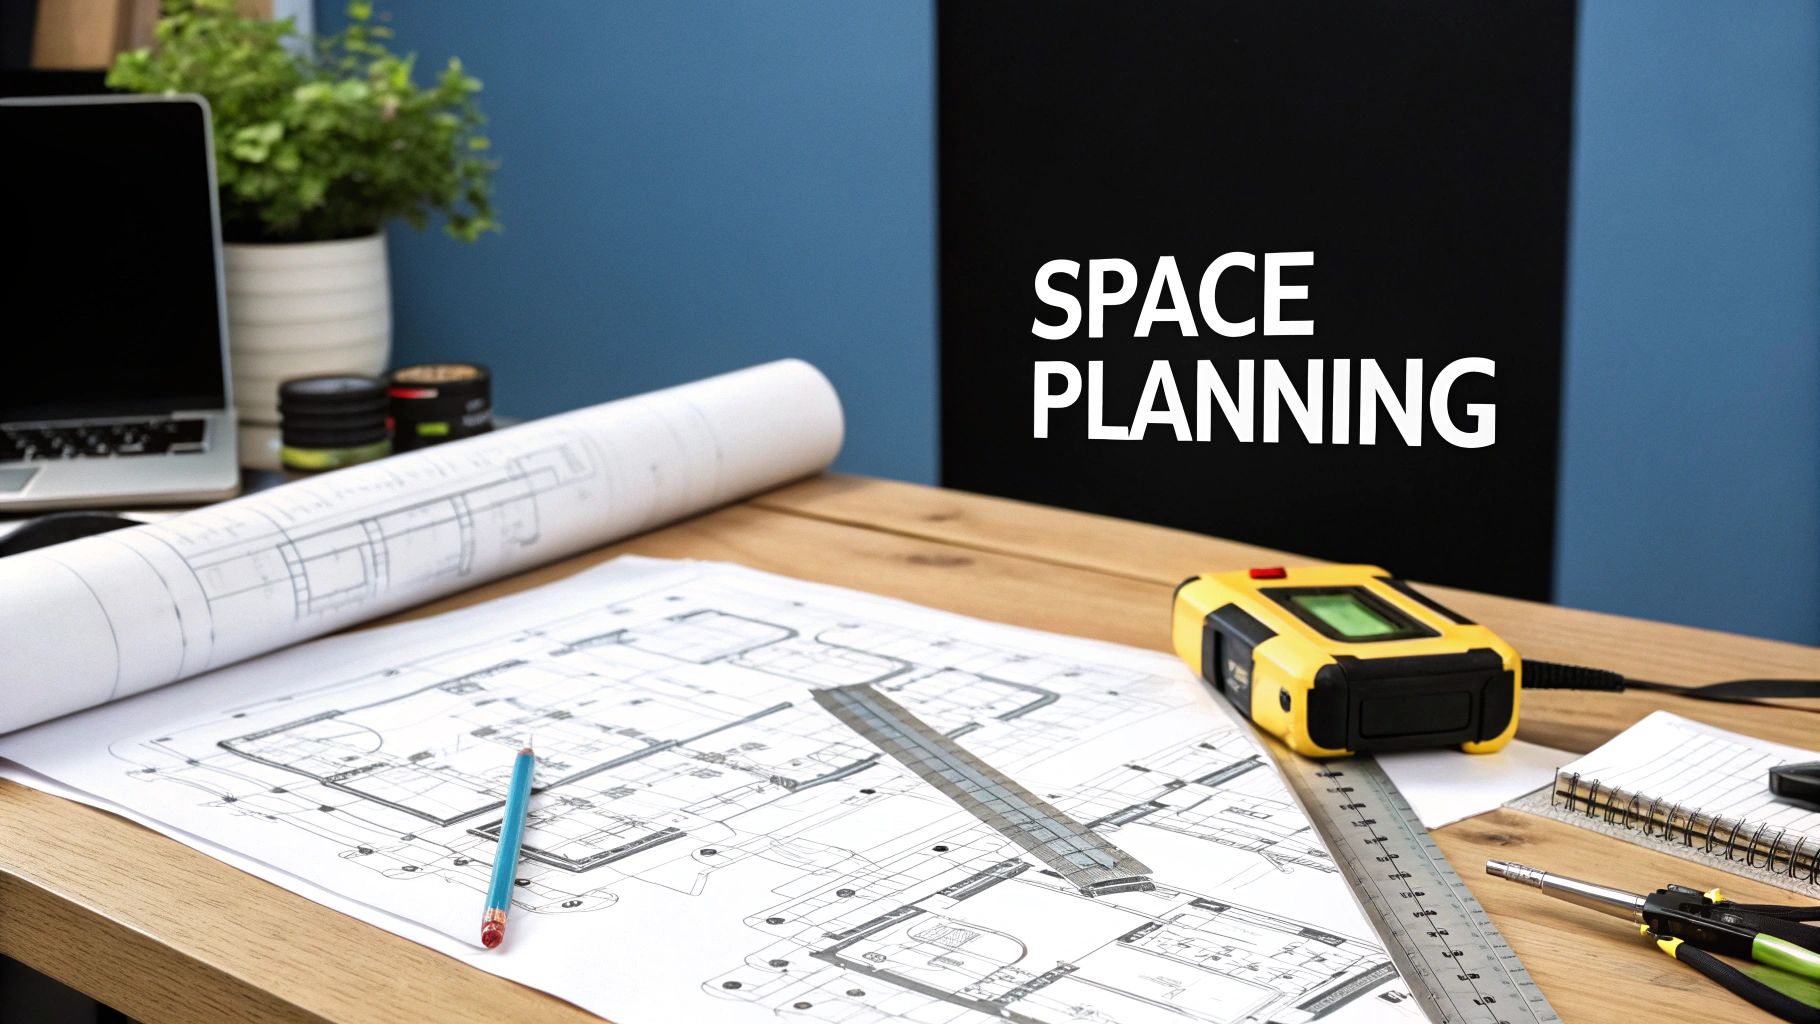
2. Space Planning and Architectural Analysis
Following the client consultation, this phase translates abstract needs into a concrete spatial framework. It involves a meticulous architectural assessment and the strategic arrangement of elements within a given space to optimise both function and flow. This critical step evaluates existing conditions, from structural columns to window placements, to develop floor plans that maximise utility and aesthetic appeal. A comprehensive space planning stage is a non-negotiable part of any professional interior design process checklist, ensuring the design is grounded in the physical reality of the environment.
Establishing the Project Foundation
This stage moves beyond a simple floor plan to a deeper analysis of how people will move through and interact with the space. The process, popularised by pioneers like Florence Knoll in corporate environments, involves creating bubble diagrams and detailed layouts that map out traffic patterns and activity zones. For example, Nate Berkus is renowned for his ability to make small New Zealand apartments feel spacious through clever furniture placement and multi-functional zones. Similarly, the open-plan layouts in many of Sarah Richardson’s family homes are a masterclass in creating connected yet distinct areas for living, dining, and cooking.
Key Insight: Excellent space planning is invisible; it feels intuitive and natural. The goal is to eliminate friction in daily life by ensuring every element is positioned for maximum efficiency and comfort.
Actionable Tips for a Comprehensive Consultation
To develop an effective spatial layout, a systematic and precise approach is required.
- Use Laser Measures for Accuracy: Ditch the floppy tape measure. Digital laser measures provide precise dimensions of walls, windows, and architectural features, forming an accurate base for all subsequent planning.
- Create Multiple Layout Options: Develop at least two to three distinct furniture layout options. Presenting clients with different configurations helps them visualise possibilities and make informed decisions about how they want to live in the space.
- Account for Clearances: Always factor in necessary clearances. Ensure there is adequate space for door swings, opening drawers, and comfortable traffic paths around furniture (a minimum of 75-90 cm is a good rule of thumb for major walkways).
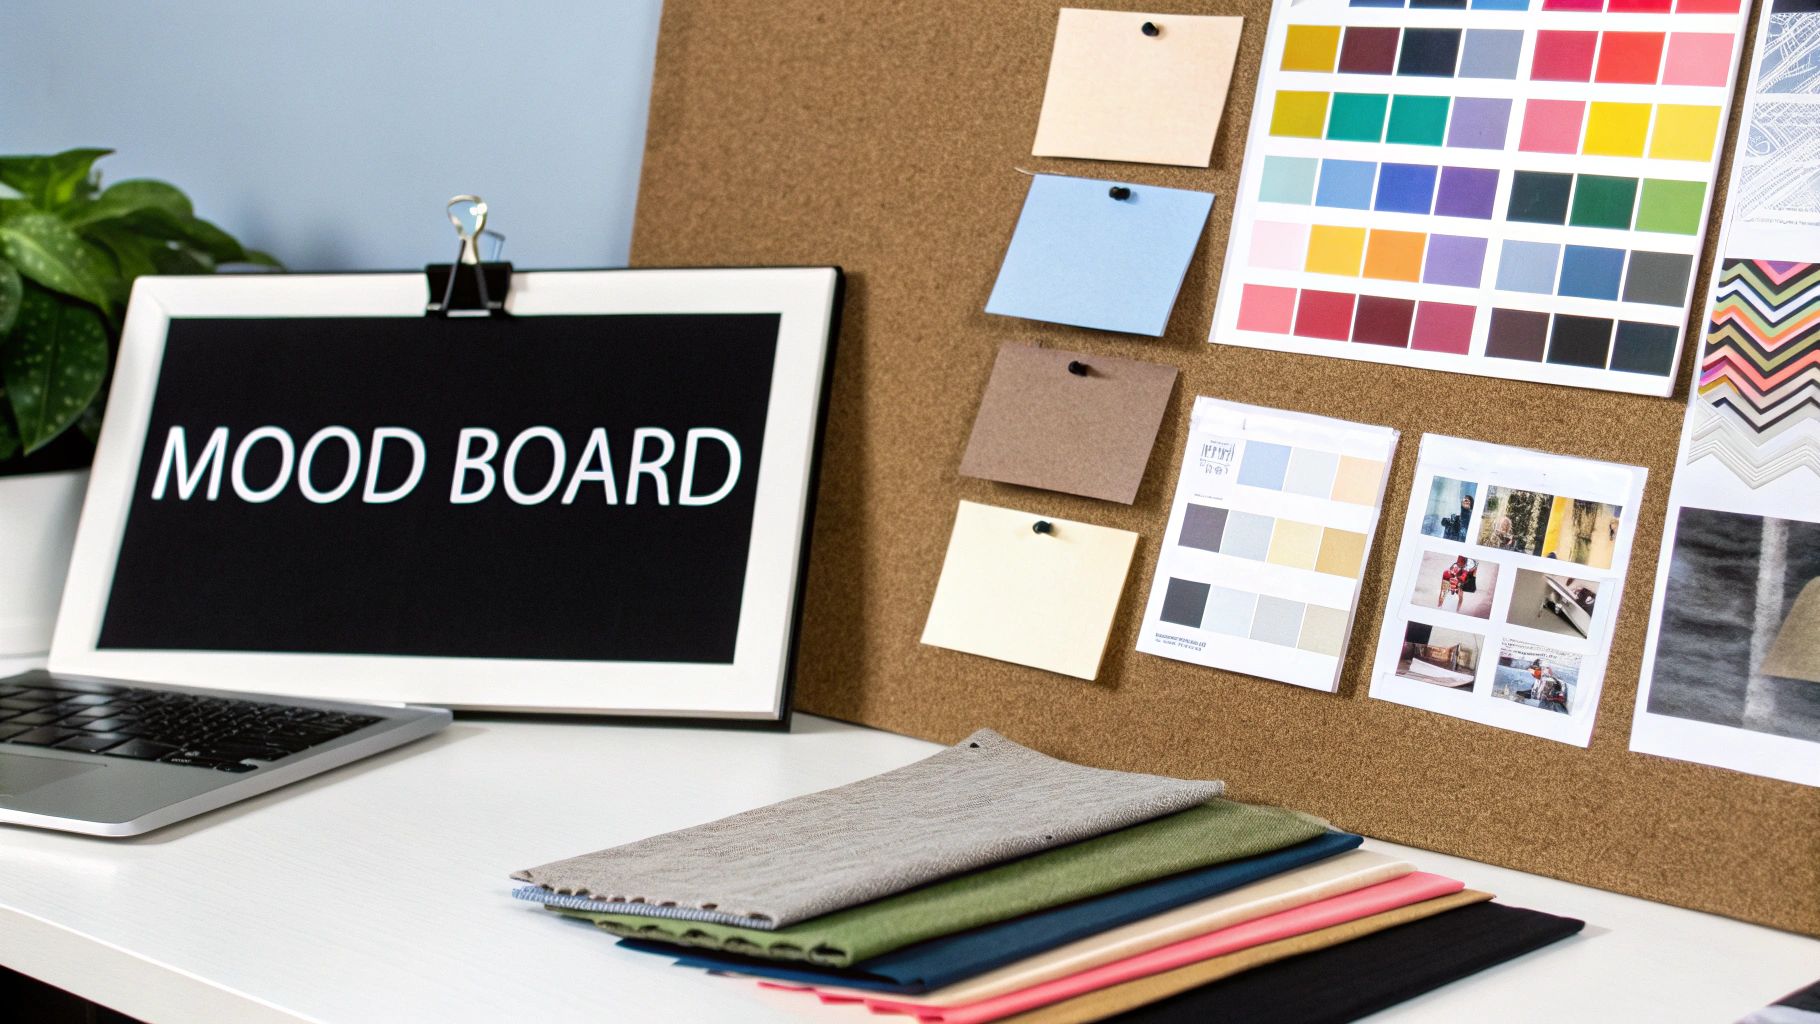
3. Design Concept Development and Mood Board Creation
This is the creative heart of the interior design process, where abstract ideas, client needs, and inspiration are synthesised into a tangible visual direction. By developing a cohesive design concept and an accompanying mood board, you create a North Star for the project. This critical step ensures every subsequent decision, from selecting finishes to procuring furniture, aligns with a unified vision, preventing disjointed or unfocused outcomes. A well-executed concept is a non-negotiable part of any professional interior design process checklist.
Establishing the Project Foundation
This phase translates the client brief into a creative language. The goal is to establish a clear aesthetic and emotional tone for the space. For example, legendary designer David Hicks popularised the use of mood boards to present his bold, graphic concepts to clients. Today, designers like Shea McGee of Studio McGee use highly refined digital and physical concept boards to communicate their signature "livable luxury," blending neutral palettes with warm textures to create family-friendly yet sophisticated spaces. Similarly, Peter Marino's concept development for Chanel boutiques masterfully merges the brand's iconic elegance with modern art and architectural rigour.
Key Insight: A strong concept is a filter, not a prescription. It should guide decisions and inspire creativity without rigidly dictating every single element, allowing for organic development.
Actionable Tips for a Comprehensive Consultation
To develop a compelling and accurate concept, a structured yet creative approach is essential.
- Incorporate Texture Samples: Move beyond flat images. Include physical samples of fabrics, woods, metals, and stone on your mood board to convey the tactile experience of the space.
- Create Both Digital and Physical Boards: Digital boards (using tools like Pinterest or Canva) are excellent for initial collaboration and quick revisions, while a physical board provides a true-to-life representation of colours and textures.
- Limit the Core Colour Palette: Stick to 3-5 primary colours to anchor the scheme. This provides structure while allowing for accent colours to be introduced later. Explore how different colours can be used to keep you focused and productive to inform your palette choices.
4. Detailed Design Development and Specifications
This is the critical technical phase where approved concepts are translated into a precise, buildable reality. Detailed design development moves beyond mood boards and sketches to create comprehensive, actionable plans that leave no room for ambiguity. It involves producing detailed drawings, specifying every material and finish, and compiling documentation that contractors and tradespeople can use for flawless execution. This meticulous planning is an indispensable part of any professional interior design process checklist, preventing costly errors and ensuring the design vision is realised exactly as intended.
Translating Vision into Technical Reality
This stage turns creative ideas into a concrete set of instructions. It involves creating floor plans with exact dimensions, elevation drawings for custom cabinetry, and lighting plans that detail fixture placement and switching. For example, renowned designer Bunny Williams is celebrated for her incredibly detailed specification documents, which specify everything from the exact paint colour and finish to the specific model number of a tap and its required placement. Similarly, the popular firm Studio McGee provides comprehensive design packages that include detailed specifications, allowing clients and builders to implement their signature look with precision, even from a distance.
Key Insight: The quality of the final built environment is directly proportional to the quality of the specifications. Ambiguity in documentation leads to assumptions on-site, which can compromise the design.
Actionable Tips for Flawless Specification
To ensure every detail is captured accurately, a structured approach to documentation is vital.
- Create Detailed Elevation Drawings: For any wall with key features like joinery, tiling, or specific paint finishes, produce an elevation drawing. This visual guide is essential for communicating placement, height, and proportions to builders and installers.
- Specify Exact Product Details: Never just list "white subway tile." Instead, specify the manufacturer, product name, model number, size, colour code, grout colour, and tile layout pattern. This level of detail removes all guesswork.
- Maintain an Organised Specification Library: Develop a standardised template or use software to create a "spec book" for each project. This document should be logically organised by room or trade and serves as the single source of truth for all materials, fixtures, and finishes.
5. Budget Planning and Cost Estimation
Budgeting is the critical financial anchor of any interior design project, transforming creative vision into a tangible and achievable plan. This stage involves a detailed breakdown of all anticipated expenses, from procurement and labour to taxes and contingency funds. A meticulous approach to financial planning ensures transparency, manages client expectations, and prevents costly overruns, making it an indispensable part of any professional interior design process checklist.
Establishing the Project Foundation
This phase moves beyond a single lump-sum figure to create a line-item budget that accounts for every component of the design. The goal is to provide a realistic financial roadmap that informs every decision, from material selection to contractor hiring. For example, shows like Divine Design featuring Candice Olson popularised the concept of transparent, itemised budgets, showing viewers exactly how funds were allocated between furnishings, custom joinery, and labour. In the commercial sphere, firms like Rockwell Group develop complex, multi-layered budgets for large-scale hospitality projects, factoring in everything from custom lighting installations to durable, high-traffic finishes.
Key Insight: A detailed budget is a tool for empowerment, not restriction. It enables clients to make informed investment decisions, prioritising what matters most to them.
Actionable Tips for a Comprehensive Consultation
To develop a robust and accurate budget, a structured and disciplined approach is essential.
- Prioritise Permanent Fixtures: Allocate a significant portion of the budget to high-impact, long-term elements like flooring, cabinetry, and architectural lighting. These are more difficult and expensive to change later.
- Obtain Multiple Quotes: For major expenses like construction, custom furniture, or window treatments, always secure at least three detailed quotes from reputable suppliers or contractors to ensure fair market pricing.
- Allocate a Contingency Fund: Set aside 10-20% of the total project cost for unforeseen issues, such as hidden structural problems, supplier price increases, or client-requested changes mid-project. This buffer is crucial for maintaining financial stability.
- Utilise Tracking Tools: Use spreadsheets or project management software to track all expenses in real time against the budget. Share this document with the client regularly to maintain full transparency and accountability.
6. Vendor Selection and Material Sourcing
With a finalised design plan, the focus shifts to bringing the vision to life through procurement. This critical stage involves identifying, evaluating, and selecting the right suppliers, contractors, and artisans. It encompasses sourcing all necessary furniture, materials, fixtures, and specialised services while carefully negotiating terms and ensuring every element meets stringent quality standards. This step is a cornerstone of a professional interior design process checklist, as the quality of sourced goods directly impacts the project's final outcome.
Building Your Project Team and Palette
This phase is about translating design concepts into tangible assets by assembling a network of trusted professionals and materials. It requires a strategic approach to procurement, balancing aesthetics, budget, and durability. For instance, renowned designer Alexa Hampton leverages her exclusive, long-standing relationships with high-end vendors to access unique pieces for luxury projects. In contrast, Amber Lewis of Amber Interiors is celebrated for her skillful mix of high-end custom furniture with accessible, ready-made items, demonstrating that masterful sourcing can achieve a curated look at various price points. On a commercial scale, global firms like Gensler utilise vast, pre-vetted sourcing networks to efficiently procure materials for large-scale projects, ensuring consistency and quality control.
Key Insight: Your network of vendors and artisans is as crucial as your design skills. The reliability and craftsmanship of your suppliers will ultimately define the longevity and quality of the finished space.
Actionable Tips for Strategic Sourcing
To ensure a smooth and successful procurement phase, a methodical approach is essential.
- Maintain a Curated Vendor Database: Keep a detailed, organised list of trusted suppliers, contractors, and artisans. Include notes on their specialties, reliability, pricing, and past performance to streamline future selections.
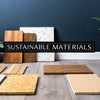
- Request Samples Before Final Selection: Never commit to large-scale material orders, like flooring or upholstery fabric, without first obtaining and approving physical samples. This prevents costly mistakes and ensures the colours and textures work in the actual space and lighting. As you explore options, consider how sustainable interior design ideas can be integrated by prioritising vendors who offer eco-friendly materials.
- Negotiate Payment Terms Upfront: Clearly define and document payment schedules, deposit requirements, and final payment terms with all vendors before any work begins. This protects both parties and prevents financial misunderstandings down the line.
- Build Relationships with Local Artisans: Fostering connections with local craftspeople not only supports the community but also provides access to unique, custom-made pieces that can elevate a project from standard to exceptional.
7. Project Implementation and Construction Coordination
The project implementation phase is where meticulously planned designs transition from paper to a tangible, physical reality. This execution stage is a dynamic process involving the coordination of various trades, management of construction activities, and rigorous quality control to bring the creative vision to life. It requires unwavering attention to detail and proactive problem-solving to ensure the project stays on schedule, within budget, and meets the highest standards of craftsmanship. This hands-on oversight is a critical component of any professional interior design process checklist.
Bringing the Design to Life
This stage is defined by active on-site management, from overseeing demolition to the final installation of fixtures and finishes. The designer acts as the central point of contact, ensuring builders, electricians, plumbers, and painters are all working in harmony from the same set of plans. For example, designer Thom Filicia is renowned for his hands-on project management, often seen on-site directing trades to ensure every detail aligns with his vision. Similarly, large-scale commercial firm HOK manages complex construction logistics for corporate headquarters, demonstrating how crucial seamless coordination is to success at any scale.
Key Insight: Effective project implementation isn't just about following a plan; it's about anticipating issues and managing the human elements of construction to maintain momentum and quality.
Actionable Tips for Flawless Execution
To ensure the construction phase runs smoothly, a structured and communicative approach is essential.
- Conduct Regular Site Visits: Schedule frequent, consistent visits to the project site. This allows you to monitor progress, answer questions from contractors in real-time, and catch potential errors before they become costly to fix.
- Maintain Detailed Photo Documentation: Take photos at every stage of the construction process. This visual record is invaluable for tracking progress, communicating with clients, and resolving any disputes that may arise about the work completed.
- Address Issues Immediately: When a problem is identified, tackle it head-on. Procrastination can lead to project delays and budget overruns. Facilitate a solution-focused discussion with the relevant parties to resolve the issue swiftly. For instance, if you encounter a wall that isn't suitable for a specified finish, you might need a quick pivot to another solution, such as learning how to apply removable wallpaper as a stylish and practical alternative.
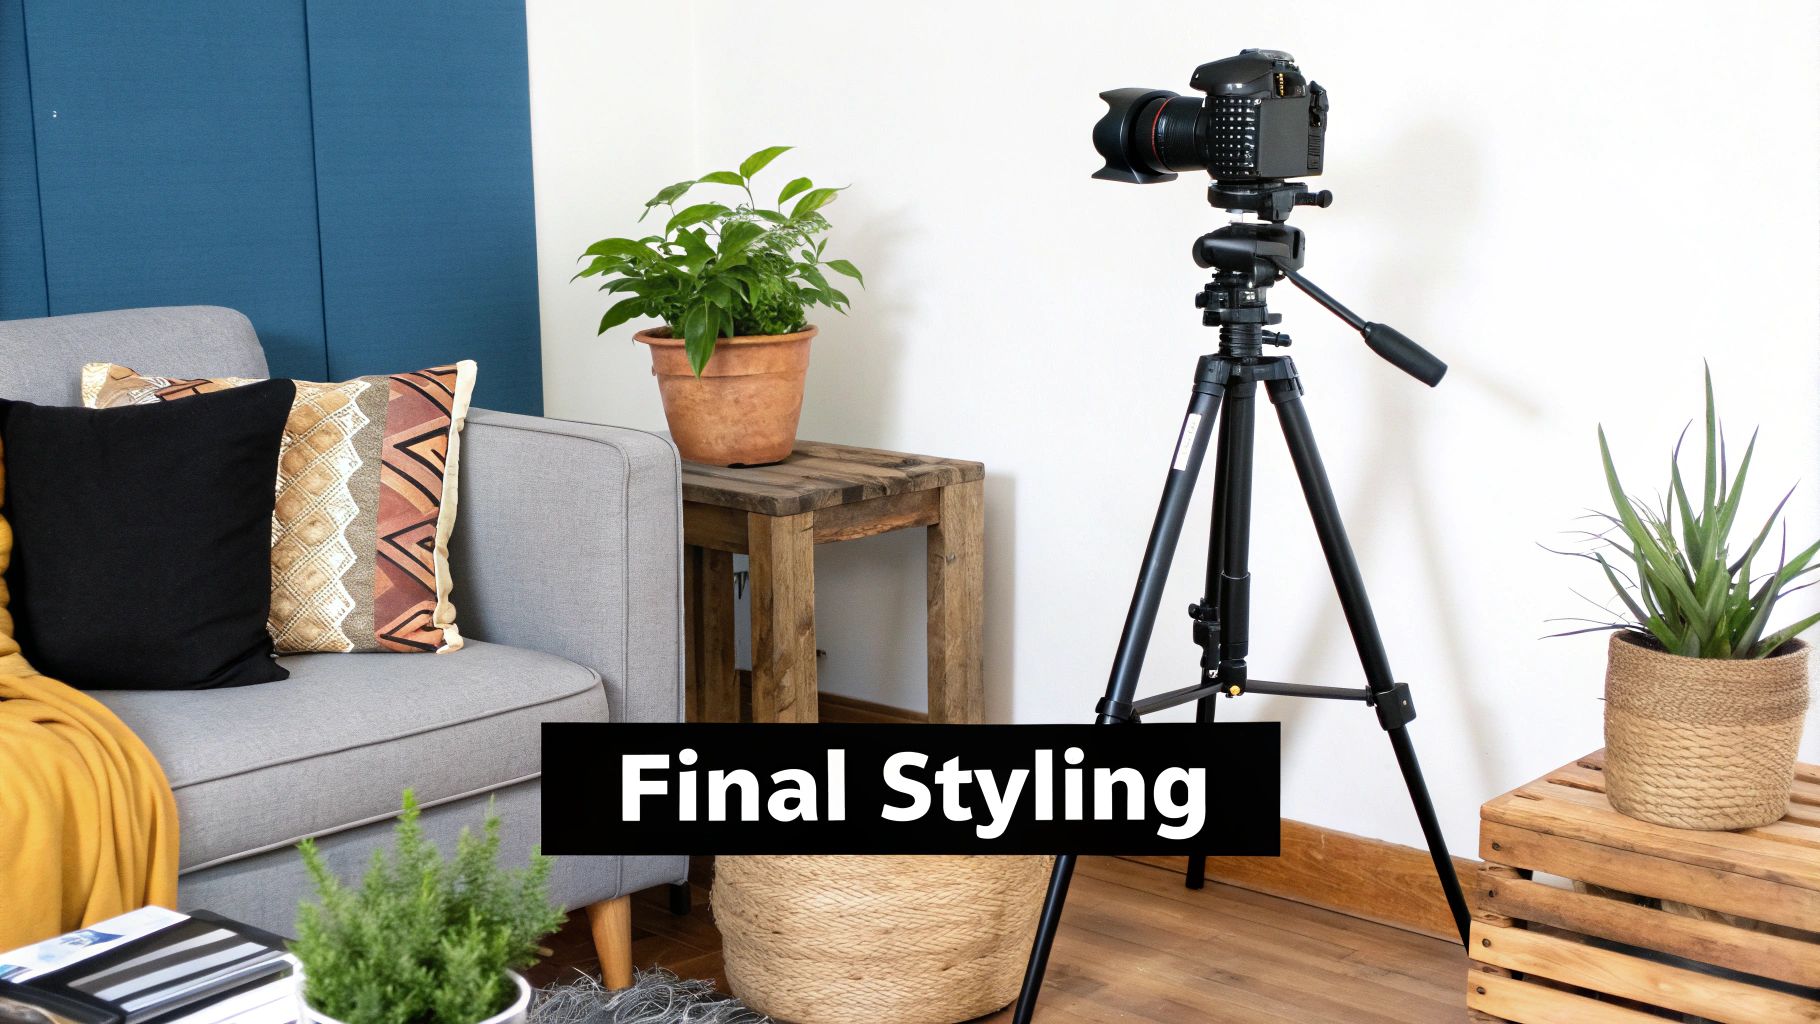
8. Final Styling and Project Completion
Final styling is the crucial last step that transforms a well-designed space into a breathtaking, finished home. This phase moves beyond furniture placement to the art of accessorising and refinement, where every final touch is added to realise the complete design vision. It’s the meticulous process of layering textures, placing art, and arranging objects that breathes life and personality into the project, making it an indispensable part of any professional interior design process checklist.
Bringing the Vision to Life
This stage is about curation and composition, adding the final 10% of detail that makes 90% of the impact. It involves everything from hanging artwork and mirrors to arranging books on a shelf and placing decorative objects. For example, Ryan Korban is celebrated for his meticulously styled luxury interiors, where every object feels intentionally placed to create a sense of opulent harmony. Similarly, Justina Blakeney’s bohemian spaces are a masterclass in curated maximalism, using plants, textiles, and personal treasures to achieve a look that is both vibrant and deeply personal. Even a simple, well-placed accent like a folding screen room divider can add a final layer of architectural interest and function.
Key Insight: Styling is not about adding clutter; it's about telling a story. Each object should have a purpose, whether it's to add colour, texture, or personal meaning, contributing to the overall narrative of the space.
Actionable Tips for Flawless Finishing
A systematic approach to styling ensures a cohesive and polished result.
- Style in Layers: Begin with larger items like rugs and artwork, then layer in medium-sized pieces like lamps and plants, and finish with smaller accessories such as books, vases, and decorative objects.
- Provide a Client Handover Pack: Create a comprehensive document for the client that includes care instructions for all new finishes, fabrics, and furniture, along with a maintenance schedule to keep the space looking its best.
- Document the Transformation: Always take high-quality "before" and "after" photographs. This not only provides powerful content for your portfolio but also visually demonstrates the value of your design services to the client.
9. Final Installation and Site Handover
The final installation and handover phase is the culmination of the entire interior design process. This is where the meticulously planned vision becomes a tangible reality. It involves the coordinated delivery and placement of all furniture, fixtures, and equipment (FF&E), followed by a formal handover to the client, marking the project's official completion. Executing this step with precision is a crucial part of any professional interior design process checklist, ensuring a seamless transition and client satisfaction.
Orchestrating the Installation
This phase demands exceptional project management and logistical coordination. It's not simply about moving furniture in; it involves managing delivery schedules, liaising with tradespeople for any final installations like light fixtures or custom joinery, and overseeing the placement of every item according to the finalised floor plans. For large-scale commercial projects, like those managed by firms such as Geyer, this stage is a highly choreographed event involving multiple teams working in sequence to minimise disruption and meet tight deadlines.
Key Insight: Create a master installation schedule that outlines the sequence of deliveries and installations. A “last in, first out” approach often works best, with foundational elements like rugs and large furniture arriving before smaller, decorative items.
Actionable Tips for a Flawless Handover
A smooth handover solidifies a positive client experience and prevents post-project issues.
- Conduct a Thorough Walk-Through: Go through the space room-by-room with the client, referencing the original plans. Use this time to demonstrate how new systems work, such as smart lighting or integrated appliances.
- Prepare a Handover Pack: Compile a comprehensive folder containing all relevant documents, including product warranties, care and maintenance instructions for finishes and furniture, and contact details for relevant tradespeople.
- Create a Snagging List: During the walk-through, meticulously document any minor defects or omissions (the "snagging list"). Agree on a clear timeline with the client for rectifying these items to formally close out the project.
9-Step Interior Design Process Comparison
| Phase | Implementation Complexity 🔄 | Resource Requirements ⚡ | Expected Outcomes 📊 | Ideal Use Cases 💡 | Key Advantages ⭐ |
|---|---|---|---|---|---|
| Initial Client Consultation and Needs Assessment | Medium 🔄🔄 | Moderate (time, interviews, questionnaires) ⚡⚡ | Clear understanding of client needs, project scope defined 📊 | Early project stage, new client projects | Prevents costly revisions, builds client trust ⭐ |
| Space Planning and Architectural Analysis | High 🔄🔄🔄 | High (technical tools, expert skills) ⚡⚡⚡ | Optimized space efficiency and functional layouts 📊 | Structural evaluation, renovation, complex layouts | Maximizes space use, anticipates structural issues ⭐ |
| Design Concept Development and Mood Board Creation | Medium 🔄🔄 | Moderate (creative tools, visual elements) ⚡⚡ | Visual design direction, cohesive style guide 📊 | Early design phases, client presentations | Clarifies vision, prevents inconsistencies ⭐ |
| Detailed Design Development and Specifications | Very High 🔄🔄🔄🔄 | High (technical expertise, CAD software) ⚡⚡⚡ | Precise implementation plans, accurate cost estimation 📊 | Technical planning, contractor handoff | Ensures clarity, reduces errors in construction ⭐ |
| Budget Planning and Cost Estimation | Medium 🔄🔄 | Moderate (market knowledge, cost tracking) ⚡⚡ | Realistic budgets, financial accountability 📊 | Feasibility analysis, client decision-making | Prevents overruns, enables cost control ⭐ |
| Vendor Selection and Material Sourcing | Medium-High 🔄🔄🔄 | Moderate to High (industry knowledge, negotiation skills) ⚡⚡ | Quality materials, reliable suppliers, cost savings 📊 | Procurement phase, sourcing specialized products | Access to trade resources, better pricing ⭐ |
| Project Implementation and Construction Coordination | High 🔄🔄🔄 | High (project management, coordination) ⚡⚡⚡ | Timely project delivery, quality adherence 📊 | Construction, execution, contractor management | Maintains schedule, single accountability ⭐ |
| Final Styling and Project Completion | Medium 🔄🔄 | Moderate (styling materials, photography) ⚡ | Polished finish, client satisfaction, portfolio quality 📊 | Project close-out, final client presentation | Ensures client delight, documents project outcome ⭐ |
Bringing Your Bespoke Interior to Life
Navigating the path from a blank canvas to a beautifully realised interior is a complex but incredibly rewarding journey. This comprehensive interior design process checklist was crafted to serve as your steadfast guide, demystifying each critical stage and empowering you with the structure needed for success. We’ve journeyed through the foundational steps of client consultation and space planning, explored the creative spark of concept development, and delved into the practical realities of budgeting and vendor selection. Each phase, from meticulous material sourcing to hands-on construction coordination, is an essential building block in creating a cohesive and functional space.
The true power of this checklist lies in its ability to transform what can feel like an overwhelming endeavour into a series of manageable, sequential actions. It provides a framework that encourages creativity while ensuring no critical detail is overlooked. By systematically addressing each point, from the initial architectural analysis to the final styling touches, you mitigate risks, manage expectations, and maintain control over your project's timeline and budget. This structured approach is the secret weapon of seasoned professionals, ensuring that every decision is intentional and contributes to the final, unified vision.
Key Takeaways for a Flawless Project
The most successful interior design projects are not born from chance; they are the result of meticulous planning and clear communication. Here are the most vital takeaways to carry forward:
- The Brief is Your Foundation: Never underestimate the initial consultation and needs assessment. A deeply understood brief acts as your project's constitution, guiding every subsequent decision and preventing costly misunderstandings down the line.
- Concept is King: Your mood board and design concept are more than just pretty pictures. They are the emotional and aesthetic anchors of the project, ensuring a consistent narrative and visual language throughout the space.
- Details Define the Design: The detailed design development phase, where every finish, fixture, and measurement is specified, is where a good design becomes a great one. Precision here prevents ambiguity during construction and procurement.
- Budgeting is a Design Tool: Treat your budget not as a constraint, but as a creative tool. It forces prioritisation, encourages innovative solutions, and ensures the final outcome is both beautiful and financially viable.
Remember, a robust process doesn't stifle creativity; it liberates it. By establishing a solid framework with this interior design process checklist, you free up mental energy to focus on the innovative, personalised details that will truly make your space sing.
From Checklist to Creation: Your Next Steps
With this detailed guide in hand, your immediate next step is to put it into practice. Start by revisiting Phase 1, even if you're working on your own home. Write down your goals, your functional needs, and the feeling you want the space to evoke. Begin gathering inspiration for your mood board, but do so with the structured phases of this checklist in mind. This methodical approach ensures you're not just collecting ideas, but building a viable project plan.
Embracing a comprehensive interior design process checklist elevates your work from simple decorating to the art of creating holistically conceived environments. It’s the difference between a room that looks pleasant and a space that feels intrinsically right, perfectly attuned to its occupants. By mastering this process, you gain the confidence to tackle any project, whether it's a small residential refresh or a large-scale commercial fit-out. You are equipped to create spaces that are not only aesthetically stunning but are also practical, durable, and deeply resonant with their purpose. This is how you build a legacy of exceptional design, one meticulously planned project at a time.
Ready to bring the unique, personal elements of your design concept to life? Maak Home specialises in transforming your creative ideas into tangible, beautiful textiles. Our on-demand digital printing, all done sustainably in New Zealand, allows you to create truly bespoke wallpapers, curtains, and cushions that perfectly align with your vision, turning a well-planned space into a deeply personal one. Explore the possibilities at Maak Home.


