


NZ Wallpaper Installation Cost NZ | Free Quote & Guide
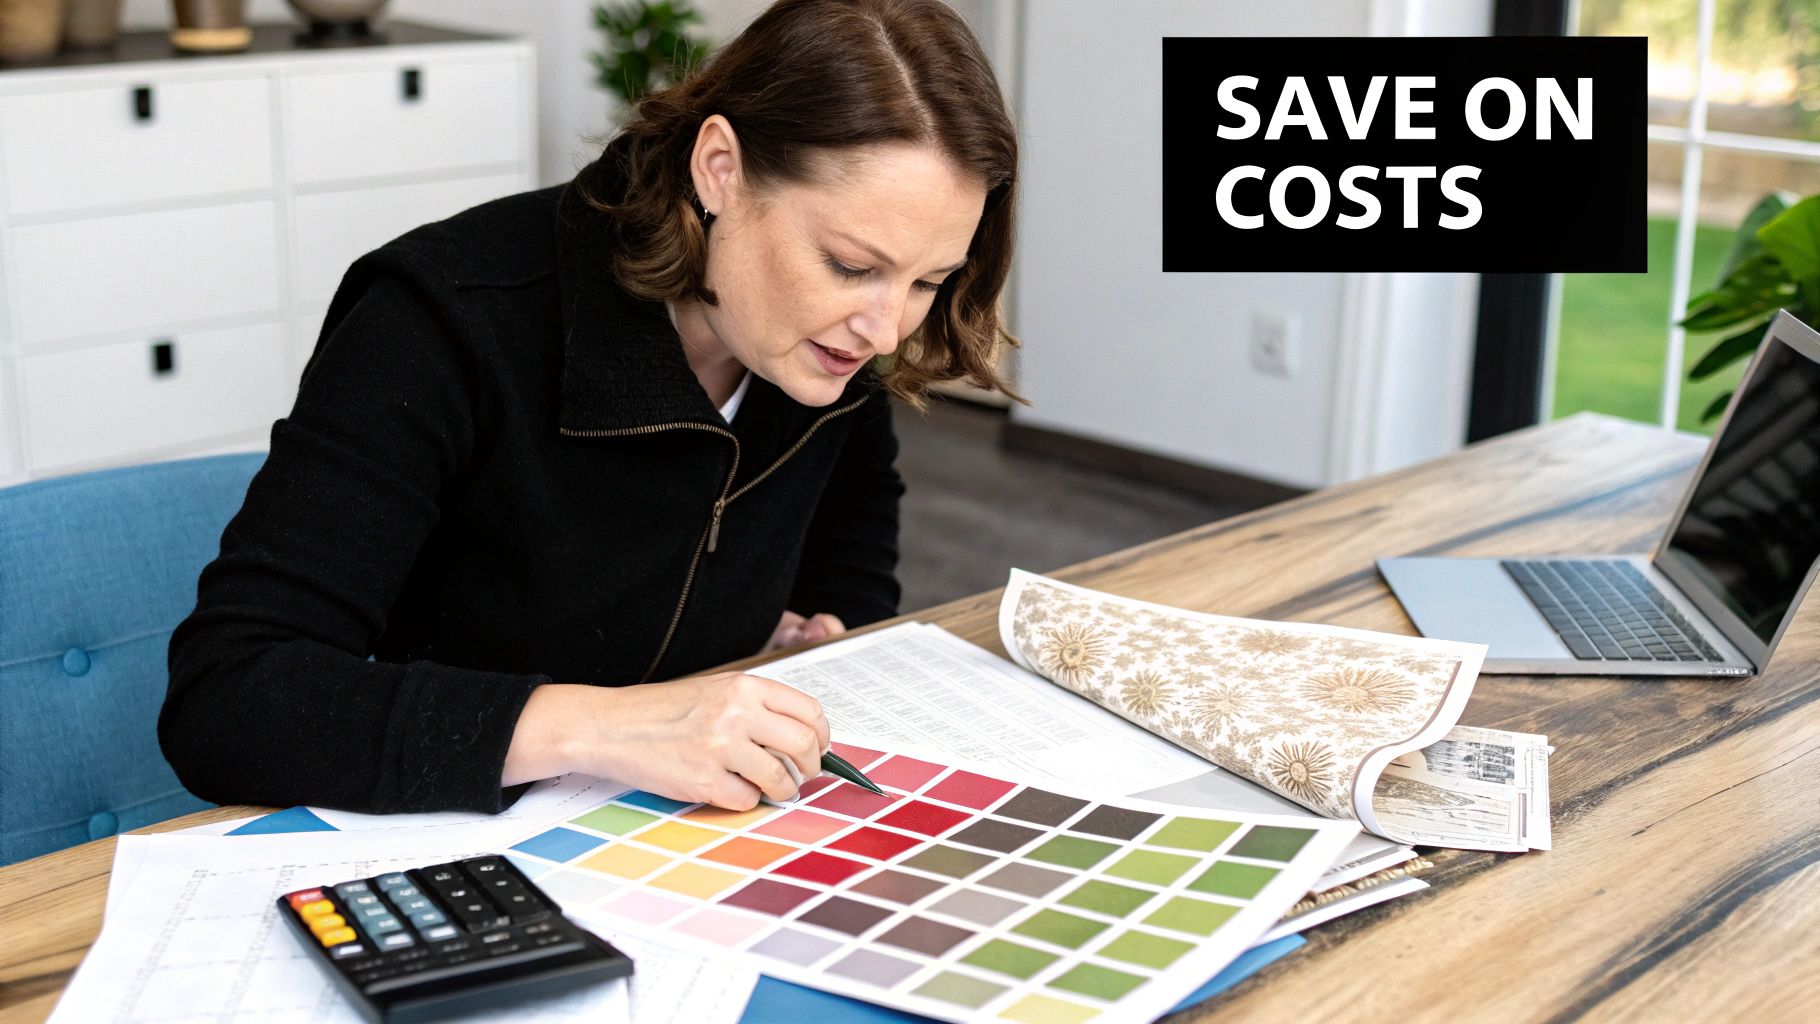
Thinking about giving your walls a fresh new look with wallpaper? If you're bringing in a professional, a small room in NZ will likely set you back around $800 to $1,000, and that includes the materials. Of course, the final figure hinges on what kind of wallpaper you choose, the size of your space, and what the pros charge for their time.
Your Guide to Wallpapering Costs in New Zealand
When you're working out the budget for your wallpaper project, it's easy to just focus on the price per roll. But that's a bit like baking a cake and only thinking about the cost of flour! There's a lot more that goes into the mix, like prep supplies, tools, and the skilled hands needed to get that perfectly smooth, seamless finish.
A big part of the cost puzzle is whether you tackle it yourself or call in a professional. Going the DIY route can definitely save you money on labour, but it's a job that demands patience, precision, and the right gear. If you're new to the game, our guide on how to apply removable wallpaper is packed with tips to help things go smoothly.
A Snapshot of Key Expenses
Here in New Zealand, the price of wallpaper can really vary. You can find standard rolls for anywhere from NZD $100 to $160, but if you've got your eye on a premium designer print, you could be looking at over NZD $300 per roll.
Then you've got to add in the essentials like adhesive, brushes, and other tools, which can easily add another NZD $200 or more to your total. Once you factor in professional installation for even a small feature wall or room, it's not unusual to see the total cost push past the NZD $1,000 mark.
To give you a clearer picture, here’s a quick summary of what you can expect to pay for a typical wallpapering job in New Zealand.
Estimated Wallpaper Installation Costs in NZ
This table breaks down the typical costs for a standard wallpapering project, from the paper itself to supplies and professional labour.
| Cost Component | Average Price Range (NZD) |
|---|---|
| Standard Wallpaper Roll | $100 - $160 |
| Designer Wallpaper Roll | $180 - $300+ |
| Essential Supplies (Adhesive, Tools) | $150 - $250+ |
| Professional Labour (Small Room) | $800 - $1,200 |
| Wall Preparation (Minor Repairs) | $100 - $300 |
Think of this as a starting point for your budget. As we go, we'll get into the nitty-gritty of what drives these costs up or down, helping you plan a realistic budget to bring your vision to life.
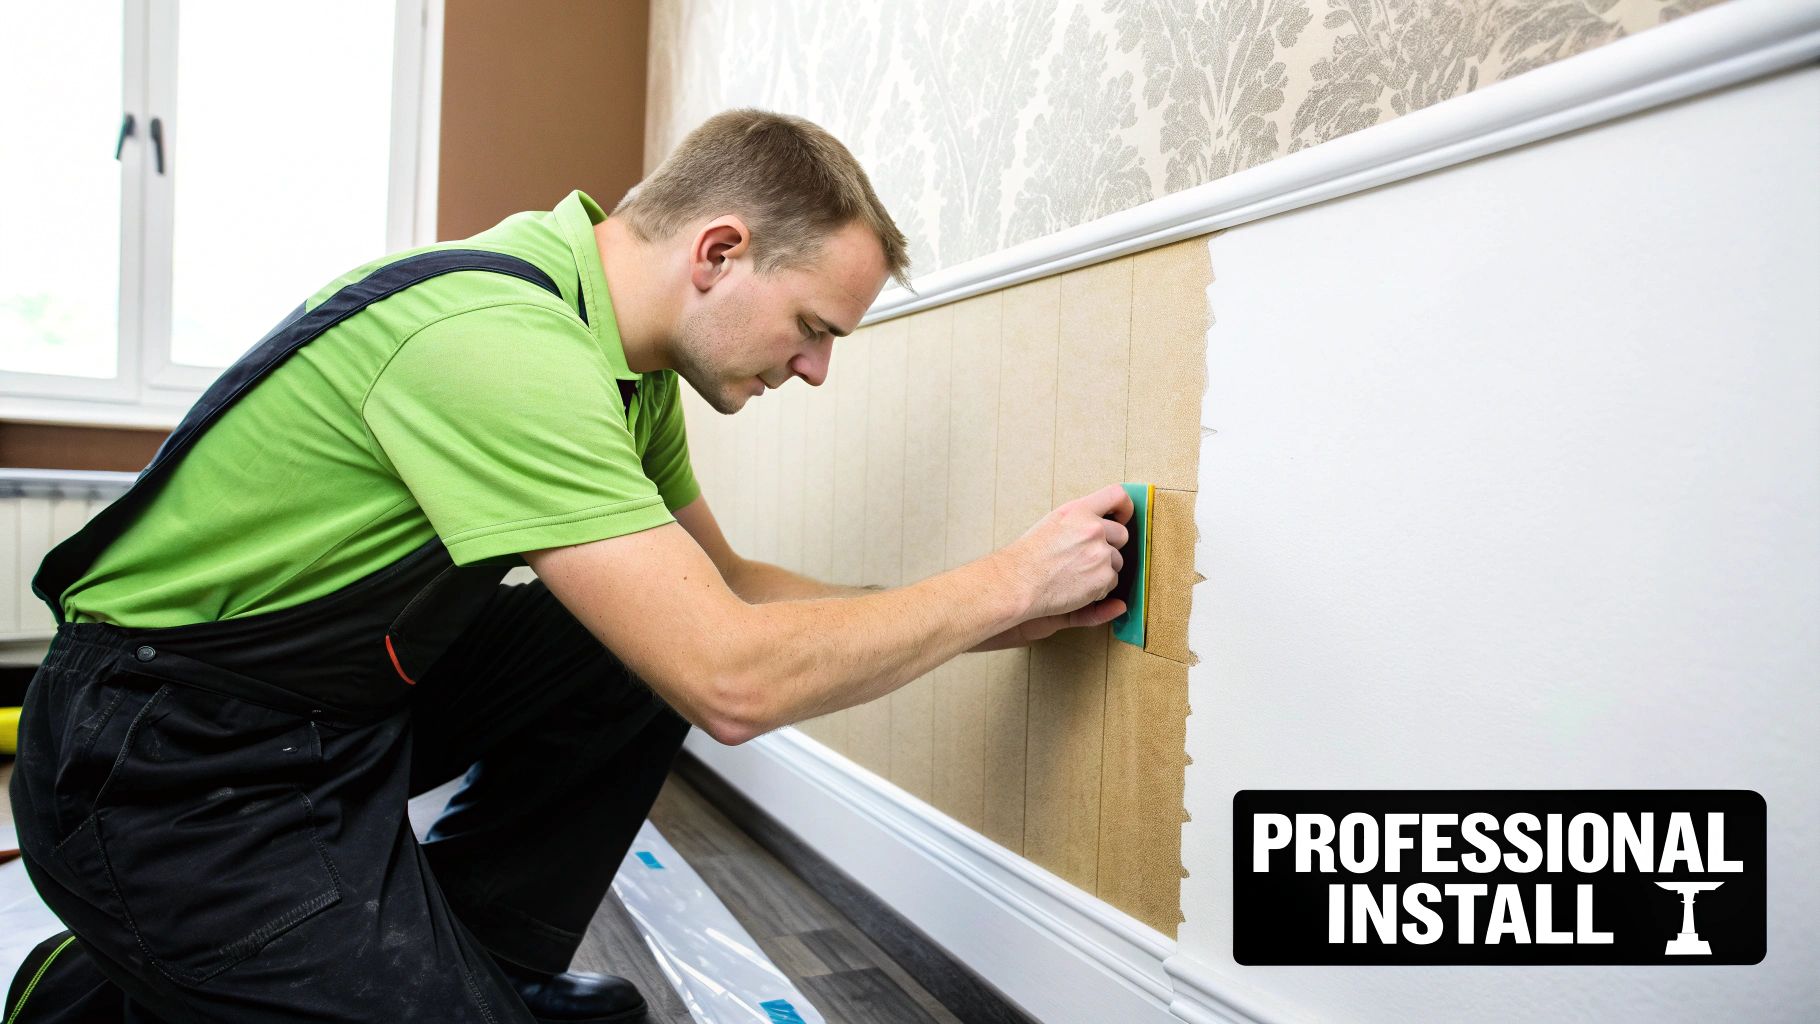
Understanding Professional Labour Charges
The biggest slice of your wallpaper budget will almost always go to the person doing the hanging. Bringing in an experienced decorator is a bit like hiring a specialist mechanic for a high-performance car; you’re not just paying for their time, but for the skill to get a flawless finish and sidestep any costly mistakes. Their expertise is what makes every seam invisible and every corner perfect.
Professional installers in New Zealand have a few ways of pricing up a job, and understanding them will help you compare quotes and know exactly what you’re investing in. It's rarely a simple, one-size-fits-all hourly rate.
Instead, a good decorator will price a job based on its unique demands. This tailored approach means the quote truly reflects the work involved, from a straightforward feature wall to a complex, multi-room project.
Common Pricing Models
So, how do decorators work out their fees? It usually falls into one of these buckets:
- Per Roll: A common method where installers charge a set price for each roll of wallpaper they hang. It's straightforward but works best with standard-sized rolls and simpler patterns.
- Per Square Metre: For larger spaces or rooms with unusual shapes, pricing per square metre can be much more accurate. This model ties the cost directly to the total surface area you want to cover.
- Day Rate: On really tricky projects—think intricate patterns, delicate materials, or walls that need a lot of prep—an installer might charge a day rate. This covers the focused time and expertise needed to get it just right.
The total labour cost will shift depending on the room's size, the type of wallpaper, and how complex the job is. As a general guide, hourly rates for painters and decorators in NZ often sit between NZD $24 to $33 and up, depending on their experience and where they're based. You can get a better feel for the costs of popular feature walls from this helpful renovation guide.
Factors That Increase Labour Costs
Let's be honest, not all walls are created equal. Several things can make a wallpapering job more time-consuming and, therefore, a bit more expensive. Think of these as the technical challenges that call for a higher level of skill and precision.
The complexity of the room is a huge one. Tricky areas like stairwells with soaring ceilings, walls dotted with multiple windows and doors, or rooms full of nooks and crannies all demand more cutting and careful alignment.
The wallpaper itself also plays a big part. Hanging a durable, non-woven vinyl is relatively quick work. But delicate materials like silk, grasscloth, or heavily embossed papers need a much slower, more careful touch to prevent damage. A seasoned installer will factor this into their wallpaper installation cost nz quote to make sure your beautiful, expensive paper is handled with the care it deserves.
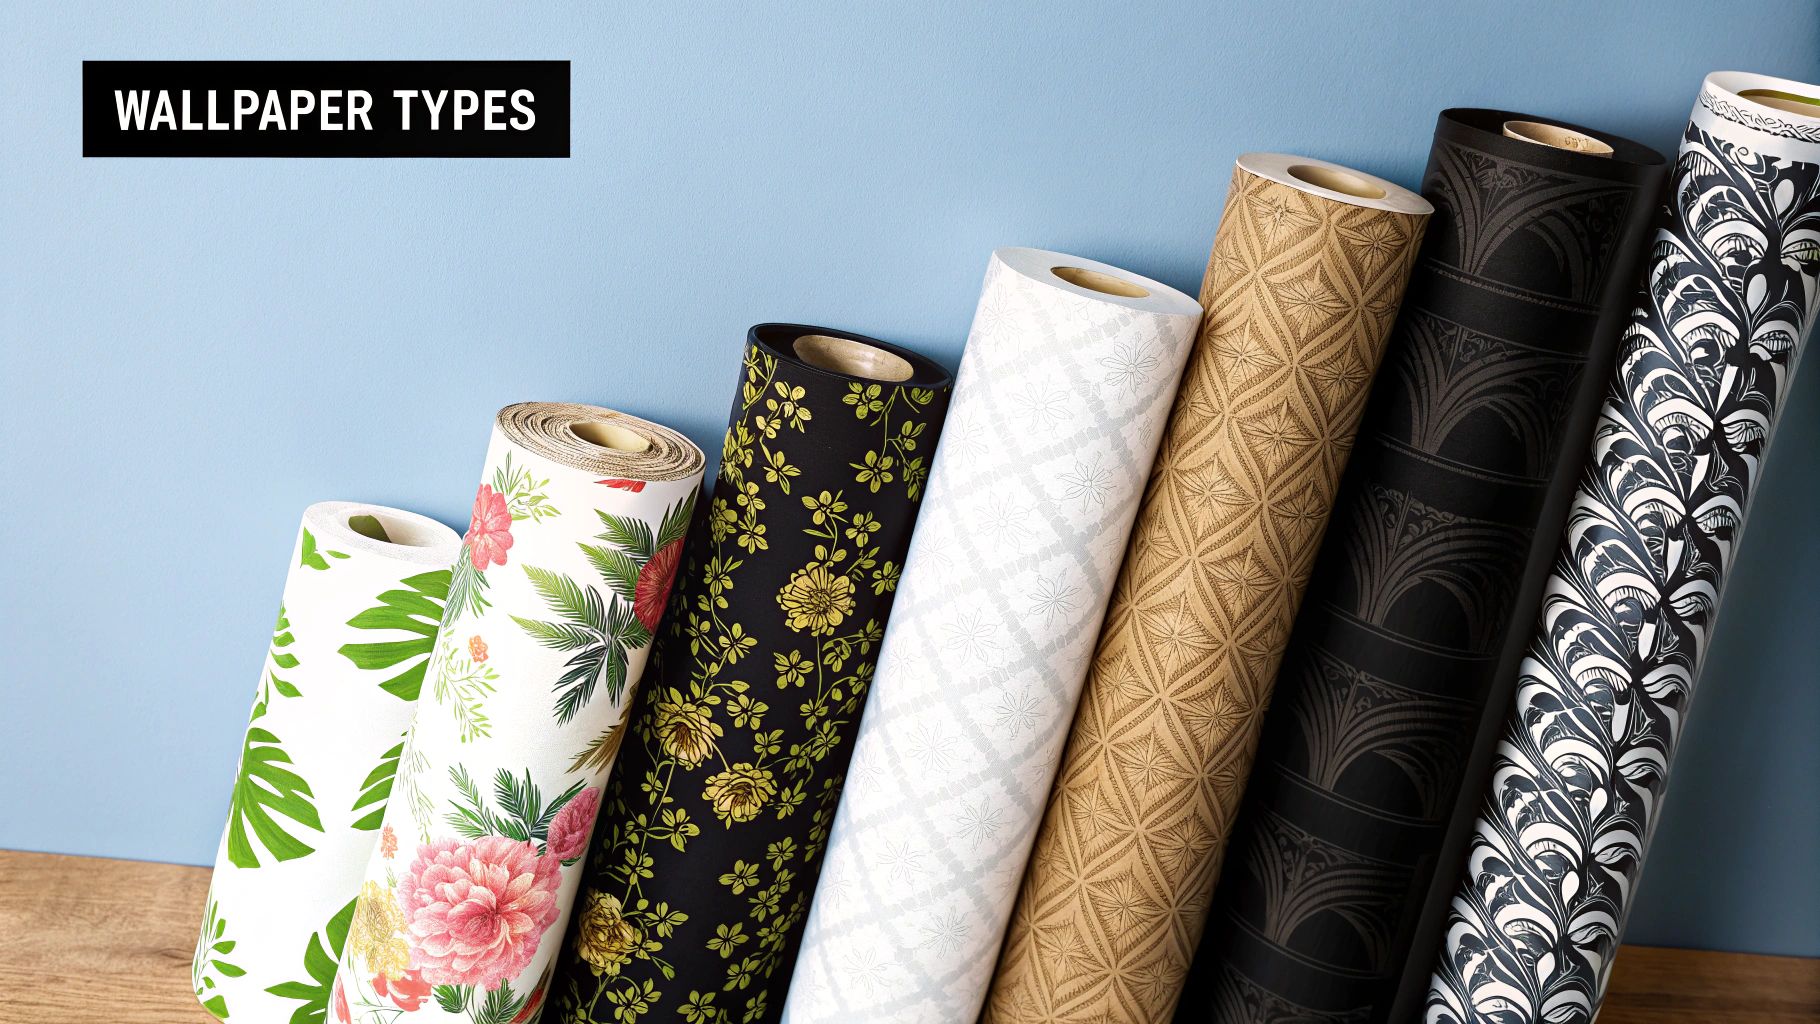
How Wallpaper Choice Impacts Your Budget
Choosing your wallpaper is easily the most exciting part of the process, but it’s also where your budget can really take shape. The material you fall in love with does more than just set the room's style; it has a direct say in the final wallpaper installation cost nz.
It’s a bit like buying tyres. A standard set for the family car costs a certain amount, while high-performance tyres for a sports car are in a completely different league. Both do a job, but they're built for different purposes and come with different price tags. The same goes for wallpaper. Some are workhorses—durable and easy to hang—while others are more like art, featuring delicate textures and handcrafted beauty that demand a premium for both the material and the expert touch required to hang them.
Everyday and Budget-Friendly Options
For many Kiwi homes, practicality is king. These wallpapers look fantastic without blowing the budget and are tough enough for the rigours of daily life.
- Vinyl Wallpaper: This is the undisputed workhorse of the wallpaper world. It’s incredibly durable, often washable or even scrubbable, and handles moisture like a champ, making it a go-to for kitchens, bathrooms, and kids' rooms. It’s also quite forgiving to install.
- Non-Woven Wallpaper: A favourite for DIYers and pros alike, non-woven paper is breathable and famously easy to work with. You paste the wall, not the paper, which often speeds up the job and can trim down labour costs.
- Textured (Anaglypta) Wallpaper: These paintable papers are brilliant for adding a bit of dimension. They are also fantastic at hiding minor lumps and bumps on the wall, which could save you a fair bit on wall preparation.
Premium and Speciality Materials
If you're after a touch of luxury or a show-stopping feature wall, premium materials are where it’s at. They offer a look and feel that standard papers just can’t match. Their higher price reflects not just the quality of the material but also the specialised, careful installation they require.
Think about it: a tough, washable vinyl in a playroom provides resilience for a modest price. But a hand-woven grasscloth in a formal dining room? That brings a layer of texture and sophistication that commands a higher investment all around.
For example, delicate papers like grasscloth or silk require a much slower, more meticulous installation process to avoid damage. An installer must handle these materials with extreme care, which is why labour costs for specialty papers are often significantly higher than for standard vinyl.
With these high-end materials, precision is everything. Before you even think about ordering, getting your measurements spot-on is critical. Our wallpaper measuring guide for perfect results every time can help you make sure you order exactly the right amount.
The Hidden Costs of Wall Preparation
Let’s be honest, a stunning wallpaper finish is only ever as good as the wall it’s on. It’s easy to get caught up in choosing the perfect paper and budgeting for the installer, but skipping proper wall prep is a classic rookie mistake that can ruin the whole project.
Think of it like the foundation for your house – you can't build something beautiful on shaky ground. For a flawless wallpaper look, you absolutely need a perfectly smooth, stable, and clean canvas to work with.
The state of your walls is the biggest wildcard when working out the wallpaper installation cost nz. A freshly plastered wall in a new build might just need a quick prime. Easy. But an older wall in a character home? It could be hiding layers of stubborn old paper, hairline cracks, or a hundred tiny holes from years of picture hooks. Each of these little issues needs time, skill, and materials to sort out properly, and that all adds to the final bill.
What's Your Wall Hiding?
Before you can even think about a final price, you need to play detective and figure out what you’re up against. Here’s a rundown of what to look for and what it might cost you:
- Stripping Old Wallpaper: This is often the most time-consuming job of them all. Professionals use steamers and special tools to get old paper off, but it can still take hours. You should probably budget an extra $200 - $500 for a standard room, sometimes more if the old paper is particularly glued on.
- Fixing Up the Surface: Filling in cracks, dents, and old screw holes is crucial for that seamless finish. A few minor patches won’t break the bank, but if your wall is really uneven and needs a full skim coat, that’s a more significant job with a bigger price tag.
- Sanding and Cleaning: Once all the repairs are done, the entire wall needs to be sanded until it’s perfectly smooth. Then, it has to be wiped down to get rid of every last bit of dust and grime. This is what helps the wallpaper adhesive grip properly.
A beautiful finish is impossible on a flawed surface. Bubbling, peeling, and seeing lumps and bumps through your new paper can almost always be traced back to skimping on the prep work. Cutting corners here just means you've wasted your money on both the wallpaper and the installation.
The One Step You Can't Skip: Sizing
After the wall is smooth and clean, there's one final, non-negotiable step: applying a specific wallpaper primer, which we call 'sizing'. This seals the wall and stops the wallpaper paste from just soaking straight into the plaster. It creates the perfect surface for the paper to stick to and, believe me, it makes life so much easier when you eventually want to remove it down the track.
This is why bringing in a professional is almost always the right call, especially for tricky jobs. Their quote will usually cover all this prep work and the final cleanup. The whole process, from stripping old paper to priming the walls, can really add to the project's timeline and total cost. For a deeper dive into how prep work shapes the final price, check out this detailed wallpapering guide.
Estimating Costs for Different Rooms
Abstract numbers and per-metre rates are useful, but what does it all mean when it comes to wallpapering an actual room in your house? To get a real feel for the potential wallpaper installation cost in NZ, it helps to look at some real-world examples.
Ultimately, your final bill comes down to a few key things: the size of the room, how complex the job is (think windows, doors, and tricky corners), and, of course, the wallpaper you’ve fallen in love with. A tiny powder room is a world away from a sprawling, open-plan living area.
Sample Wallpapering Project Costs by Room
Let's make this more tangible. Here’s a breakdown of what you might expect to pay for a few common wallpapering projects in a typical New Zealand home. These estimates are based on using a good quality, mid-range wallpaper and hiring a professional to get the job done right.
| Room Type | Estimated Wallpaper Cost (NZD) | Estimated Labour Cost (NZD) | Estimated Total Project Cost (NZD) |
|---|---|---|---|
| Powder Room (approx. 4m²) | $200 - $350 | $350 - $500 | $550 - $850 |
| Bedroom Feature Wall (approx. 10m²) | $250 - $500 | $400 - $600 | $650 - $1,100 |
| Full Living Room (approx. 30m²) | $800 - $1,500 | $1,000 - $1,800 | $1,800 - $3,300 |
As you can see, the scale of the project really dictates the budget. A feature wall is a fantastic way to get a high-impact look for a relatively modest price. Going all-out on a full living room is more of an investment, but the transformation can be incredible.
Remember, wallpaper is just one part of the room's design story. For ideas on creating a cohesive feel, check out our guide on the top curtain materials for your living room to perfectly complement your new walls.
How Your Location Affects the Cost
It’s also worth remembering that where you live in New Zealand can influence the cost. Labour rates in major centres with a higher cost of living, like Auckland, can often be a little higher than in other regions.
This graphic gives a quick snapshot of how average costs can vary between our main cities.
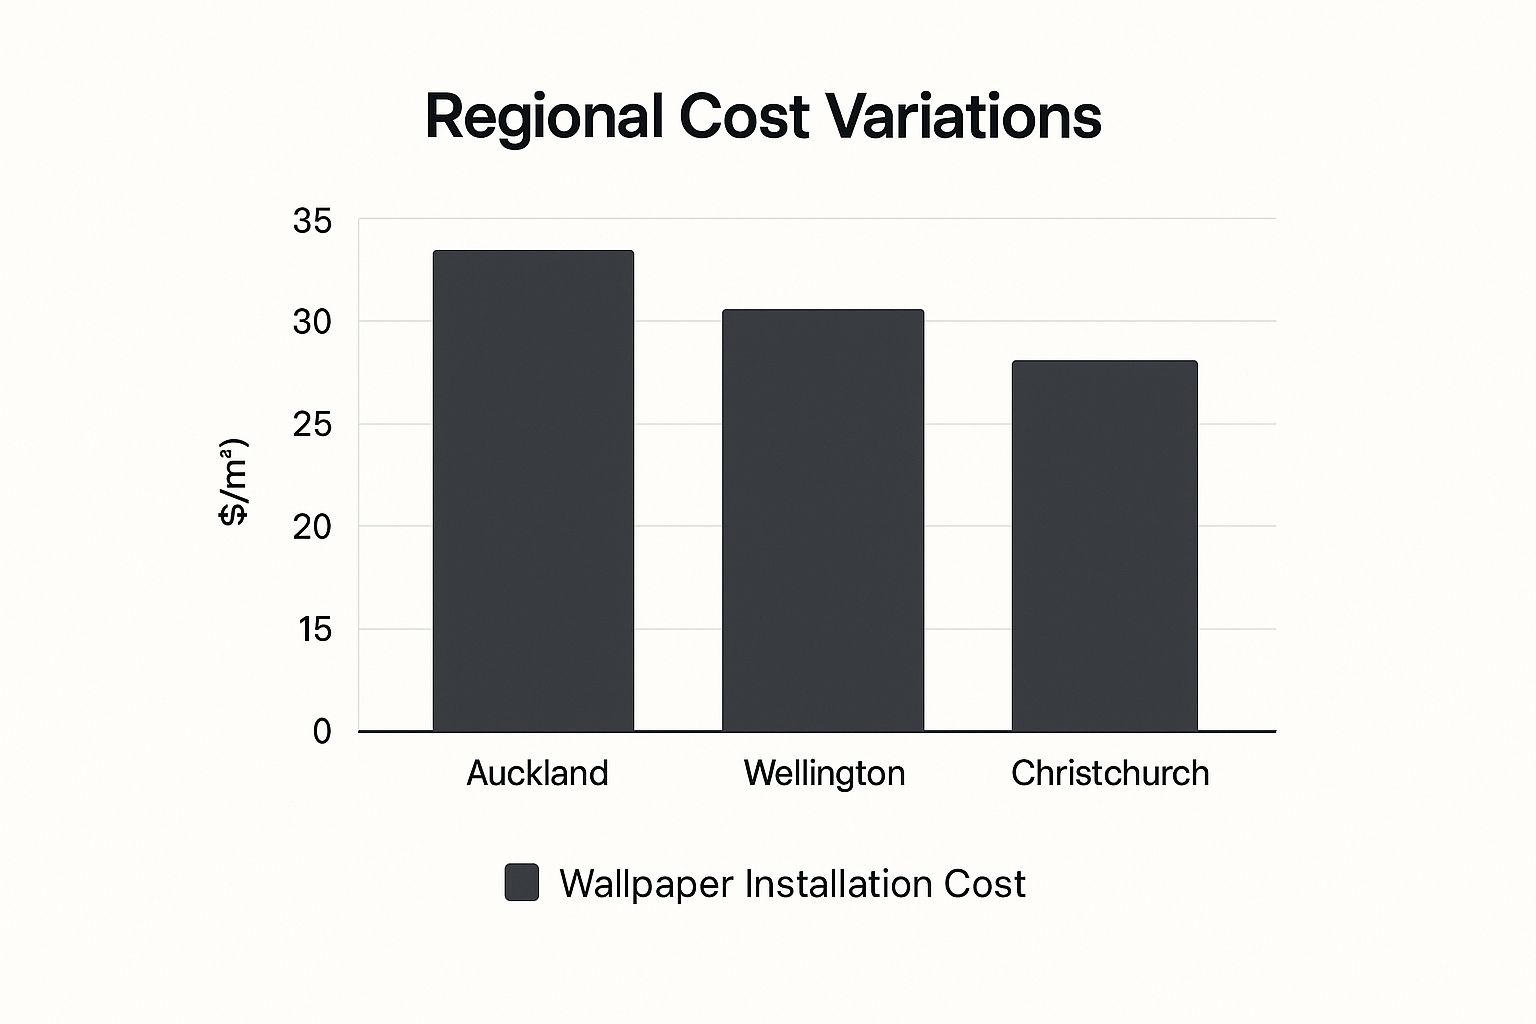
While the differences aren’t huge, your location is definitely something to factor into your budget. Drilling down further, data shows labour for a small bathroom could run anywhere from $60 to $420, while a large living room installation might set you back between $215 and $1,500. It just goes to show how much size and complexity play a part.
Common Wallpapering Questions Answered
Even after you've mapped out your project, a few little questions can always pop up. To help you feel completely confident, we’ve put together the most common queries Kiwi homeowners have about wallpapering, along with some clear, straightforward answers.
Think of this as your final checklist. It’s designed to clear up any lingering doubts about the wallpaper installation cost nz and what the whole process actually involves.
Is It Cheaper to Paint or Wallpaper a Room in NZ?
Right out of the gate, painting is almost always the cheaper option. The upfront cost for a few tins of quality paint and some basic supplies is definitely lower than buying multiple rolls of wallpaper and the right adhesives.
But that’s not the whole story. When you start thinking long-term, things look a bit different. A beautiful, well-hung wallpaper can look incredible for over 15 years. A painted room, on the other hand, often needs a touch-up every 5 to 7 years to keep it looking fresh, particularly in hallways or living areas.
When you weigh up the durability and how long it lasts, wallpaper suddenly becomes a very competitive choice. It really comes down to balancing your immediate budget against what you want for your home's style and resilience down the track.
This is especially true for busy family homes or commercial spaces, where something that can handle a bit of wear and tear is just as important as how it looks.
How Can I Get an Accurate Quote for My Project?
Getting a quote you can count on is all about giving your decorator clear, detailed information. If your details are vague, your estimate will be too! The more you share, the closer the quote will be to the final price.
To make sure you get an accurate number, just follow these steps:
- Provide Exact Measurements: Give the decorator the precise height and width of every wall you want to paper.
- Highlight Complexities: Don’t forget to point out any fiddly bits like windows, doors, built-in shelves, or lots of power points.
- Specify Your Wallpaper: The paper you’ve picked is a huge factor. Its material, width, and pattern repeat all affect how much labour is involved.
- Be Honest About Wall Condition: Let them know if there’s old wallpaper to strip or if the walls have cracks and holes that need filling first.
For the most reliable wallpaper installation cost nz, we always suggest getting at least three detailed quotes from different professionals. An in-person look at the job will always give you the most dependable price.
Do I Really Need to Buy Extra Wallpaper?
Yes, absolutely. This one is non-negotiable. You should always plan to buy 10-15% more wallpaper than your measurements say you need. This isn't a sneaky upsell from suppliers; it’s a crucial part of getting a professional finish.
This extra bit covers what installers call 'wastage'. It happens when they have to trim away parts of the roll to get the pattern to line up perfectly from one strip to the next. The bigger and more intricate the pattern, the more paper will be wasted during matching.
Having that extra stock is also a lifesaver for covering any little scuffs that might happen during installation. Even better, it gives you a perfectly matched roll for any future repairs, which can be a godsend years later when your pattern might not be available anymore.
Can I Wallpaper a Bathroom or Kitchen?
You certainly can, but choosing the right material is key. Modern wallpapers have come a long way and are now specifically designed to handle the steam and moisture you find in bathrooms and kitchens.
You'll need to look for wallpapers labelled as 'scrubbable' or 'extra-washable'. These are usually solid vinyl wallpapers that are non-porous and super resistant to moisture and stains. They can be wiped down easily, making them perfect for these hardworking rooms. It’s best to avoid delicate, porous materials like natural grasscloth or silk, as they just won't hold up to the humidity.
For renters hoping to add some personality without causing issues, you might like our guide to 7 renter-friendly wallpaper ideas to transform your space. With the right wallpaper and good ventilation, you can bring beautiful patterns into any room of the house.


